Ever painted a room only to stand back and think, “It needs something extra”? Maybe your living room looks flat, or your bedroom could use a touch of glam — but you don’t want to commit to wallpaper or expensive tile. If you’ve been wondering how to add personality without major renovations, accent wall ideas glitter might be the fun, budget-friendly upgrade you need. This guide walks you through inspiring designs, practical tips, and step-by-step methods to create a glitter accent wall that feels polished (not tacky).
Why Choose a Glitter Accent Wall?
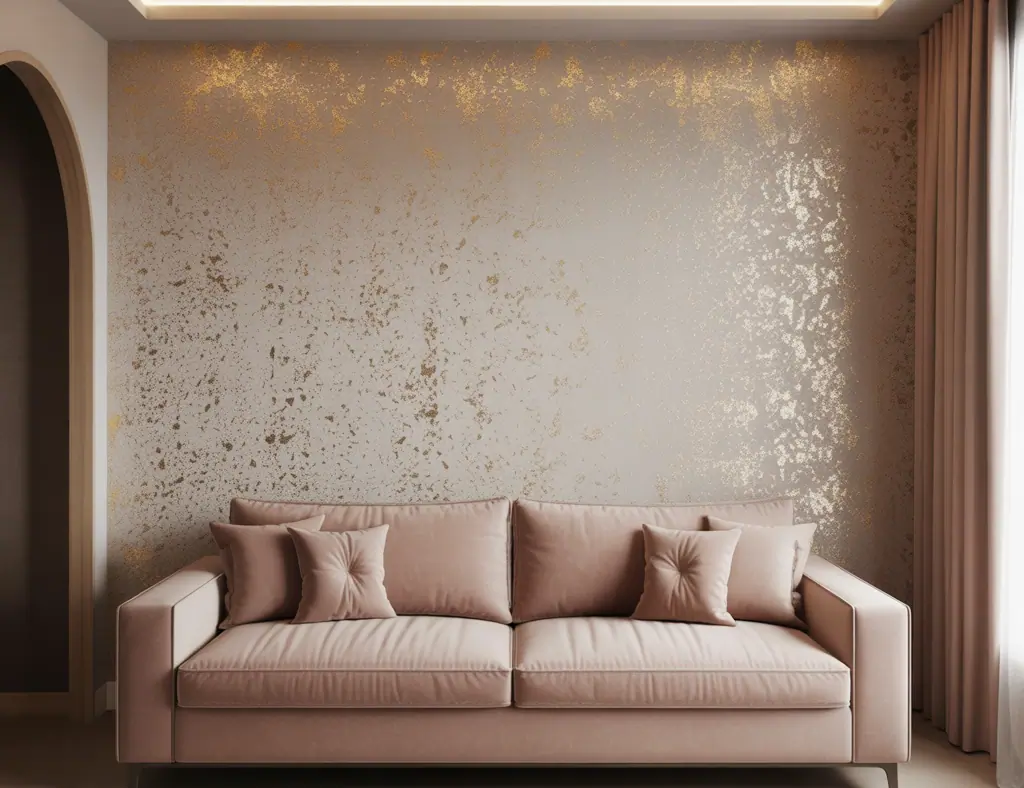
Glitter accent walls are an easy way to introduce texture, light reflection, and personality. Whether you want a subtle pearlescent shimmer or a bold sparkle feature, glitter finishes can transform a space quickly. They work especially well in areas where light hits the wall — foyers, behind beds, or a living room focal point.
Types of Glitter Finishes
- Micro-glitter paint for a refined, subtle sheen
- Chunky glitter for dramatic sparkle in small areas
- Iridescent mica or pearl paint for a soft glow
- Glitter wallpaper for an easier, less-messy install
- Glitter epoxy or sealer for moisture-prone areas like backsplashes
Design Inspiration: Which Sparkle Suits Your Room?
Not every glitter accent wall should be full disco ball — pick a style that matches your home’s aesthetic.
Subtle and Sophisticated
Choose a micro-glitter paint in neutral shades (warm beige, soft gray) and finish with a satin or eggshell clear coat. This is perfect for living rooms and hallways where you want a hint of luxury without overwhelming the space.
Glam Bedroom Accent
Deep jewel tones (emerald, navy, plum) mixed with medium micro-glitter deliver a boutique-hotel feel behind your bed. Combine with velvet pillows and brass light fixtures for a cohesive look.
Playful Kids’ or Teen Rooms
Use washable, low-VOC glitter paints or glitter wallpaper accents. Consider stenciled starburst designs with glitter for a fun, removable accent that won’t be permanent.
Step-by-Step: How to Create a DIY Glitter Accent Wall
Follow these steps whether you want a subtle shimmer or a full sparkle wall.
Materials You’ll Need
- Primer and base paint (matte or satin)
- Glitter paint or clear binder (polycrylic, Mod Podge) + loose micro-glitter
- Quality rollers and brushes, foam roller for smooth application
- Painters’ tape, drop cloths, sandpaper, tack cloth
- Clear topcoat/sealer (water-based polyurethane or polycrylic)
- Respirator or mask, gloves, and goggles for safety
Preparation (The Most Important Part)
- Clear the area and lay drop cloths — glitter travels, so protect floors and furniture.
- Clean the wall, sand any rough spots, and wipe down with a tack cloth.
- Apply painter’s tape to trim and edges for crisp lines.
- Prime the wall if needed — a good primer helps the glitter layer adhere evenly.
Application Techniques
Choose one of these methods depending on your desired look and comfort with DIY:
- Glitter paint: Simply roll on 1–2 coats of pre-mixed glitter paint over your base color. Great for beginners.
- Loose glitter + binder: Paint a thin coat of clear binder over the base color, sprinkle micro-glitter, let dry, then seal. Use for a more control of sparkle density.
- Ombre or gradient: Blend glitter density from heavy at the bottom to light at the top for a modern effect. Blend wet coats quickly to achieve smooth transitions.
- Stenciling: Tape or stencil shapes then apply glitter inside the shapes for targeted accents.
Sealing and Finishing
After the glitter layer dries, apply 1–2 coats of a clear sealer to lock glitter in place and make the surface cleanable. For high-traffic walls, choose a durable water-based polyurethane.
Practical Tips and Real-World Advice
- Pick micro-glitter for walls — larger glitter flakes are too reflective and can look cheap at room scale.
- Test a 1-foot square sample first. Observe it at different times of day to ensure the effect suits your lighting.
- Layer slowly. Thin, even coats give the best finish and reduce drips.
- Use a quality satin or semi-gloss sealer to enhance sparkle without making the wall look wet.
- For kitchens and bathrooms, use glitter epoxy or glitter tile accents rather than loose glitter paint because of moisture and cleaning needs — think glitter backsplash panels or sealed epoxy overboard.
- If you rent, consider removable glitter wallpaper or temporary glitter decals to avoid permanent changes.
Accent Wall Ideas Glitter — Where to Use It
Here are common spots where glitter makes a big impact:
- Behind a headboard in a bedroom
- Entryway focal wall for first impressions
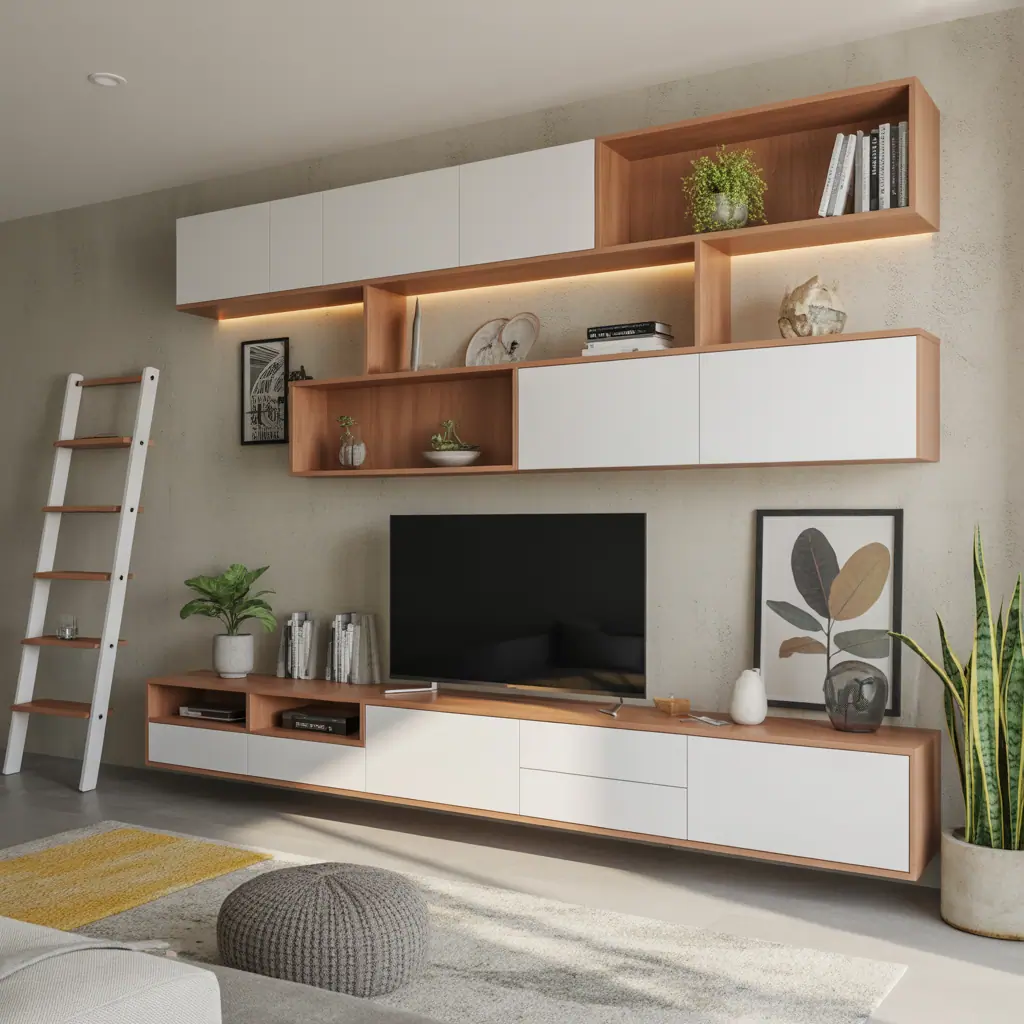
- Media wall behind a TV — use subtle shimmer to avoid glare
- Powder room or vanity wall for small-scale drama
- Nursery accent wall with washable, non-toxic products
Frequently Asked Questions
1. Is a glitter accent wall permanent or can it be removed?
Glitter paint and glued glitter are fairly permanent. Removal usually requires sanding or scraping and repainting. For temporary options, use glitter wallpaper or removable panels that you can take down without major repairs.
2. How do I clean a glitter wall without removing the sparkle?
Use a soft microfiber cloth or a very soft brush to dust. For spot cleaning, use a damp cloth and mild soap — avoid abrasive cleaners that can lift the sealer. A durable clear topcoat will make cleaning easier.
3. Is glitter safe to use in a child’s room?
Choose low-VOC, non-toxic products and micro-glitter finishes. Avoid loose glitter that can flake off. For extra safety and convenience, consider washable glitter wallpaper or decals instead of loose glitter paint.
Final Thoughts and Call to Action
Accent wall ideas glitter can elevate a plain room into a stylish retreat with surprisingly little time and cost. Start small with a test panel, choose micro-glitter for a refined look, and seal your work for durability. Ready to try this weekend? Check out more DIY projects for step-by-step guides, or browse our home design ideas and kitchen upgrades for ways to pair glitter accents with your overall decor. Share your before-and-after photos or ask questions in the comments — I’d love to help you plan your sparkle!