Are you standing in your yard on a hot Saturday, mower idling in the driveway, wondering how you ended up spending every weekend on grass, watering, and weeding? Imagine stepping outside to a tidy, attractive front yard that stays green (or beautifully textured) all season with minimal effort. This guide shows how a xeriscape low maintenance front yard can cut water bills, reduce chores, and boost curb appeal — all with doable DIY projects.
Why choose xeriscaping? The benefits of a low-maintenance front yard
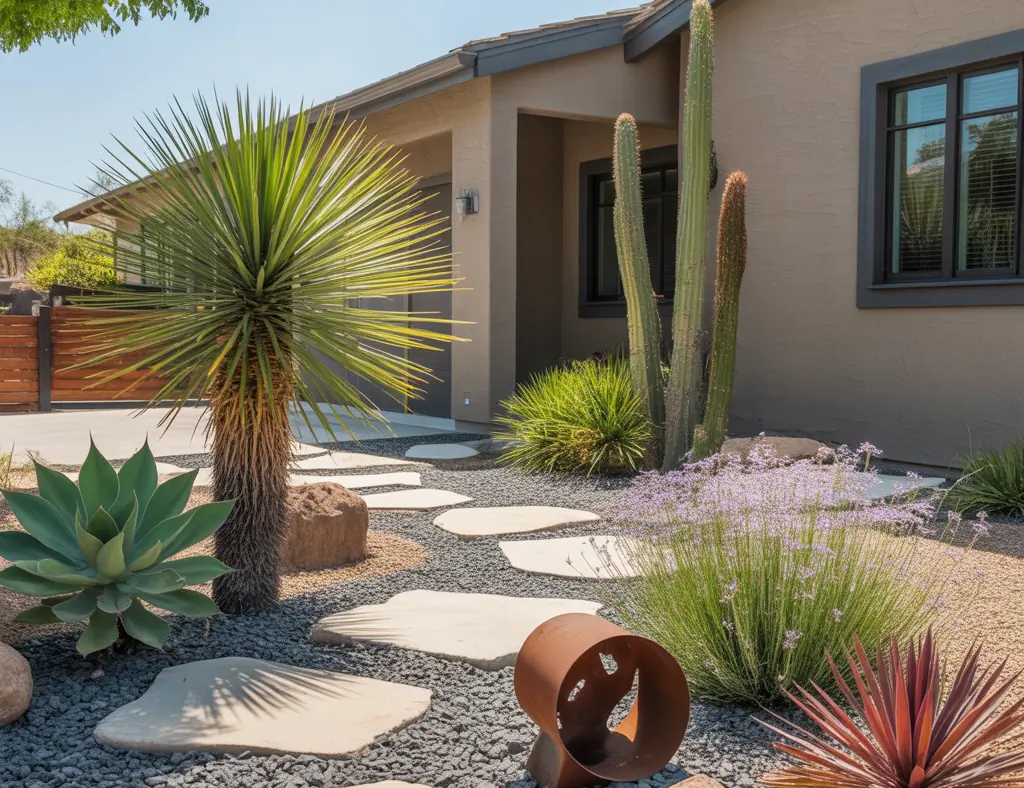
Xeriscaping is drought-tolerant, water-wise landscaping designed for efficiency and beauty. It’s not just gravel and cactus — modern xeriscape design blends native plants, ornamental grasses, mulches, and hardscape to create a curated, low-water landscape. Benefits include:
- Lower water usage and utility bills
- Less mowing, pruning, and weeding
- Improved curb appeal with year-round texture and color
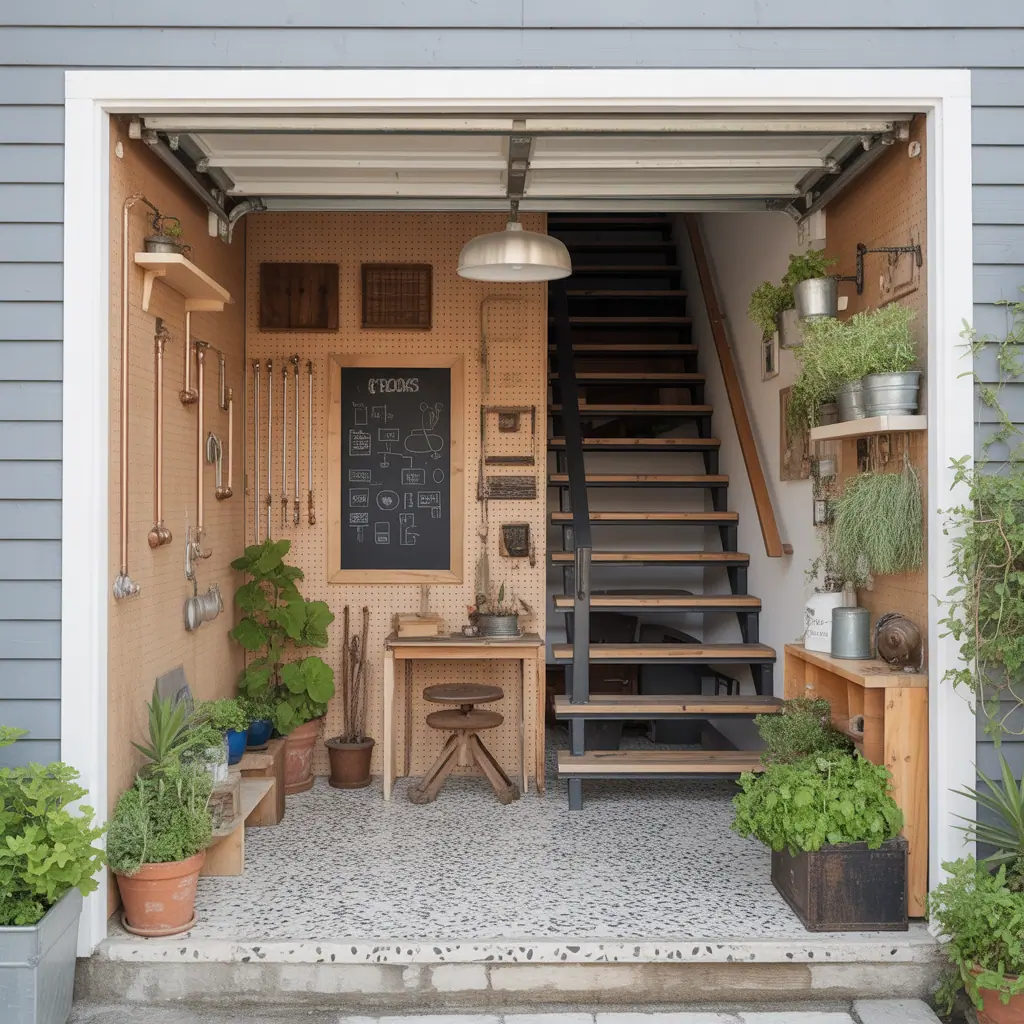
- More time for DIY upgrades or indoor projects like kitchen renovations
How to create a xeriscape low maintenance front yard (step-by-step)
Follow these practical steps to convert a thirsty lawn into a resilient, attractive front yard. Many homeowners can complete parts of this as weekend DIY projects.
1. Assess your site
- Note sun exposure, slope, drainage, and soil type.
- Map existing trees or utility lines before digging.
- Decide which areas need high-traffic access and which can be fully planted.
2. Make a simple design plan
Sketch a plan with focal points (entry path, specimen rock, or a small seating area), planting zones, and hardscape elements. Use repetition of color and texture to create cohesion. Keep pathways functional with permeable pavers, decomposed granite, or flagstone set in sand.
3. Choose plants that thrive with less water
Prioritize native and drought-tolerant species: succulents, lavender, ornamental grasses, Russian sage, yarrow, sedum, manzanita, and low-water groundcovers. Group plants with similar water needs together (hydrozoning) to simplify irrigation and prevent overwatering.
4. Prep the soil and install weed barrier
Remove unwanted turf and invasive roots. Amend heavy clay with organic matter if needed to improve drainage. Lay a breathable weed barrier fabric in areas you plan to cover with rock or mulch, leaving planting holes for your new specimens.
5. Install efficient irrigation
Drip irrigation and soaker hoses deliver water directly to roots and reduce waste. Add a simple timer or smart controller to automate watering schedules based on season and weather. This small investment pays off in saved water and healthier plants.
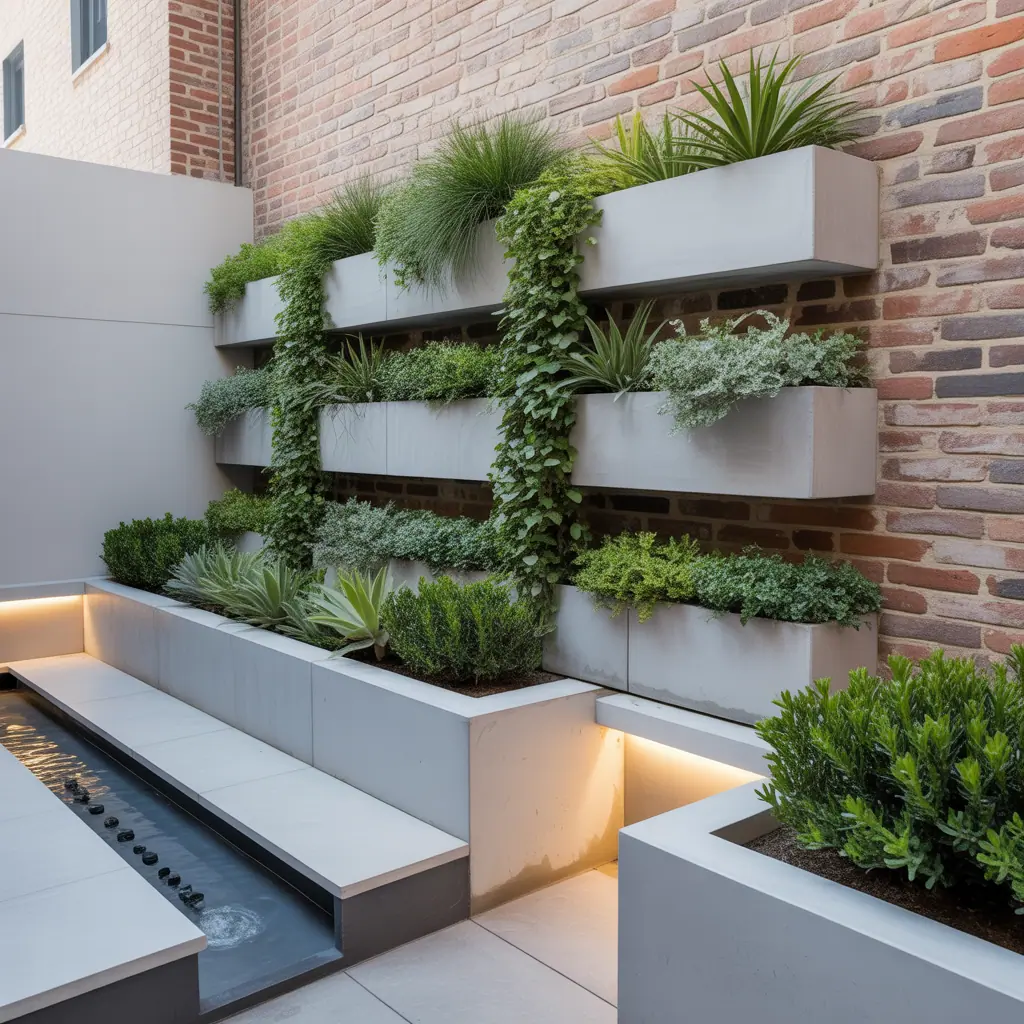
6. Mulch, hardscape, and finishing touches
Use 2–3 inches of organic mulch around plants to conserve moisture and suppress weeds. For pathways and beds, choose rock mulch or decomposed granite for a clean, low-care look. Place boulders and decorative elements for structure and year-round interest. Add solar pathway lights for safety and curb appeal.
Design tips and inspiration for professional-looking results
- Balance soft landscaping (plants) with hardscape (rock, pavers) for contrast.
- Use a limited color palette — two dominant hues and one accent — for a cohesive look.
- Create a focal point near the entrance: a specimen shrub, a sculptural rock, or a polished gravel bed with a dramatic succulent.
- Edge planting beds with metal or stone edging to reduce grass creep and keep lines crisp.
- Incorporate native pollinator plants to support local wildlife while keeping maintenance low.
Practical DIY tips and common pitfalls
These real-world tips help avoid mistakes and keep your project manageable:
- Start small: convert one section of lawn at a time to spread cost and effort.
- Buy smaller plants and let them establish — mature specimens are more expensive and harder to place.
- Avoid overusing rock mulch near plant crowns — excessive heat can stress roots.
- Label plants during installation to track water needs and pruning schedules.
- Test irrigation in the hottest part of summer to make adjustments before stress occurs.
Maintenance schedule for a low-maintenance landscape
Even low-care yards need seasonal attention. Keep it simple:
- Spring: prune dead growth, top-dress mulch, inspect irrigation lines.
- Summer: monitor water needs, weed monthly, remove spent flower stalks for tidiness.
- Fall: cut back perennials as needed, repair hardscape after storms.
- Winter: minimal care; check for soil erosion and replace mulch if thin.
Cost estimates and budgeting tips
Costs vary based on materials and plant choices. Expect to save long-term on water and mowing even if initial installation costs are moderate. Stretch your budget by:
- Phasing the project in zones
- Using reclaimed stone or recycled pavers
- Starting from plugs and seeds rather than mature plants
- Doing the demolition and prep work yourself and hiring specialized tasks like irrigation hookup only if needed
Frequently Asked Questions
1. How much water will I actually save with a xeriscape front yard?
Water savings depend on your previous landscape. Replacing a traditional lawn can reduce water use by 30–60% or more. Using drip irrigation, drought-tolerant plants, and mulch further improves efficiency.
2. Can xeriscaping work in cooler climates or only arid regions?
Xeriscaping principles apply everywhere. In cooler climates, choose cold-hardy, low-water natives and adapt plant choices to local conditions. The focus is water-wise design, not only desert aesthetics.
3. Will a xeriscape low maintenance front yard reduce my home’s resale value?
When designed thoughtfully, xeriscaping can boost curb appeal and attract buyers who appreciate sustainability and low upkeep. Stick to clean lines, quality materials, and a cohesive plant palette to appeal broadly.
Design further: where to go next
Want to expand your DIY skills? Try a few complementary projects to raise your home’s value and livability: tackle weekend projects from our DIY projects hub or refresh your home aesthetic with ideas from our home design ideas collection.
Conclusion: start your xeriscape low maintenance front yard today
Transforming your lawn into a xeriscape low maintenance front yard is an achievable DIY that saves time, water, and money while improving curb appeal. Start with a clear plan, choose the right plants, install efficient irrigation, and phase the project to suit your budget. Ready to stop chasing the mower and start enjoying your outdoor space? Pick one small area this weekend and get going — your future self will thank you.
Call to action: Try one small xeriscape DIY project this week—remove a strip of turf, plant three drought-tolerant specimens, or lay a simple gravel path. Share your progress and check our DIY projects and home design ideas pages for more inspiration.