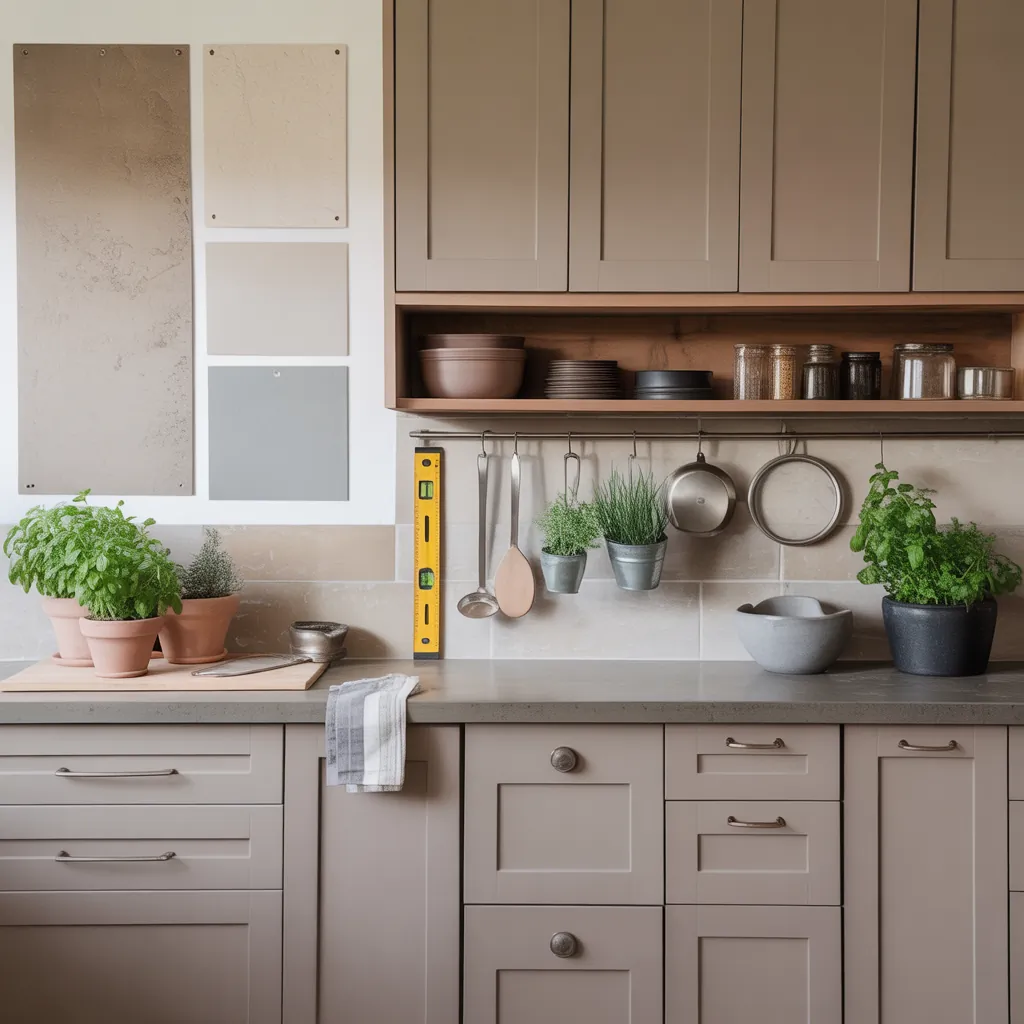
Ever stared at your kitchen and thought, “This space needs personality — but I don’t want to redo the whole room”? Maybe your stainless-steel hood feels cold, or you’re dreaming of a farmhouse look without a full remodel. That’s where wood range hood concepts come in: a relatively small, high-impact DIY upgrade that adds warmth, texture, and custom style to any kitchen. Whether you’re tackling a weekend project or planning a more involved build, this guide walks you through design ideas, step-by-step tips, and real-world advice so you can create a wooden hood you’ll love.
Why Choose a Wooden Range Hood?
Wood brings natural warmth and architectural interest to kitchens. A wooden range hood cover or built-in hood surround can:
- Soften industrial stainless steel appliances
- Anchor a design style — farmhouse, modern, transitional, or rustic
- Allow customization with moldings, trim, or integrated shelving
- Be painted, stained, or distressed to match cabinetry
When done properly, a wood hood becomes a focal point that complements countertops, backsplashes, and lighting. Just remember wood is a finish — the functional ventilation liner (stainless or aluminum) should meet code and be properly installed behind the wood cover.
7 Wood Range Hood Concepts to Inspire Your Kitchen
These wood range hood ideas range from simple covers to full custom mantels. Pick one that fits your skill level and the kitchen’s style.
1. Reclaimed Wood Rustic Hood
Use reclaimed barn wood or pallet planks for a weathered, farmhouse look. This concept highlights texture and grain. Practical tip: back the reclaimed planks with plywood to create a stable cover and seal the wood with a heat-resistant clear coat.
2. Sleek Walnut Modern Hood
Solid walnut panels or walnut veneer create a streamlined, contemporary hood. Keep seams tight and opt for a flat, minimalist crown molding. Walnut pairs beautifully with matte black appliances.
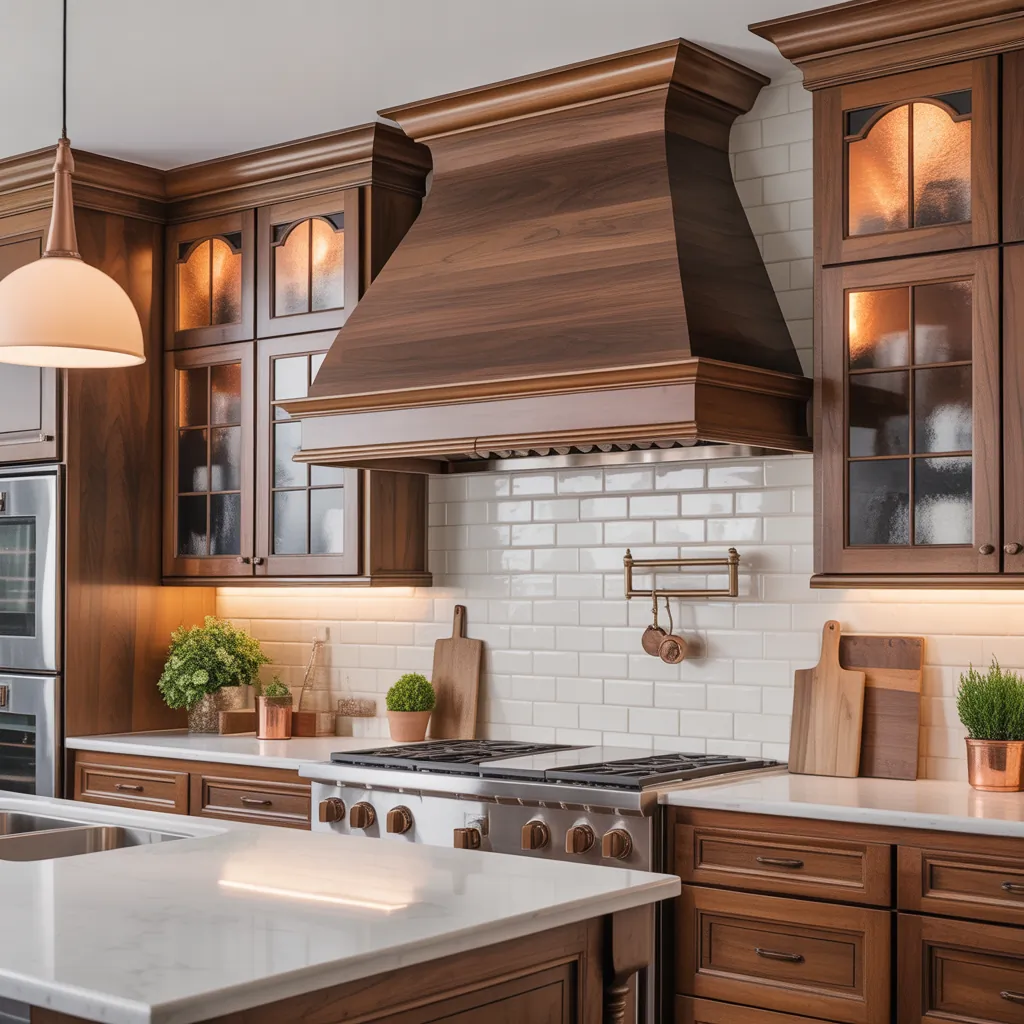
3. Mantel-Style Hood with Corbels
Think of your hood like a fireplace mantel — heavy trim, decorative corbels, and inset panels. This classic concept suits transitional and traditional kitchens. Use hardwood for corbels for durability and secure them into studs.
4. Beadboard Cottage Hood
Beadboard or shiplap in a painted finish creates a cozy, cottage-style hood. It’s an approachable DIY option: install beadboard on a simple plywood shell, then paint with heat-tolerant enamel.
5. Floating Shelf Hood (Open-Shelf Concept)
Combine a wood hood with integrated floating shelves on either side for functional display. This hybrid looks modern and gives storage for oils, jars, and cookbooks. Ensure shelving is anchored into studs for heavy items.
6. Integrated Shiplap Hood with Hidden Vent
Conceal the ventilation system behind continuous shiplap lines for a clean built-in look. Routing the ducting and using a low-profile liner are key to maintaining the seamless aesthetic.
7. Painted Shaker Hood
Shaker-style recessed panels painted in a bold or neutral color offer a timeless result. This is a great option if you want a custom look without exotic materials — MDF and plywood are commonly used for painted hoods.
How to Build a Custom Wooden Range Hood: Step-by-Step
Below is a practical, beginner-friendly workflow for creating a wood range hood cover. Always follow local building and ventilation codes and, when in doubt, consult a licensed HVAC or electrical pro.
- Plan and Measure: Measure the existing vent liner or range hood insert. Decide on overall dimensions — hood width usually equals the range width or slightly wider.
- Choose Materials: Select plywood for the inner shell (¾” cabinet-grade plywood recommended) and your finish wood (solid hardwood, veneer, or MDF for painted finishes).
- Prepare the Vent Liner: You can use a stainless steel liner or a commercial hood insert. Ensure the liner matches your duct size and exhaust location (top or rear).
- Build the Shell: Construct a box around the liner using plywood. Include a face frame and attach the finish wood or veneer to that frame. Leave access panels for maintenance.
- Mounting and Reinforcement: Anchor the shell to wall studs and, if needed, to a blocking plate above the cabinets. Use heavy screws into studs and install a ledger if the hood is large.
- Finish and Seal: Sand, stain, or paint. Use heat-resistant finishes or sealers. Apply a clear poly or heat-rated varnish for protection near the cooking surface.
- Install Electrical and Ducting: Have a pro wire the hood lighting and fans. Seal duct connections with metal foil tape, not duct tape, and test airflow.
Practical DIY Tips and Real-World Advice
- Always prioritize ventilation safety: wood is decorative — the liner does the work. Ensure the liner is rated for cooking applications.
- Keep at least 24–30 inches between the stovetop and the bottom of the hood (check your range and hood manufacturer guidelines).
- For budget builds, use birch plywood with a wood veneer or oak-faced plywood for a convincing solid wood look.
- Consider a removable front panel for cleaning and access to the fan and light fixtures.
- Use stain or paint samples on scrap wood to see how color and sheen perform under kitchen lighting.
- Pre-finish edges and hidden joints before final installation to reduce on-site sanding and touchups.
Budgeting and Sourcing Materials
You don’t need to spend a fortune. Here are cost-saving strategies:
- Reclaimed wood provides character and can be inexpensive — just budget for planing and prepping.
- Veneer over plywood gives the look of expensive hardwood at a fraction of the cost.
- Buy a commercially available liner or insert rather than fabricating your own stainless liner — it saves time and meets safety codes.
- Shop local trim mills or cabinet shops for offcuts and discounted hardwood pieces.
Frequently Asked Questions
Yes — as long as the wood is a decorative cover over a proper, code-compliant stainless steel liner or hood insert. The liner handles heat and grease; the wood should be sealed and kept a safe distance from the stovetop. Follow manufacturer clearances and local codes.
Many DIYers can build and install a decorative wood hood cover, especially if you’re comfortable with basic carpentry. However, ductwork and electrical connections are best handled by licensed pros to ensure safety and code compliance.
Heat-resistant finishes like polyurethane or heat-rated varnishes are good choices. For painted hoods, use high-quality enamel for durability. If using reclaimed wood, first seal with a clear, heat-tolerant sealer to prevent moisture and grease absorption.
Conclusion
Wood range hood concepts offer a high-impact, customizable way to elevate your kitchen’s style without a full renovation. Whether you opt for a rustic reclaimed hood, a sleek walnut panel, or a painted Shaker surround, the key is pairing a decorative wooden cover with a proper ventilation liner and correct installation. Ready to try one of these projects? Check out our DIY projects for step-by-step guides, browse kitchen upgrades for complementary ideas, and get more inspiration from our home design ideas gallery. Share your plans or photos — I’d love to help you refine your build.