Ever stared at your tired living room and wondered how a single change could make the whole space feel brighter and bigger? Imagine sanding down your floors, applying a soft whitewash, and watching sunlight bounce off the planks — suddenly your small, dark living room feels airy and brand new. If you’re tempted to transform your space with white wood floors but don’t know where to start, this guide gives practical design inspiration, step-by-step DIY tips, and real-world advice.
Why Choose White Wood Floors?
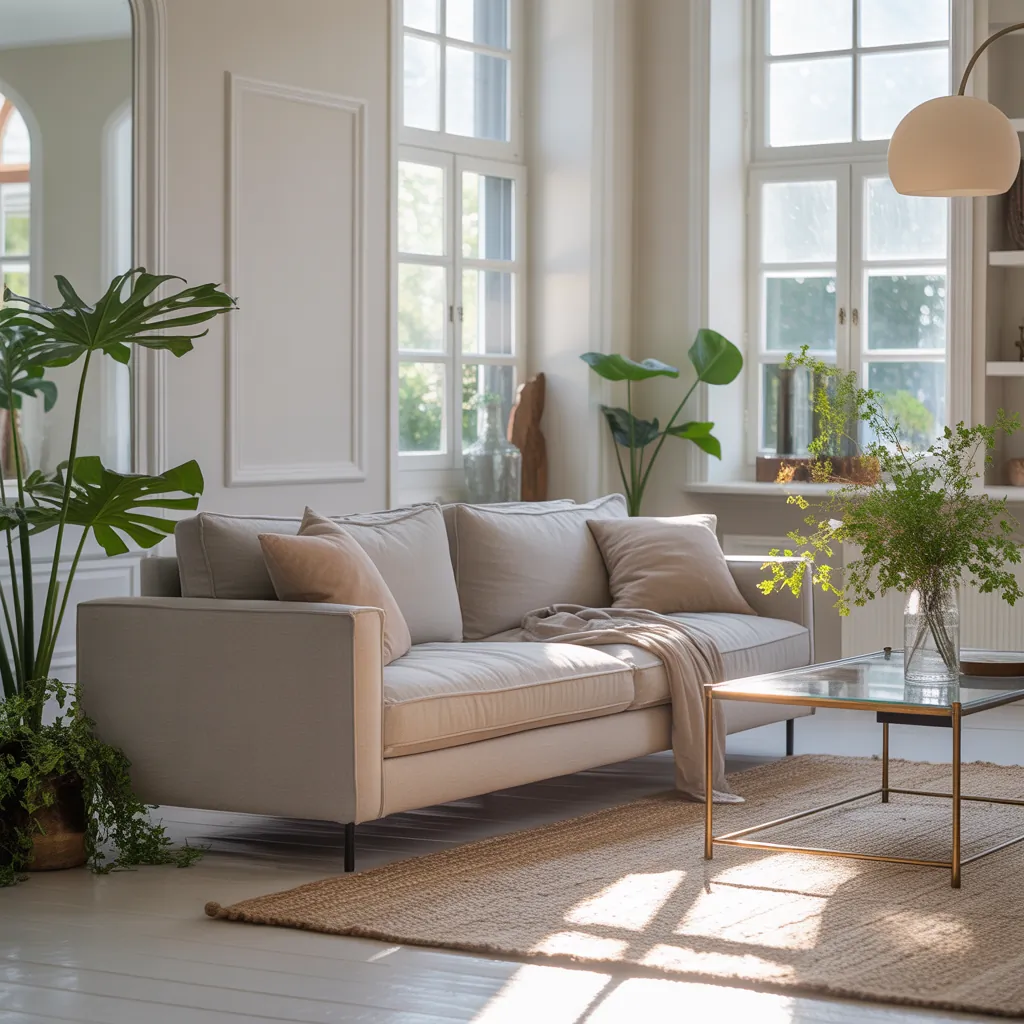
White wood floors instantly lift a room visually. They reflect light, create a clean backdrop for furniture, and work with a range of styles — from coastal modern to Scandinavian, farmhouse, and minimalist. They’re a favorite for open-plan living rooms where continuity and brightness are goals.
White Wood Floors Living Room Ideas
Below are design directions and layout tips to help you decide the exact look you want.
1. Scandinavian Cozy
Pair matte white-plank flooring with warm textiles: a neutral wool rug, a cozy linen sofa, and light wood accents (like a birch coffee table). Keep accessories minimal and use layered lighting — a floor lamp, wall sconces, and candlelight — to add warmth.
2. Coastal Bright
Whitewashed oak or pine planks create a breezy backdrop. Use sea-glass colors, woven textures, and driftwood accents. Add blue or aqua throw pillows and rattan chairs for a relaxed beach-house vibe.
3. Modern Minimalist
Choose ultra-white floors with low-sheen finish and contrast them with black-framed furniture, glass, and chrome. Keep décor intentional and let negative space be part of the design.
4. Farmhouse Charm
Select white distressed planks, combine with vintage rugs, and layer in warm metals and greenery. Mix painted white cabinets and reclaimed wood furniture to complete the look.
Practical DIY Tips: How to Create White Wood Floors
Whether you’re painting, whitewashing, or staining, here’s a reliable step-by-step DIY approach you can use on solid wood or engineered wood surfaces.
- Assess the existing floor: Identify wood type, finish, and damage. Solid hardwood sands more easily than engineered planks with a thick veneer. If the floor is heavily finished or veneered, consider professional advice.
- Prep the room: Remove furniture, clean thoroughly, and tape off baseboards. Ventilation and dust control are crucial—use an air-filtration device and seal doorways with plastic sheeting if possible.
- Sand the surface: Start with coarse grit and move to finer grits until the floor is smooth. For a reclaimed or distressed look, sand selectively to leave character marks.
- Apply a whitewash or paint: For a translucent whitewash, dilute white floor pigment or latex with water (follow product instructions) and brush across the grain, wiping away excess. For opaque results, use a floor-grade primer and two coats of durable floor paint.
- Seal and protect: Use a clear polyurethane or water-based floor finish rated for high traffic. Choose matte or satin sheen for a natural look. Apply at least two coats, sanding lightly between coats for adhesion.
- Let it cure: Wait the recommended cure time before moving furniture back — usually several days to a week depending on product instructions.
Tools & Materials Checklist
- Belt or orbital sander, sanding pads (grits 36–120)
- Vacuum and tack cloths
- Whitewash or floor paint, primer
- Floor polyurethane (water-based for low yellowing)
- Paint brushes, rollers, mop for whitewash
- Drop cloths, painter’s tape, respirator mask
Styling Tips for Longevity and Visual Balance
White floors are beautiful but require thoughtful styling to avoid a sterile feel.
- Add contrast: Bring in darker furniture or an accent wall to create depth.
- Use rugs strategically: Layer area rugs to anchor seating zones and protect high-traffic areas. Choose natural fibers for texture.
- Choose durable finishes: High-traffic living rooms need tougher polyurethane to resist scuffs.
- Protect with furniture pads: Felt pads under legs prevent scratches and gouges.
- Routine cleaning: Sweep daily, use a damp mop with pH-neutral cleaner, and address spills promptly to prevent staining.
Lighting and Color Palette Ideas
White floors amplify light, so match them with complementary paint and lighting choices:
- Soft warm whites on walls keep the room cozy.
- Contrasting charcoal or navy accent walls add drama.
- Brass or black fixtures create focal points and visual weight.
Budget-Friendly Upgrades and Quick Wins
Not ready to refinish your floors? Try these easier updates:
- Apply white paint to a single accent wall to mimic the brightness of white floors.
- Use white wood-look vinyl planks for a budget, low-labor option that installs over existing floors.
- Rearrange furniture and add mirrors to increase perceived space and light without construction.
Frequently Asked Questions
White floors show dirt less obviously than very dark floors, but they do reveal grime and scuffs. Regular sweeping, immediate spill cleanup, and a protective finish make maintenance manageable.
Yes, if the engineered wood has a thick enough veneer for sanding. For thin veneers, consider a pigmented topcoat or white floor paint designed for engineered surfaces.
Versatile combinations include warm neutrals (beige, taupe), deep contrasts (charcoal, navy), and natural wood tones for warmth. Add textiles and greenery to prevent a clinical look.
Conclusion — Start Your White Floor Project Today
White wood floors can transform a living room from cramped to luminous and fresh. Whether you choose a full DIY whitewash, opt for painted planks, or select white-look vinyl, the results can redefine your home’s style. Ready to try one of these white wood floors living room ideas? Take inventory of your space, pick a style, and start with a small test area. For more step-by-step projects and inspiration, explore our DIY projects, browse similar transformations under home design ideas, or see how flooring choices can complement your kitchen in our kitchen upgrades section. Share your results and keep improving — the next great room makeover starts with one confident step.
For more home improvement ideas beyond just your new air conditioner, check out our guide on white wood floors living room ideas.