Have you ever stepped into your tiny, outdated bathroom and pictured a clean, open shower space where water simply drains away — no shower curtain, no step-up curb, just seamless flooring and spa-like calm? If you’re dreaming about a modern wet room but worry about leaks, tiles, and whether it’s a DIY project, you’re not alone. In this guide I’ll walk you through everything you need for a successful wet room bathroom remodel, from planning and waterproofing to design inspiration and practical DIY tips.
Wet Room Bathroom Remodel: Where to Start
Converting an ordinary bathroom into a wet room or planning a wet room from scratch starts with three basics: drainage, waterproofing, and ventilation. Treat this as a waterproofing and slope puzzle — get those right and the rest of the design flows. Before you swing a hammer, decide on your budget, whether you’ll hire tradespeople for critical steps, and whether permits are required in your area.
Assess your space and goals
- Measure the floor area and existing floor joists — wet rooms add weight because of tile and waterproof layers.
- Decide if you want a fully open wet room (curbless) or a partially partitioned shower area with glass panels.
- Think accessibility: curbless entries, benches, and grab bars make the design future-proof.
DIY vs. professional work
Many homeowners can handle demo, tiling, and finishing. However, waterproof membrane installation, structural joist work, and complex plumbing (linear drains or changing drain location) often benefit from professional experience. If you try a DIY wet room remodel, plan to hire a pro for the waterproofing inspection or permit-required plumbing.
Step-by-step DIY wet room bathroom remodel
- Demo and preparation: Remove old fixtures, flooring, and non-waterproof drywall. Expose the subfloor to check for rot.
- Structural fixes: Reinforce joists if needed and ensure the floor can hold tile and mortar.
- Install proper slope: Build or pour a mortar bed with a consistent slope toward the drain (about 1/4″ per foot) so water flows reliably.
- Waterproofing membrane: Apply a reputable waterproof membrane on floor and lower walls — either liquid-applied systems or sheet membranes designed for wet rooms.
- Drain system: Install a linear or center drain. Linear drains can simplify slope and create a cleaner look for curbless designs.
- Tile and grout: Use slip-resistant floor tiles and regrout with a waterproof epoxy grout where possible for longevity.
- Fixtures, glass, and ventilation: Fit a frameless glass panel if desired, choose wall-hung fixtures to reduce floor clutter, and ensure a good exhaust fan with adequate CFM.
- Final tests: Flood test the room to check for leaks before finishing wall tiles or painting.
Tools and materials checklist
- Waterproofing membrane (liquid or sheet), thin-set mortar, and grout
- Linear drain kit or standard shower drain and drain assembly
- Tile cutter, trowels, level, and sloped screed tools
- Slip-resistant porcelain or natural stone tiles and mosaic drain-board tiles
- High-capacity exhaust fan and LED waterproof lighting
Design inspiration and layout ideas
Wet room trends lean toward minimalism, natural textures, and accessible layouts. Here are a few design directions:
- Scandinavian spa: Light wood-look tiles, matte black fixtures, and a bench for a calm, warm look.
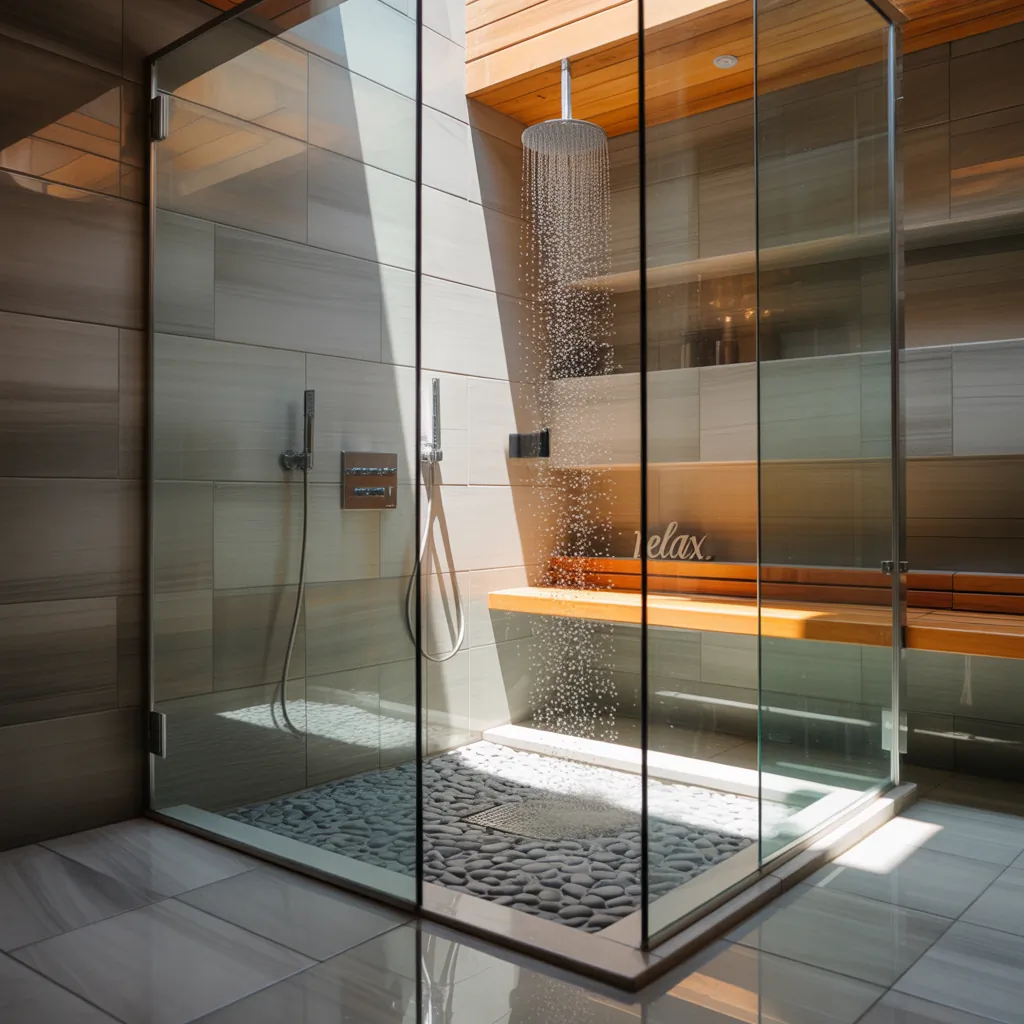
- Industrial modern: Large-format dark porcelain, linear drain in stainless steel, and matte concrete-look walls.
- Mosaic wetroom: Small mosaic tiles on the floor for better grip, with large wall tiles to visually expand the room.
- Accessible wet room: Curbless entry, fold-down bench, thermostatic valve, and strategically placed grab bars.
Real-world tips, budget, and common mistakes
Here are practical takeaways from real remodels that will save time and money:
- Budget realistically: A DIY wet room conversion can be more affordable than you think, but budget for professional waterproofing and plumbing. Typical ranges depend on size and finishes — plan for contingencies.
- Don’t skip ventilation: Moisture control prevents mold; install a fan with a timer and consider a humidity-sensing model.
- Avoid regular drywall: Use cement backer board or moisture-resistant substrates behind tiles.
- Slope mistakes: Inadequate slope causes pooling and mold; check pitches carefully during installation.
- Maintenance: Use an epoxy grout to reduce staining, clean drains regularly, and reseal stone tiles annually.
If you want projects that build your skills before tackling a wet room, check out our DIY projects page for beginner-friendly tiling and waterproofing exercises. For ideas that coordinate your bathroom updates with overall home style, browse home design ideas or explore how bathroom choices can complement kitchen upgrades.
Frequently Asked Questions
Yes, wet rooms add modern appeal, accessibility, and can increase a home’s resale value in many markets. The key is professional-grade waterproofing and good drainage to avoid future repairs.
You can DIY many parts (tiling, glass installation, fixtures), but waterproofing systems and major plumbing changes are often best handled by certified professionals to meet building codes and prevent leaks.
Choose slip-resistant, low-porosity tiles such as matte porcelain or small mosaics for the floor. Smaller tiles with more grout lines give better traction; consider an epoxy grout for durability in wet environments.
Conclusion — Ready to start your wet room bathroom remodel?
A wet room bathroom remodel transforms a cramped, dated shower into a stylish, accessible, and low-maintenance wet area that feels like a spa. Start by planning drainage and waterproofing, decide what you can tackle yourself, and don’t hesitate to bring in pros for plumbing and membrane work. If you’re motivated to try a project, make a detailed checklist, buy quality materials, and test waterproofing early.
Want help with a project plan or a tool list for your wetroom conversion? Leave a comment or sign up for our step-by-step wet room checklist to get started today — then take your next on-site project with confidence.