Have you ever stood in your garage surrounded by leftover paint, pallets, and a box of mismatched picture frames wondering how to turn those scraps into a show-stopping wedding detail? If you love hands-on home improvement and enjoy transforming everyday materials into wedding decor, this guide to wedding bar sign inspiration will give you the creative spark and practical steps you need to craft memorable signs—whether for a backyard reception or a home-based cocktail hour.
Why the Right Bar Sign Makes a Big Difference
The bar is often the heartbeat of any reception: it’s where guests mingle, photographers catch candid smiles, and the party vibes start. A well-designed bar sign acts as a focal point, communicates your drink menu and vibe, and ties your decor together. From rustic wooden boards to elegant acrylic scripts, the right sign can reflect your wedding theme and make a DIY project feel professional.
Quick Inspiration: Styles That Work Every Time
Here are design directions to help match your wedding aesthetic and skill level.
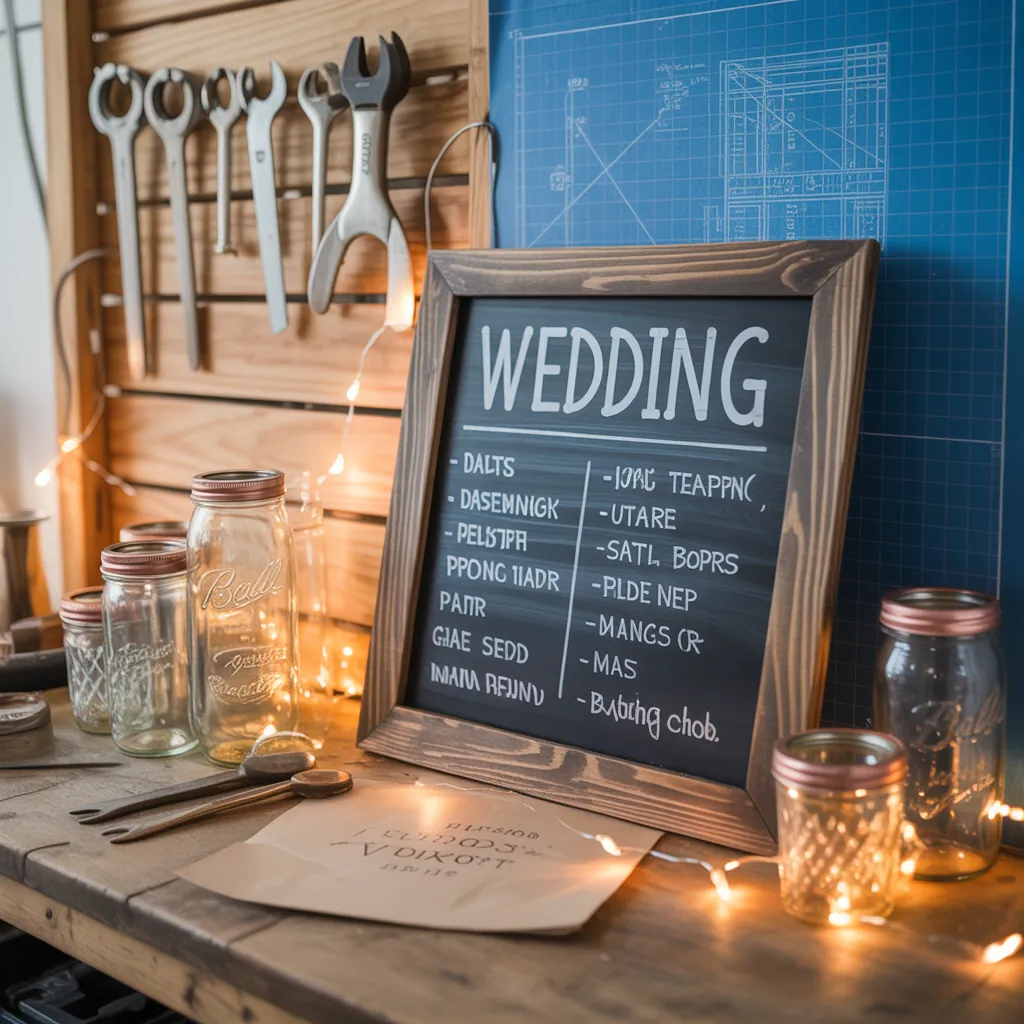
- Rustic & farmhouse: Reclaimed wood, hand-lettered chalk paint, and twine accents.
- Modern & minimalist: Clear acrylic with vinyl lettering or frosted lettering, clean sans-serif fonts.
- Glam & upscale: Mirrored signs with gold leaf lettering or illuminated marquee-style letters.
- Boho & eclectic: Macramé backdrops paired with painted plywood signs and botanical details.
- Neon & fun: Small neon signs or LED neon-look strips for after-dark drama.
Step-by-Step DIY Wedding Bar Sign Inspiration
Below are two practical projects—one budget-friendly and one premium—each with tools, materials, time, and step-by-step instructions.
Project A — Budget Rustic Wood Bar Sign (Beginner, 2–3 hours)
Materials & tools:
- Reclaimed pallet wood or 1×6 pine board
- Sandpaper (120 & 220 grit), wood stain, paintbrush
- Chalk paint or acrylic paint for lettering
- Stencil or printed template, pencil, small foam brush for dry brushing
- Picture hanging hardware or rope
Steps:
- Sand and clean the wood, then apply a base stain or paint. Let dry fully.
- Measure and center your text; use a printed template and carbon paper or a stencil for accuracy.
- Paint lettering with a steady hand or use a foam brush for the rustic look (lightly distress with 220 grit when dry).
- Seal with a matte polyurethane for weather resistance if outdoors.
- Add rope or hardware and mount at the bar front or on an easel.
Project B — Acrylic & Vinyl Modern Bar Sign (Intermediate, 3–4 hours)
Materials & tools:
- Clear or frosted acrylic sheet (size to fit your bar)
- Vinyl cutter or pre-cut vinyl lettering
- Rubbing alcohol, squeegee, measuring tape
- Optional: LED strip for backlighting, standoffs for mounting
Steps:
- Design layout on your computer, choosing a clean font and appropriate spacing.
- Cut vinyl on a machine or order custom vinyl decals.
- Clean the acrylic with rubbing alcohol and apply the vinyl using a squeegee to avoid bubbles.
- Add LED strip along the back edge for illumination and mount with standoffs for a floating effect.
Pro Tips: Typography, Size, and Placement
- Font hierarchy matters—use a bold script or serif for the title (e.g., “Cocktails”) and a simple sans-serif for the menu items.
- Keep text large enough to read from 6–8 feet away. For receptions, minimum 1.5–2 inch capital height is a good rule-of-thumb.
- Choose high-contrast colors: white on dark wood, black on light backgrounds, or gold on mirror.
- Consider lighting: add string lights, uplights, or LED strips to ensure legibility at night.
- Weatherproofing: laminate or seal wooden signs and use outdoor-rated vinyl for rainy venues.
Creative Add-Ons and Pairings
To make your wedding bar sign stand out even more, consider these styling elements:
- Include a small chalkboard for daily specials or signature cocktails guests can’t miss.
- Pair with fresh greenery, floral garlands, or eucalyptus for a natural look.
- Set a small menu card holder for guests who want to read ingredients or allergy info.
- Add a frame or backing board with wallpaper or fabric to match linens and bridesmaid dresses.
Budgeting and Sourcing Materials
Smart sourcing keeps costs down: check local salvage yards for reclaimed wood, use leftover paint from past DIY projects, or order acrylic and vinyl online in bulk. If you’re planning multiple signs (welcome sign, seating chart, bar sign), standardize fonts and materials to save time and money. For small weddings, rent premium items like neon signs rather than buying.
Wedding Bar Sign Inspiration: Placement and Logistics
Think beyond design—placement affects traffic flow and photo ops. Place the bar sign where it’s visible but not blocking the bartender. If your ceremony and reception are in the same space, create modular signs that can be flipped or re-used for seating charts or photo backdrops. For backyard weddings, anchor signs securely with stakes or use weighted easels to prevent tipping in wind.
Frequently Asked Questions
Use exterior-grade sealants (marine polyurethane) on wood, outdoor-rated vinyl for lettering, and consider plexiglass or sealed metal instead of untreated materials. Keep electronics like LED strips in waterproof housings and test everything a day before the event.
Choose classic scripts like “Alex Brush” or “Great Vibes” for headings and pair them with simple sans-serifs such as “Montserrat” or “Lato” for readability. Avoid overly ornate scripts for menu items—they can be hard to read from a distance.
Yes—design signs with future use in mind. Choose neutral colors or removable vinyl lettering so you can swap text for home bar decor or seasonal parties. Mirror and acrylic signs often transition beautifully into home design or kitchen accents after the wedding.
Conclusion — Start Crafting Your Signature Bar Sign
Wedding bar sign inspiration is about balancing style, readability, and practicality. Whether you’re leaning into rustic charm with reclaimed wood or aiming for sleek modern acrylic, these DIY ideas and real-world tips will help you create a sign that’s both beautiful and functional. Ready to try a project this weekend? Browse our home design ideas for more styling tips and check related guides on kitchen upgrades to repurpose materials and tools. Share your finished bar sign photos and inspire fellow DIYers!


