Ever opened your tiny closet only to be greeted by a tangled mess of jackets and scarves, or found yourself wishing for more hanging space in a studio apartment? You’re not alone. Wall mounted rack clothing ideas can transform cluttered nooks into organized, attractive storage—without a full remodel. Whether you’re a weekend DIYer or a design lover, these practical, budget-friendly solutions will help you maximize vertical space and show off your wardrobe like art.
Why choose wall mounted rack clothing ideas?
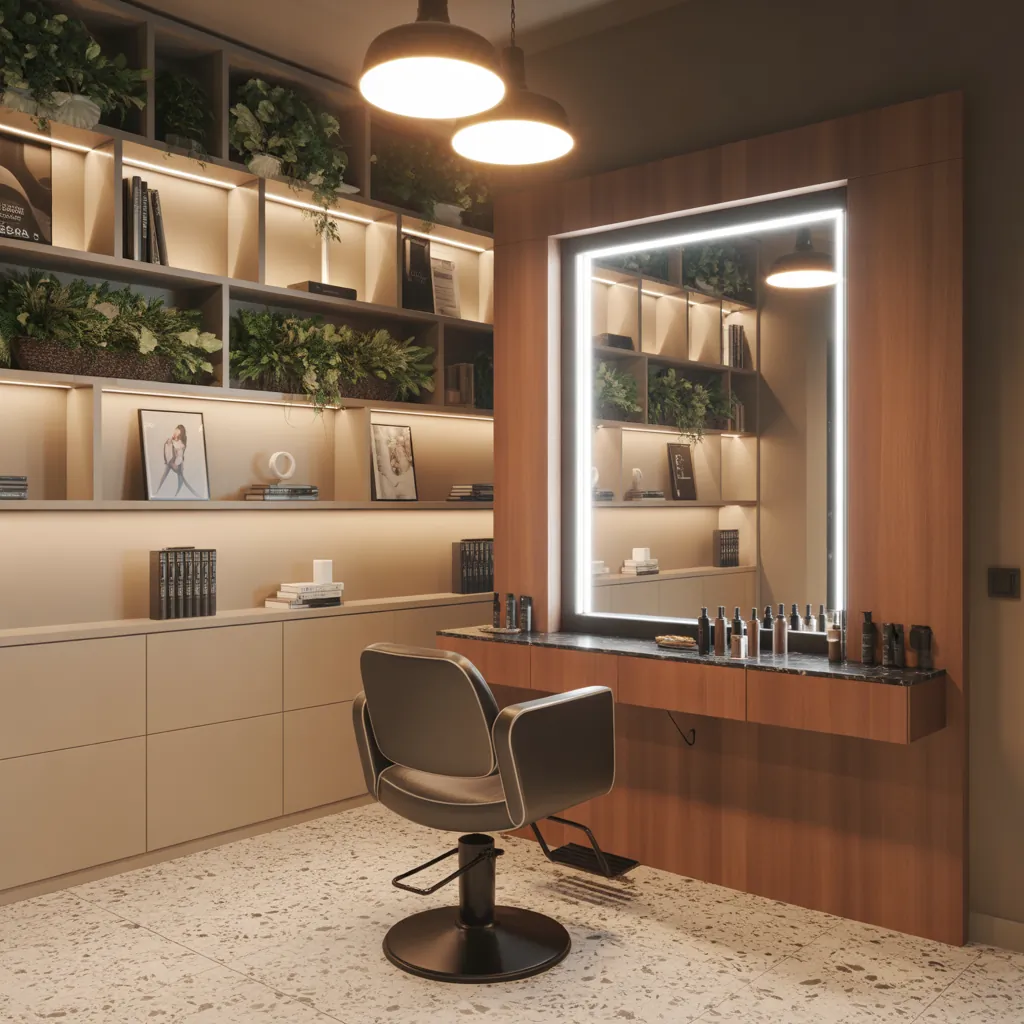
Wall-mounted clothing racks are perfect for small spaces, entryways, and open closets. They free up floor area, can be installed at customized heights, and create a boutique-style display for your favorite pieces. From a minimalist floating rod to industrial pipe racks, the right wall-mounted solution doubles as functional storage and home decor.
Top wall mounted rack clothing ideas (with DIY steps)
1. Floating rod with shelf — the streamlined closet alternative
This is a clean, modern option: a wooden shelf mounted above a metal rod. The shelf stores boxes or hats, while the rod holds shirts and jackets.
- Materials: 1x wooden board (stained or painted), closet rod (brass or matte black), heavy-duty shelf brackets or concealed rod brackets, screws, wall anchors.
- Steps:
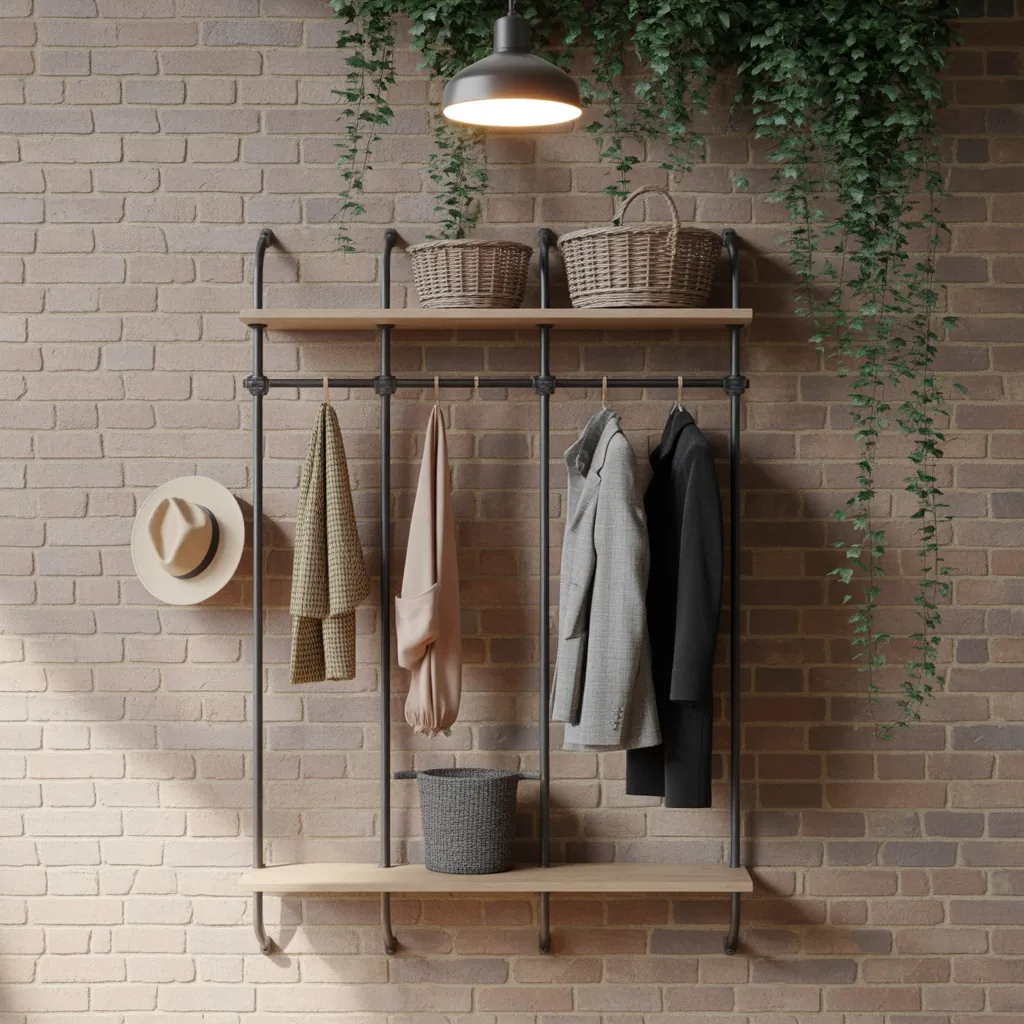
2. Industrial pipe clothing rack — durable and on trend
Industrial pipe racks give a rustic, loft-style vibe and are surprisingly simple to build.
- Materials: black steel pipes and flanges, pipe elbows (if designing corners), wood backing (optional), finishing oil.
- Steps:
3. Ladder-style wall rack — casual and adaptable
A ladder rack leans into or mounts on the wall for hanging scarves, towels, or lightweight garments. Use reclaimed wood for a cozy feel.
4. Pegboard and hooks — the multifunctional closet
Pegboard lets you rearrange hooks, baskets, and small shelves. It’s ideal near the entryway for coats and bags or in a bedroom as a rotating display.
5. Fold-down wall rack — great for laundry rooms and tight spaces
Install a fold-down rod that tucks flat when not in use. Perfect for drying delicates or creating an intermittent hanging station.
Design inspiration: Where to use wall-mounted racks
Think beyond the bedroom. Here are creative placements and styling tips:
- Entryway: Combine a short rod with a shelf and baskets for keys and mittens.
- Bedroom: Create a capsule wardrobe wall with coordinated hangers and accent lighting.
- Bathroom/Laundry: Use a fold-down rack for damp items and a heated towel bar for quick drying.
- Studio/apartment: Place a rack behind a sofa or along a hallway to define zones and maximize storage.
Practical DIY tips and safety advice
Follow these real-world tips to ensure your wall-mounted clothing rack looks great and lasts:
- Find studs whenever possible. Stud-mounted brackets carry more weight—use toggles only when studs aren’t available.
- Check weight capacity. Heavy winter coats need stronger pipes or reinforced wooden cleats.
- Use level and measuring tools. A crooked rack is the easiest giveaway of amateur work—use a spirit level and mark carefully.
- Coordinate hanger styles. Slim, matching hangers make a small rack look intentional and tidy.
- Consider spacing. Leave 2–3 inches between garments for breathability and visibility; for long coats, ensure appropriate vertical clearance.
- Finish edges. Sand and seal wood to prevent splinters; choose rust-resistant metal hardware in humid areas.
Step-by-step project: Build a simple wall-mounted rack clothing idea in 1 afternoon
This quick project uses a single shelf and a rod—ideal for beginners.
- Measure the wall and select a length (3–5 feet suits most small spaces).
- Buy a finished board or cut and stain your own from pine or oak.
- Locate studs and mark bracket positions 16 inches apart for stability.
- Install heavy-duty brackets, screw the board in, and mount the closet rod beneath using rod brackets.
- Load with hangers and style with folded items on top. Step back and adjust spacing and height as needed.
Maintenance and long-term care
Periodic checks will keep the rack safe and looking new: tighten screws annually, reapply finish to wood every few years, and inspect metal parts for corrosion. If you move, a wall-mounted rack is easy to rebuild in a new home—take the hardware with you.
Frequently Asked Questions
Weight depends on mounting method and materials. A stud-mounted wooden cleat or pipe flange typically supports 100+ lbs across a 3–4 foot span; drywall anchors vary—check manufacturer ratings. For heavy coats, mount into studs or use a continuous cleat for distributed load.
For shirts and jackets, hang the rod 40–45 inches from the floor. For longer garments like dresses, set it 60–65 inches. Entryway racks can be lower (about 48 inches) for easy reach. Adjust for your household’s average height.
They both have pros and cons. Wall-mounted racks save floor space, feel more permanent, and often look more integrated into a room’s design. Freestanding racks are portable and don’t require drilling. Choose based on permanence, weight needs, and how much floor space you can spare.
Conclusion: Start your wall mounted rack clothing ideas today
Wall mounted rack clothing ideas are an affordable, stylish way to reclaim space and showcase your favorite pieces. Whether you opt for a floating rod, industrial pipe system, or a clever fold-down design, a little planning and the right hardware will give your home a functional upgrade. Ready to try this weekend? Gather your tools, pick a design, and turn an awkward wall into a practical focal point.
Want more project inspiration? Check out our DIY projects and home design ideas pages, or explore creative storage options even in the kitchen with our kitchen upgrades guides. Share your finished rack photos and tips—let’s build better spaces together!