Have you ever stood in your bedroom, late at night, staring at the plain wall behind your bed and wondered how to make the space feel more finished — without spending a fortune or hiring a contractor? Whether you’re renting, renovating, or just craving a refresh, the wall behind your bed is the most powerful blank canvas in the room. With the right ideas and a bit of elbow grease, you can create a focal point that reflects your style and improves the whole bedroom vibe.
Wall Behind Bed Ideas: Quick Inspiration and How to Choose
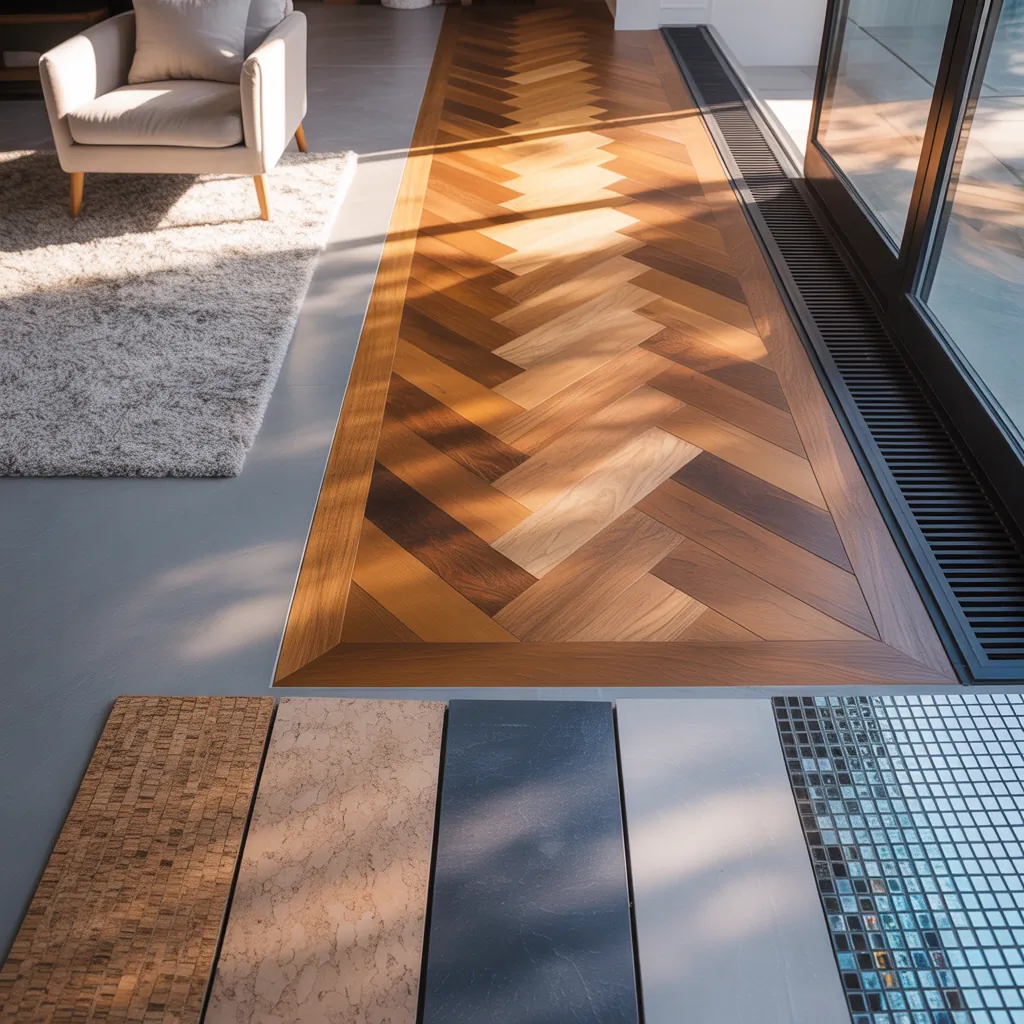
Choosing the right accent for the wall behind your bed depends on your budget, skill level, and the room’s scale. Here are popular, practical approaches that work for many styles — modern, farmhouse, boho, or minimalist.
1. Painted Accent Wall (Budget-friendly, renter-friendly option)
- Why it works: A single bold or soothing color immediately anchors the bed and simplifies décor decisions.
- DIY steps: 1) Patch and sand the wall. 2) Apply primer if you’re covering dark color. 3) Tape edges and use a roller for large areas, brush for trim. 4) Remove tape before paint dries completely for clean lines.
- Time & Cost: 1 weekend; $30–$150 depending on paint quality.
2. Wallpaper or Removable Wallpaper (Patterned statement)
- Why it works: Adds texture and pattern without permanent construction. Great for renters if you choose removable options.
- DIY tips: Measure twice, cut panels slightly long, smooth with a wallpaper brush, and match patterns precisely. Use peel-and-stick for easy removal.
- Time & Cost: 1–2 days; $50–$300.
3. Shiplap, Beadboard, or Wood Panels (Textural warmth)
- Why it works: Wood details bring warmth and architectural interest. Ideal for farmhouse or coastal looks.
- DIY steps: 1) Locate studs and mark. 2) Cut planks to size. 3) Nail into studs or use construction adhesive for lightweight panels. 4) Caulk seams and paint or stain.
- Time & Cost: 1–2 weekends; $100–$600.
4. Reclaimed Wood or Faux Wood Slats (Rustic or modern linear look)
- Why it works: Creates a cozy, custom feel. Mixed wood tones add character.
- Real-world tip: Use a thin plywood backing if you’re worried about mounting directly to drywall, and always use screws into studs for heavy pieces.
5. Upholstered or Padded Wall (Luxurious & sound-dampening)
- Why it works: Adds softness and a hotel-style feel. Great for creating a cozy sleeping nook.
- DIY approach: Attach plywood panels to studs, wrap foam and fabric, then staple fabric to the back of the panels and mount.
- Considerations: Higher cost and more effort but very high impact.
6. Gallery Wall or Oversized Art (Personal & flexible)
- Why it works: Shows personality. Mix framed photos, prints, mirrors, and small shelves for layered interest.
- Hanging tip: Lay the arrangement on the floor first. Center the main piece at eye level or about 6–12 inches above the headboard.
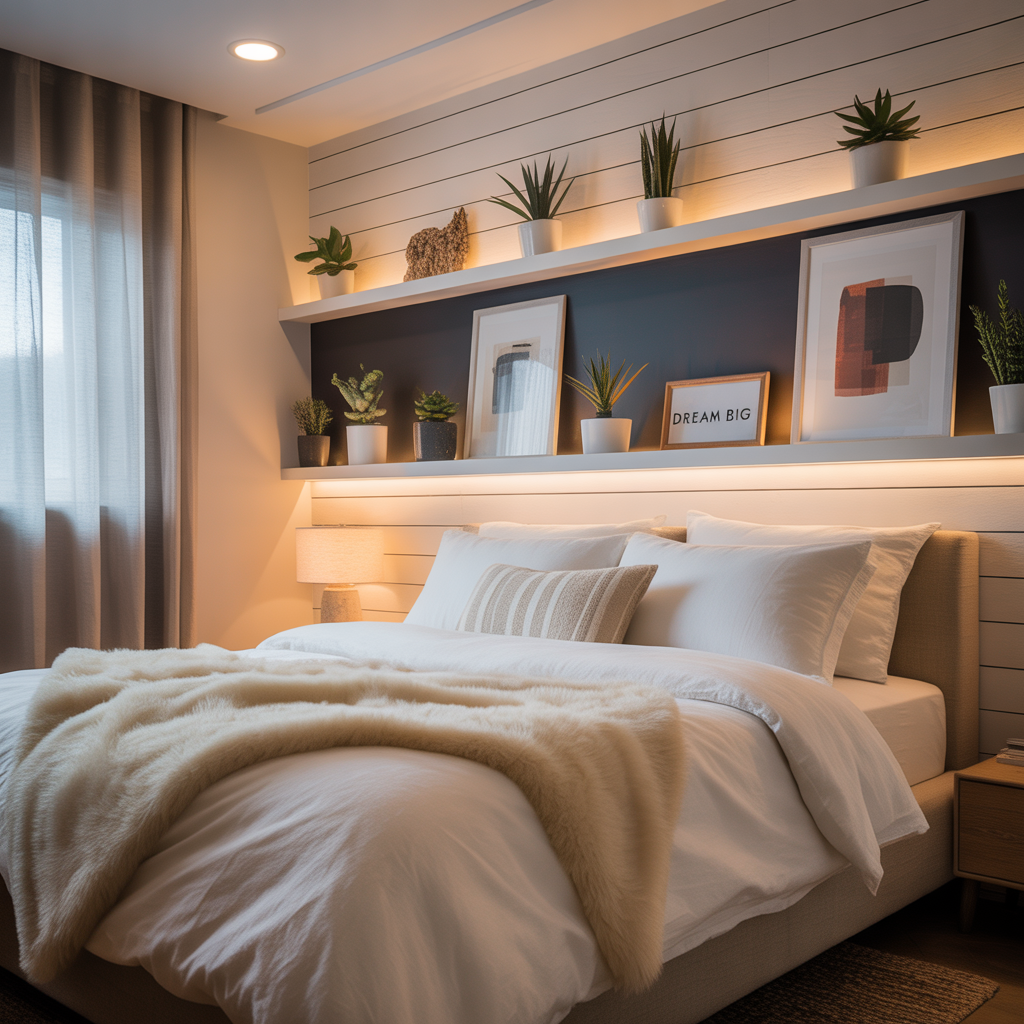
7. Built-ins, Shelving & Lighting (Functional focal wall)
- Why it works: Adds storage and display space while framing the bed. Integrates bedside lighting for a clean look.
- DIY advice: Use floating shelves secured to studs; add plug-in sconces if hardwiring isn’t an option.
DIY Tips & Step-by-Step Improvement Ideas
Prep & Tools You’ll Need
- Basic tools: tape measure, stud finder, level, drill, paint supplies, utility knife, caulk gun
- Safety gear: goggles, dust mask, gloves
- Materials vary by project: paint, panels, wallpaper, wood planks, plywood, foam and fabric for upholstery
Step-by-Step: Quick Shiplap Accent Wall
- Measure wall and calculate plank layout. Buy ~10% extra to allow for mistakes.
- Locate studs and mark vertical lines every 16 inches.
- Cut planks to length. If painting, prime first or paint after installation.
- Apply construction adhesive then nail into studs with finishing nails.
- Fill nail holes, caulk seams, sand lightly and paint or stain.
Hanging Heavy Items Safely
- Use a stud finder for heavy pieces (shelves, large mirrors). If studs aren’t available, use toggle bolts or molly anchors rated for the weight.
- For brick or masonry walls, use masonry anchors and drills with carbide bits.
Design Tips: Color, Scale & Lighting
- Color & mood: Cool tones (blues, greens) promote calm; warm tones (terracotta, ochre) feel cozy. Neutrals with texture are timeless.
- Scale: Make the focal feature proportionate — the accent should be about the width of the bed plus 12–24 inches on each side for balance.
- Lighting: Combine overhead, bedside lamps, and accent lighting (LED strips behind a headboard or picture lights) for a layered effect. Add dimmers for flexibility.
- Textiles: Layer pillows and throws to soften a hard wall; consider a tall headboard to bridge the gap between bed and wall.
- Renters: Use peel-and-stick wallpaper, removable panels, or a large tapestry to avoid permanent changes.
Frequently Asked Questions
The quickest update is a fresh coat of paint or peel-and-stick wallpaper. Both are budget-friendly and low-skill. Paint allows color experimentation, while removable wallpaper offers immediate pattern and texture without permanence.
Choose art that’s roughly two-thirds to three-quarters the width of your bed or create a gallery wall that spans the headboard width. Aim to hang the art 6–12 inches above the headboard to maintain visual connection.
Yes. Floating shelves that screw into studs are a good beginner project. For sconces, plug-in models avoid wiring and are simple to install. If you want hardwired lighting, hire a licensed electrician for safety and code compliance.
Real-World Advice & Budgeting
Before starting, create a small mood board (photos, paint swatches, fabric samples). Order samples of paint and wallpaper to see them in your room’s light. Expect small surprises — walls aren’t perfectly flat and wood can vary in color — so budget an extra 10–20% for materials.
If you’re short on time, prioritize changes that give the biggest visual impact per hour: paint, swapping bedding, adding a statement light fixture, or installing an oversized piece of art.
Conclusion — Try One of These Wall Behind Bed Ideas This Weekend
Transforming the wall behind your bed is one of the fastest, most effective ways to refresh your bedroom’s look. Whether you pick painted stripes, shiplap, a cozy upholstered wall, or a gallery arrangement, there’s a project here for every skill level and budget. Ready to start? Pick one idea, gather a few supplies, and tackle it this weekend — then share your before-and-after. For more room-by-room inspiration try our DIY projects and browse other home design ideas to plan your next upgrade.
Which wall behind bed idea will you try first? Tell us about your project and we’ll help you plan the next steps.