Have you ever stood in your kitchen five minutes before guests arrive, staring at a pile of carrots and celery wondering how to turn them into something picture-perfect? Whether you’re prepping for a neighborhood potluck or giving your snacks a stylish upgrade for family movie night, great vegetable trays can make any gathering feel intentional and festive. In this article, you’ll find vegetable tray ideas pictures and practical DIY tips to transform simple produce into eye-catching platters you’ll be proud to photograph and serve.
Why a Great Vegetable Tray Matters
A well-designed vegetable tray is more than healthy snacking — it’s a focal point for your spread. Good arrangements encourage people to munch, compliment other dishes, and can even tie your party theme together. Plus, arranging and photographing your tray is a satisfying DIY mini project that gives big visual payoff.
Vegetable Tray Ideas Pictures: Inspiring Arrangements for Every Occasion
Below are creative concepts with descriptive picture ideas so you can replicate the look at home. Each idea includes real-world tips and quick steps so you can build the tray yourself.
1. Classic Rainbow Row
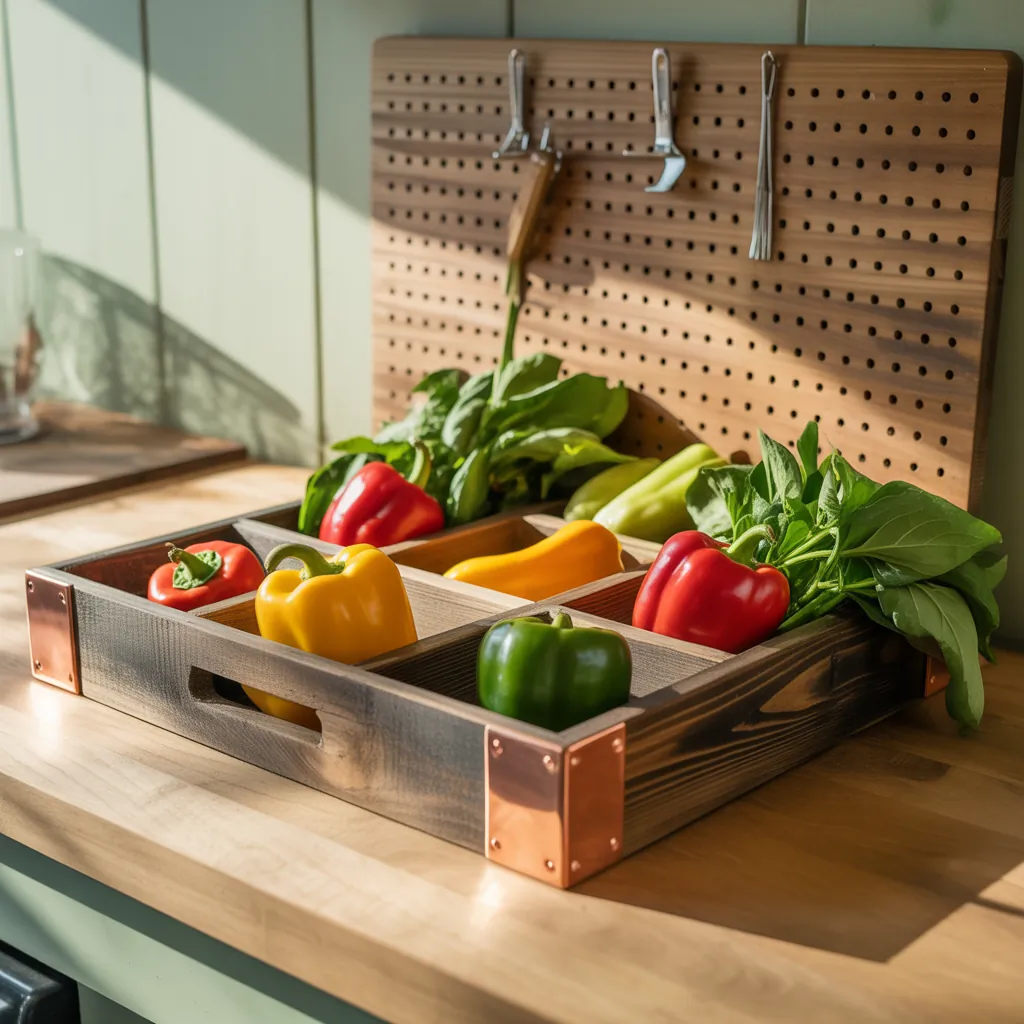
- Description: Long rectangular tray with vegetables lined in color order — red peppers, cherry tomatoes, orange carrots, yellow bell pepper strips, cucumbers, green beans, purple cabbage.
- DIY tip: Use parchment under the veggies for contrast in photos and keep colors separated with small herb sprigs.
2. Rustic Plank Display
- Description: Use a wooden cutting board or reclaimed plank, cluster veggies in loose piles, and add small bowls of hummus, ranch, and olive tapenade.
- Photography tip: Shoot in natural window light at a 45-degree angle; the wood grain adds texture for pictures.
3. Kid-Friendly Shapes Tray
- Description: Use cookie cutters to shape cucumbers, carrots, and bell peppers into stars and hearts. Add a yogurt-based dip in tiny mason jars.
- DIY tip: Blanch carrots briefly for easier cutting; label each shape with small toothpick flags.
4. Tiered Vertical Veggie Tower
- Description: Use cake stands or stackable serving trays to create height—great for small tables or buffet lines.
- Real-world advice: Place heavier items on the bottom tier and delicate greens on the top. This looks impressive in pictures and saves table space.
5. Elegant Monochrome Board
- Description: Choose one color palette (all greens or all reds) and vary textures: sugar snap peas, asparagus, radicchio, and microgreens.
- Design tip: Keep garnishes minimal—roasted nuts or edible flowers add sophistication without clutter.
Step-by-Step: Build a Picture-Perfect Vegetable Tray
- Plan the shape: Decide on rectangular, circular, tiered, or plank layout based on your serving space and photography goals.
- Pick 5–8 vegetables: Aim for variety in color, texture, and size. Example combo: bell peppers, carrots, cherry tomatoes, cucumbers, snap peas, radishes, celery.
- Prep for freshness: Cut uniformly (sticks or rounds), keep items dry, and chill trays until serving to avoid wilting.
- Add dips and bowls: Place dips in small bowls near the center or sides—consider multiple dips for variety.
- Garnish and label: Add herbs, lemon wedges, or small flags with names of dips for a polished look.
- Photograph: Use natural light, choose a neutral background, shoot from above and at 45 degrees, and leave negative space for captions if sharing online.
DIY Tools and Materials You’ll Want
- Wooden boards, slate cheese boards, or large ceramic platters
- Small ceramic bowls, mason jars for dips
- Sharp knife, mandoline for even slices, cookie cutters
- Fresh herbs and edible flowers for garnish
- Toothpicks, small labels, and a spray bottle with cold water to refresh greens
Design Inspiration: Themes and Pairings
Match your vegetable tray to the event for maximum impact:
- Summer BBQ: Bold colors, cornichons, smoky roasted pepper dip.
- Kids’ birthday: Fun shapes, ranch dip, colorful toothpick flags.
- Holiday gathering: Red and green arrangement with pomegranates and citrus slices.
- Elegant dinner party: Neutral board, microgreens, truffle oil dip, and edible blossoms.
Budget-Friendly Tricks
- Buy in-season veggies for better price and flavor.
- Use whole vegetables as decorative elements (e.g., halved bell peppers as little bowls for dip).
- Repurpose items from around the house — small ramekins, mason jars, or even muffin tins for individual dips.
How to Photograph Your Vegetable Tray for Social Media
To capture the best vegetable tray pictures, follow these quick photography guidelines:
- Natural light is your friend—avoid harsh overhead lights.
- Use a simple background to make colors pop (white, marble, or rustic wood work well).
- Shoot both top-down for layout and a 45-degree angle for depth.
- Add a human element—hand reaching for a stick adds life and scale to the image.
Serving and Storage Tips
- Prep ahead: Cut and store vegetables in airtight containers with paper towels to absorb moisture up to 24 hours in advance.
- Keep dips chilled in bowls set over ice for longer events.
- Transporting: Use non-slip mats and sealable containers—assemble final touches on-site.
Frequently Asked Questions
Bright, contrasting colors like red cherry tomatoes, orange carrots, and green snap peas photograph beautifully. Textured items like radishes and broccoli add visual interest. Choose fresh, crisp produce for the best results.
You can cut and store most vegetables 12–24 hours in advance if kept in airtight containers with a damp paper towel. Assemble the tray the same day and add delicate items and herbs right before serving.
Hummus, tzatziki, ranch, and roasted red pepper dip are visually appealing and pair well with most veggies. Present dips in contrasting bowls and drizzle olive oil or garnish with paprika for a polished look in pictures.
Final Design Checklist
- Choose your board or platter based on event scale.
- Pick a balanced mix of color and texture.
- Prep and chill vegetables in advance.
- Use small bowls for dips and simple garnishes for polish.
- Photograph in natural light and from multiple angles.
Conclusion
With these vegetable tray ideas pictures and step-by-step DIY tips, you can turn ordinary produce into a centerpiece that looks professional and invites conversation. Start with a simple palette, use natural light to capture those tempting photos, and build on each success—your next party spread will be more stylish (and tasty) than ever. Ready to try a new tray this weekend? Browse our DIY projects for more creative plating ideas, check out kitchen upgrades to find better serving pieces, or explore home design ideas to match your party aesthetic. Share your photos and tag your project—let’s make healthy entertaining beautiful.