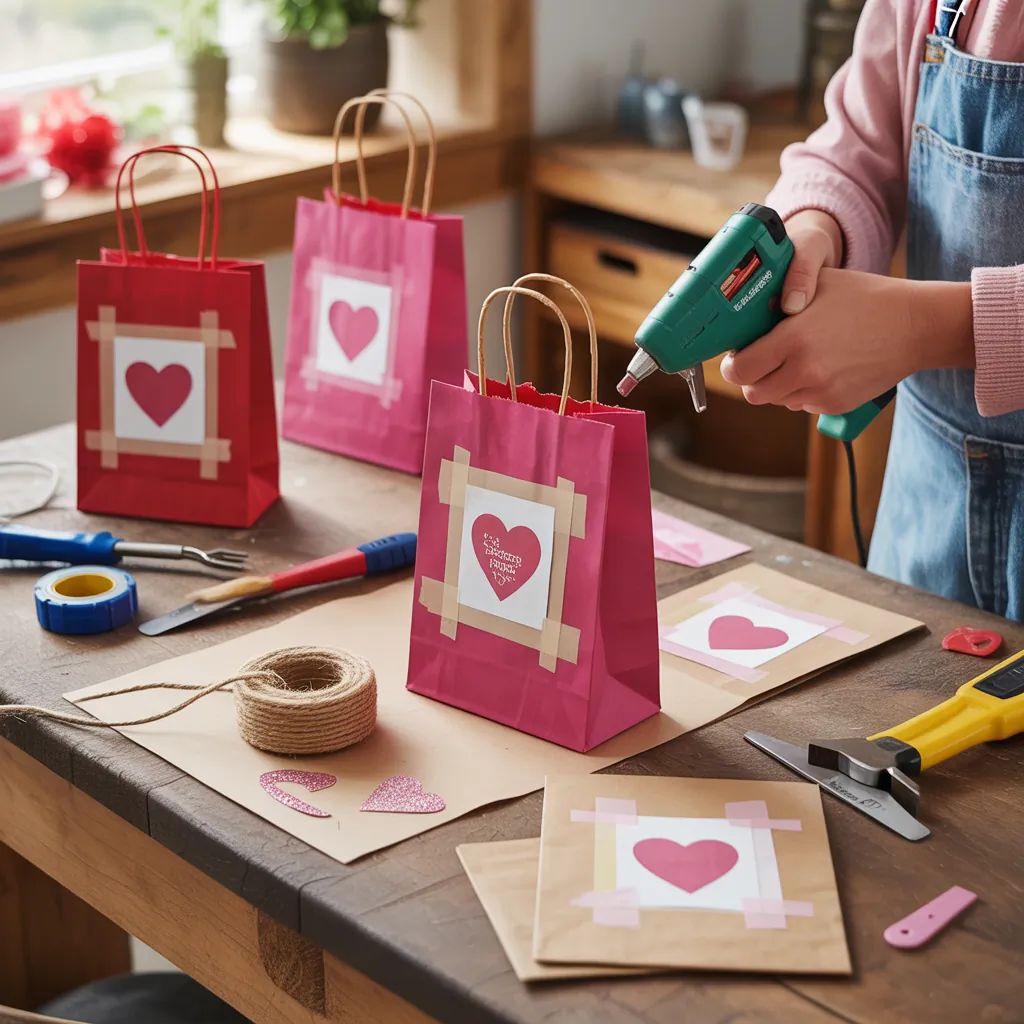
It’s the night before Valentine’s Day and you’ve just realized the store-bought bags don’t match your party theme — or the kids want to make something special for their classmates. Sound familiar? Whether you’re staging a romantic dinner, hosting a classroom exchange, or putting together favors for a Galentine’s gathering, quick and beautiful valentine bags decorating ideas can save the day and make your gifts feel handcrafted and heartfelt.
Why DIY Valentine Bags Make a Big Impact
Hand-decorated Valentine bags add personality, reduce waste, and let you control budget and style. From simple kraft paper sacks to reusable fabric totes, the right decorating techniques transform ordinary containers into memorable presentation pieces. Below you’ll find practical step-by-step projects, material lists, and design inspiration to fit any skill level — from beginner craft nights to advanced DIYers looking for a new twist.
Essential Materials and Tools
Before you start, gather a few basics that cover most projects:
- Kraft paper bags, white paper bags, or small canvas totes
- Acrylic paints, fabric markers, and metallic pens
- Washi tape, ribbon, lace, and baker’s twine
- Stencils, heart-shaped punches, and rubber stamps
- Hot glue gun, craft glue, and adhesive foam dots
- Glitter, sequins, and tissue paper for lining
- Scissors, ruler, and a cutting mat
Valentine Bags Decorating Ideas (Step-by-Step Projects)
1. Painted Heart Kraft Bag (Beginner-friendly)
Materials: kraft bags, white and red acrylic paint, heart stencil or cardboard heart, sponge brush.
- Lay the bag flat on a protected surface.
- Place the stencil where you want the heart — center or corner looks modern.
- Use a sponge brush to dab paint through the stencil for clean edges.
- Let dry and add a metallic outline with a gold or silver paint pen.
- Line the bag with tissue paper and fill with treats.
2. Washi Tape Geometric Love Bags (Fast & Kid-friendly)
Materials: plain bags, assorted washi tapes, scissors.
- Apply strips of washi tape across the bag at different angles.
- Overlap patterns for a layered look and trim excess tape.
- Add a washi tape heart or name tag for personalization.
3. Glitter-Dipped Ombre Sacks (Party-Ready)
Materials: craft glue, fine glitter, small foam brush.
- Brush glue along the bottom third of the bag.
- Sprinkle glitter onto the glue and shake off excess.
- For ombre, lightly brush glue higher up and add less glitter.
- Seal with a spray sealer to prevent shedding.
4. Personalized Photo Pocket Bags (Keepsake Option)
Materials: mini photo prints, clear adhesive pockets, ribbon.
- Attach a small adhesive photo pocket to the front of the bag.
- Insert a printed photo or custom note for a personal touch.
- Tie with ribbon and include a small card with a message.
5. Reusable Fabric Valentine Totes (Eco-Friendly)
Materials: plain canvas tote, fabric paint, stamps or stencils.
- Pre-wash the tote to remove sizing.
- Use fabric paints and stencils to create hearts, names, or slogans.
- Air dry or heat set per paint instructions for washability.
Design Inspiration: Colors, Textures, and Themes
Think beyond pink and red. Popular palettes and themes include:
- Pastel romance: blush, mint, and cream for soft, modern looks.
- Retro Valentine: bold reds, polka dots, and vintage typewriter tags.
- Rustic charm: kraft paper, twine, burlap accents, and pressed flowers.
- Minimal chic: matte black, gold foil hearts, and clean typography.
Mix textures — paper, ribbon, lace, and metallics — for depth. Use patterned tissue paper inside to coordinate with your theme and create a cohesive unboxing experience.
Practical Tips and Real-World Advice
- Plan time: set aside 20–30 minutes per bag for medium-detail projects; assemble in batches to save time.
- Child-safe options: use washable paints and avoid small embellishments for preschool exchanges.
- Budget-friendly swaps: use washi tape and paper doilies instead of expensive trims.
- Durability: seal glitter and paint on bags that will travel. For food items, double-bag or use sealed containers inside.
- Labeling: add a small chalkboard tag or printable sticker with names to avoid mix-ups at parties.
Tools and Shortcuts for Faster Decorating
Stamp sets, pre-cut shapes, and printable tags are great time savers. Buy a multi-pack of plain bags and plan 2–3 designs that repeat — it’s faster and gives your event a cohesive style without exhausting your supply of embellishments.
Frequently Asked Questions
Washi tape, stickers, pre-cut heart shapes, and metallic pens are ideal for quick updates. They require no drying time and still look polished.
Use washable, non-toxic supplies and avoid small choking hazards for younger children. Seal any treats in individual wrappers and consider fabric markers on canvas bags for durable, safe keepsakes.
Yes — use plain canvas totes or muslin sacks, fabric paints, and heat-set decorations. Choose sophisticated color palettes (e.g., black and gold or cream and blush) and finish with a quality ribbon for an upscale look.
Where to Use These Ideas
These valentine bags decorating ideas work for classroom parties, wedding favors, intimate date nights, and corporate events. If you want more project inspiration across the house, check out our DIY projects page. Looking to refresh entertaining spaces where you’ll present these favors? See ideas on home design ideas and for seasonal kitchen setups, visit our kitchen upgrades guide.
Conclusion: Try These Valentine Bags Decorating Ideas Today
With a few basic supplies and an afternoon, you can transform simple containers into keepsake Valentine gifts. Whether you prefer quick washi tape designs, glitter-dipped glam, or thoughtful personalized photo pockets, these valentine bags decorating ideas make your favors memorable and beautiful. Ready to get crafting? Pick one project, gather supplies, and start decorating — then share your results and inspire others to try a DIY twist this season.
Call to action: Try one of the projects above and post a photo of your finished bag on social media — and don’t forget to tag us or leave a comment below with your favorite technique!