Ever stood in a tiny spare room, paint swatches in one hand and a stack of thrifted furniture in the other, wondering how to make it feel like a productive, beautiful studio? Whether you’re turning a corner of your living room into a creative workspace, renovating a small studio apartment, or reclaiming a cluttered guest room, the right studio room ideas home owners can implement—often with DIY methods—make all the difference.
Why small studio design matters (and how a few tweaks change everything)
Small spaces require sharper decisions. Good studio design maximizes function without feeling cramped. The trick is zoning, light, storage, and personality — all balanced. Below are practical, real-world tips and step-by-step projects to transform any compact room into an efficient studio or multifunctional home workspace.
Plan first: measure, map, and prioritize
Before buying anything, create a simple plan:
- Measure the room — walls, windows, and door swing.
- List must-haves (desk, storage, bed/sofa if needed) and nice-to-haves (art wall, plants).
- Sketch zones on paper or use a free room planner app—allocating space for work, rest, and storage.
Studio room ideas home: zoning and multifunctional furniture
For studio room ideas home owners love, focus on flexible furniture and clear zones:
1. Create distinct zones
- Use rugs to define a work area versus a relaxation corner.
- Open shelving or a low bookcase can act as a divider without closing the space.
2. Choose multi-use furniture
- Murphy beds or sofa beds free floor space during the day.
- Drop-leaf tables, nesting tables, and folding desks adapt to different tasks.
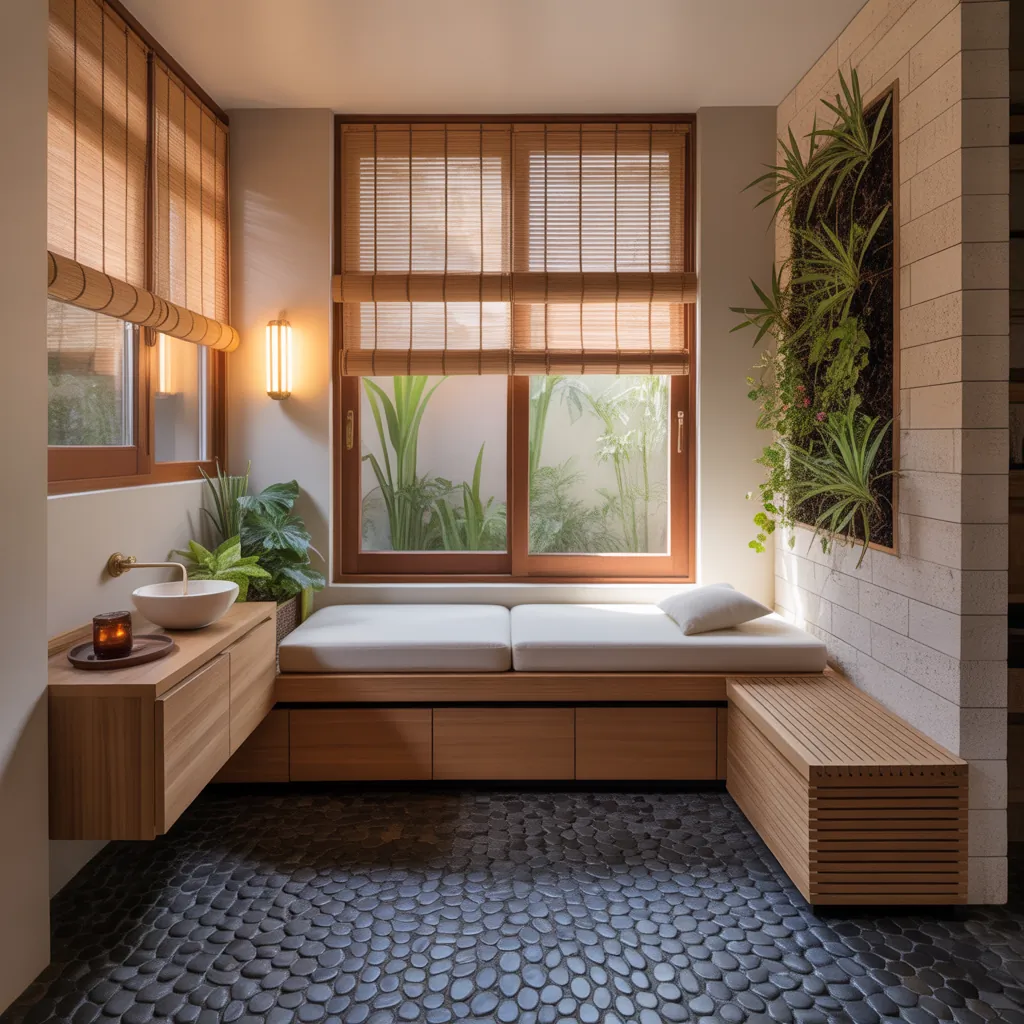
Design inspiration: styles that work in small studios
Some design directions naturally suit compact rooms:
- Minimal Scandinavian: Light tones, clean lines, and concealed storage keep the room airy.
- Industrial loft: Open shelving, metal accents, and warm wood create a creative studio vibe.
- Boho creative: Layered textiles, plants, and a gallery wall make the space feel personal and cozy.
DIY step-by-step projects to transform your studio
Here are three practical DIY projects with difficulty and time estimates:
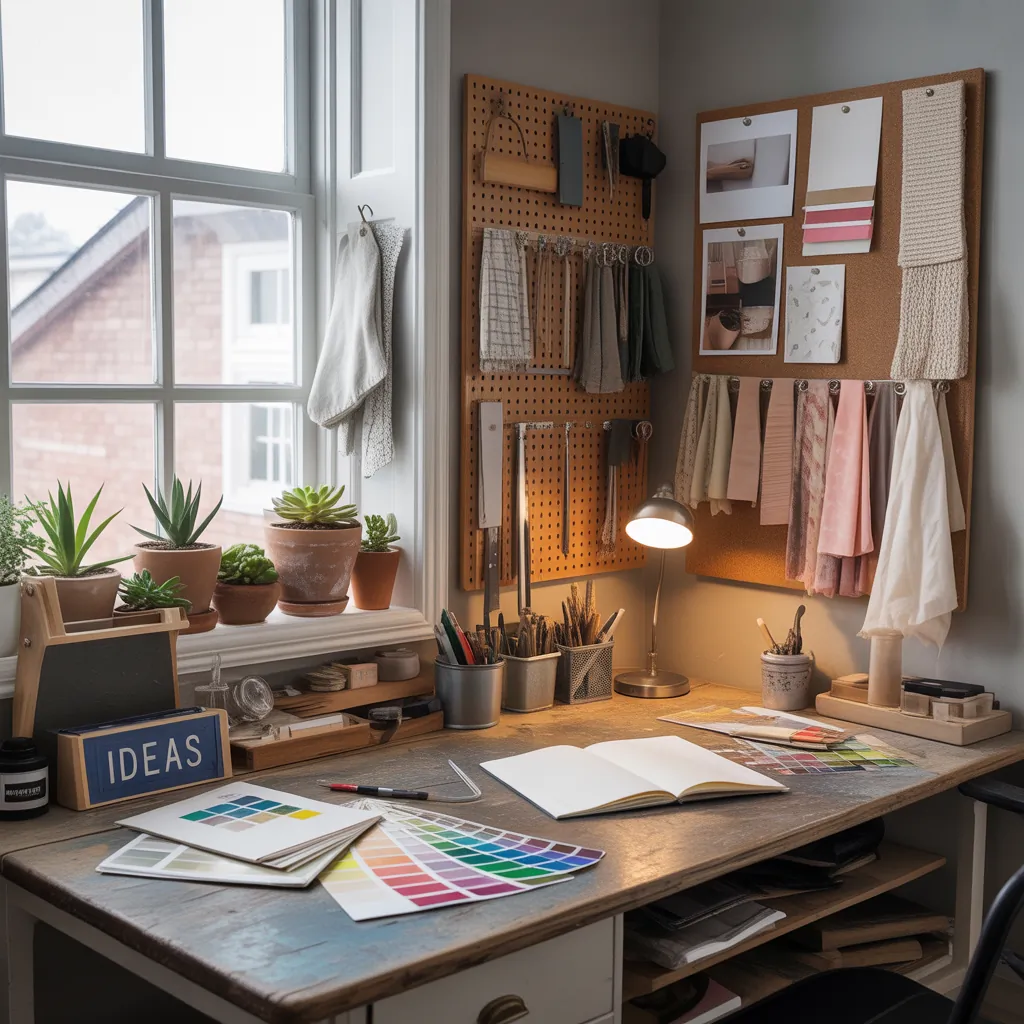
A. Floating shelves and pegboard workstation
Perfect for crafters or home office setups.
- Measure and mark stud locations (30–60 minutes).
- Cut and sand plank shelves or purchase ready-made ones (1–2 hours).
- Install a pegboard behind the desk to hold tools, supplies, and inspiration (1 hour).
- Mount shelves and style with bins to keep the work surface clear (30–60 minutes).
Difficulty: easy–moderate. Cost: low to moderate.
B. Accent wall with peel-and-stick wallpaper or paint
- Select a focal wall and prep by cleaning and filling holes (30 minutes).
- Use peel-and-stick wallpaper for a bold pattern without the mess, or choose a saturated paint color for drama (2–4 hours including drying time).
- Complement with trim or floating picture ledges to display art and photos.
Difficulty: easy. Cost: low to moderate.
C. Under-desk storage and cable management
- Attach a drawer unit or rolling cart under your desk for supplies (30–60 minutes).
- Install a cable tray and use zip ties or Velcro straps for tidy wiring (30 minutes).
- Label drawers and containers to maintain long-term organization.
Difficulty: easy. Cost: low.
Lighting, color, and acoustics: small changes with big impact
Good lighting can make a studio feel larger and more usable. Combine layered lighting—overhead, task, and accent—to reduce eye strain and set mood. Use warm LED bulbs for comfort and daylight bulbs for color-accurate work.
- Hang a mirror opposite a window to increase natural light.
- Install a clamp lamp or adjustable arm task light at your desk.
- Soft textiles, rugs, and wall hangings absorb sound and improve acoustics if you record videos or play music.
Storage hacks that save space and sanity
Storage is the backbone of a functional studio:
- Vertical storage: Tall cabinets or wall-mounted shelves use height, not footprint.
- Hidden storage: Benches with lift-up tops store bulky items.
- Clear bins and labels keep supplies visible and accessible.
Budget-friendly tips and sourcing
Save money without sacrificing style:
- Repurpose furniture: A dresser becomes a media console; crates become shelves.
- Shop thrift stores and online marketplaces for unique pieces.
- Buy paint and textiles on sale; test paint colors with sample pots before committing.
Real-world advice: mistakes to avoid
- Don’t overcrowd: Leave breathing room — negative space improves usability.
- Measure everything: Even small furniture can block pathways if you don’t measure.
- Know when to call a pro: Electrical, structural changes, and plumbing upgrades need licensed tradespeople.
Frequently Asked Questions
Light, neutral tones like soft whites, pale grays, or warm beiges reflect light and make a room feel larger. Use a bold accent color sparingly—on a wall, a rug, or accessories—to add personality without overwhelming the space.
Use vertical storage such as floor-to-ceiling shelves, multi-functional furniture like beds with drawers, and attractive containers. Open shelving can be styled to look intentional rather than cluttered. Clear labeling and consistent container colors help maintain a tidy aesthetic.
Yes. Start with soft furnishings—rugs, curtains, and upholstered furniture—to absorb sound. Add wall hangings, bookshelves filled with books, and inexpensive foam panels in corners. For recording, position your mic away from reflective surfaces and test different setups to find the quietest spot.
Conclusion: Start small — make a big impact with smart studio room ideas home owners can DIY
Transforming a compact room into a functional studio is about smart planning, creative storage, and a few targeted DIY projects. Whether you’re building a home office, art studio, or guest/studio hybrid, these studio room ideas home enthusiasts can try are practical, budget-friendly, and stylish. Ready to begin? Sketch your layout, pick one project from the list above, and tackle it this weekend.
Want more step-by-step inspiration? Check out our pages on DIY projects and home design ideas, or explore related kitchen upgrades for small-space homes. Share your before-and-after photos and questions — I’d love to help you plan your next upgrade!