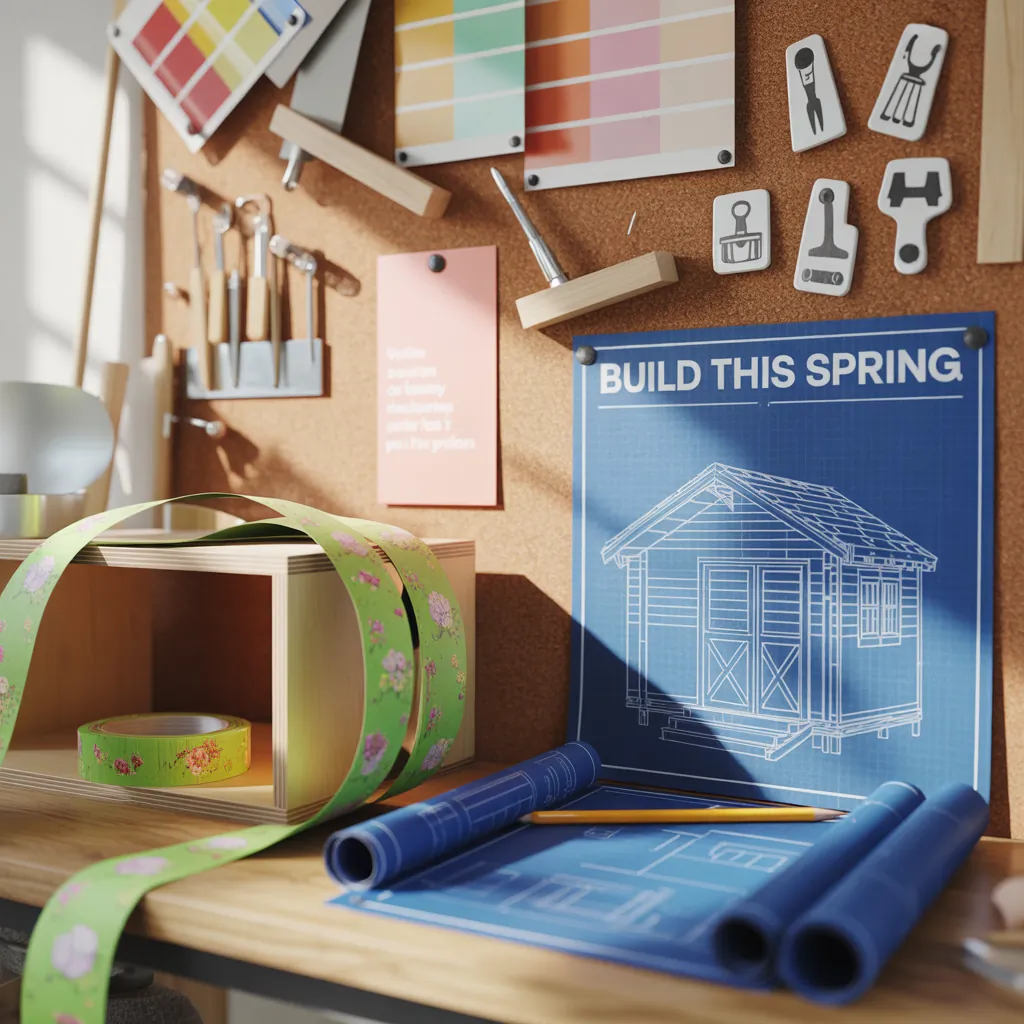
Ever stared at a cluttered fridge and thought, “There has to be a better way to organize our reminders and kids’ artwork?” If you’re itching for a quick, creative home upgrade that’s equal parts functional and festive, a spring action bulletin board can be the perfect weekend project. Whether you want a spring-loaded, interactive message center or a bright, botanical-themed cork board for seasonal notes, this guide will walk you through design ideas, step-by-step construction tips, and real-world advice to make a bulletin board that looks great and actually helps your family stay organized.
What Is a Spring Action Bulletin Board?
A spring action bulletin board blends decorative spring themes (think pastels, faux flowers, and fresh fabrics) with a mechanical element — spring clips, pop-out cork panels, or spring-loaded hooks — that make posting and retrieving notes effortless. The result is a lively notice board that feels interactive and intentional, perfect for entryways, kitchens, home offices, or kids’ rooms.
Why Choose a Spring Action Bulletin Board?
- Improves daily routines by making notes, chore charts, and schedules easy to access.
- Adds seasonal style without a complete redesign.
- Customizable: choose magnetic, cork, or pegboard cores plus spring mechanisms.
- Great beginner-to-intermediate DIY project — you’ll learn basic woodworking, fastening, and decorative finishing.
Materials and Tools You’ll Need
Here’s a simple shopping list to build a medium-sized board (about 24″ x 18″):
- 1 sheet of 1/4″ plywood or hardboard (cut to size)
- 1 roll of cork or foam board for the bulletin surface
- Compression springs or small extension springs (qty depends on design)
- Binder clips, spring clips, or clothespins (upcycled or decorative)
- Spray paint/latex paint and primer
- Fabric or patterned paper for backing (optional)
- Screws, wood glue, and small washers
- Hanging hardware (D-rings, picture wire, anchors)
Basic tools: drill, screwdriver, jigsaw (if cutting), staple gun, measuring tape, level, and sandpaper.
Step-by-Step: How to Build a Spring Action Bulletin Board
1. Plan and Measure
Decide where the board will live and measure the wall space. For a family command center in a kitchen or entry, a 24″ x 18″ board is a good start. Sketch your layout: cork center, spring clip row at the top, and a small shelf or envelope for pens.
2. Cut and Prepare the Backing
Trim the plywood to size. Sand edges smooth. If you want a framed look, add 1″ strips of wood around the edges and miter or butt-join them. Prime and paint both the frame and backing before assembling to avoid drips.
3. Attach the Bulletin Surface
Adhere cork or foam to the plywood using spray adhesive or construction glue. Smooth out bubbles with a roller or a clean cloth. Trim any overhang.
4. Install Spring Mechanisms
For a “spring action” effect, attach small compression springs behind decorative clips so that when you pull a note the clip pops outward — easy access and fun to use. Drill pilot holes through the top rail, insert a short screw with a washer, and loop the spring over the screw shank before fastening the clip. Test each spring for tension and adjust spacing.
5. Add Decorative and Functional Elements
Incorporate hooks for keys, a small magnetic strip for a grocery list, or a shelf for mail. Use seasonal accents — faux greenery, ribbon, or pressed flowers sealed under a clear coat — to emphasize a spring motif.
6. Hang and Maintain
Mount the board on a stud or use wall anchors for stability. Periodically check springs and fasteners, and refresh paint or embellishments each season to keep the board feeling new.
Design Inspiration: Seasonal and Room-Specific Ideas
Spring-Theme Bulletin Board
- Pastel painted frame, floral fabric backing, and faux flax or small blossoms clipped along the top.
- Use light cork tiles arranged in a chevron pattern for visual interest.
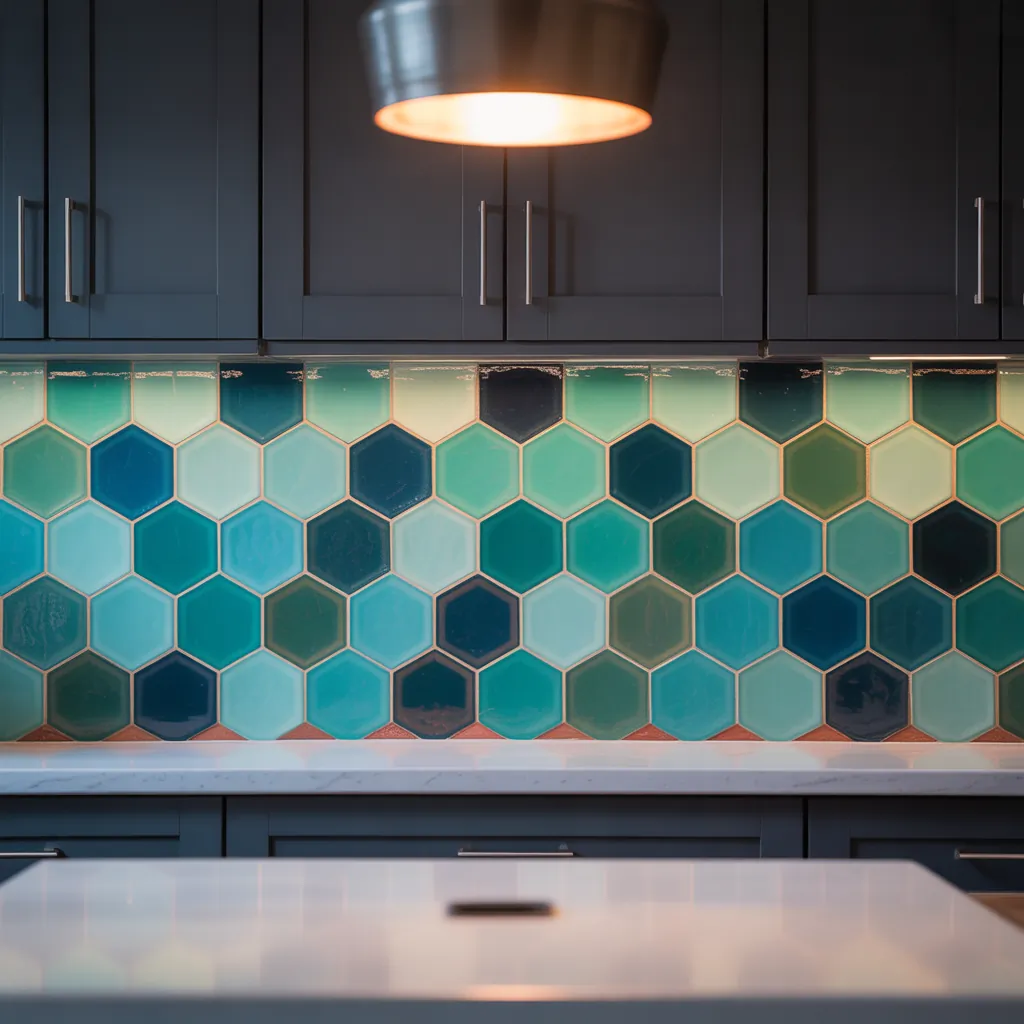
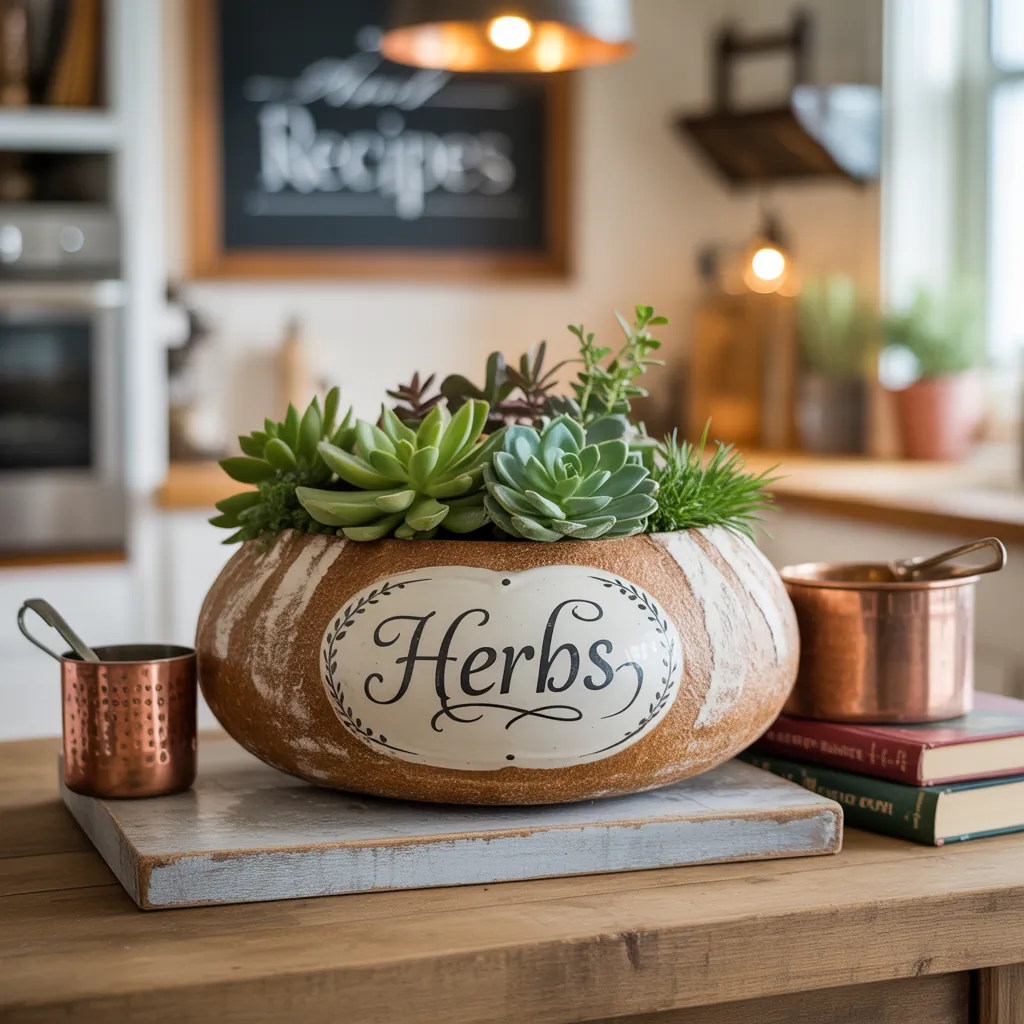
Kitchen Message Center
- Integrate magnetic strips for recipe cards and a spring-loaded clip row for weekly meal plans.
- Add a small basket or pocket for coupons and receipts.
Kids’ Homework and Art Display
- Install a row of spring clips at varying heights. Let kids swap artwork easily — the spring action makes display time fun.
- Use washable, chalkboard paint on a small section for quick notes.
Practical DIY Tips and Real-World Advice
- Choose springs rated for light loads — you want enough tension to pop but not so much that papers tear.
- If you prefer a non-mechanical option, use elastic bungee loops across the board to tuck notes in — similar “action” without hardware.
- Protect favorite seasonal decorations with a clear coat or laminate to prevent sun fading in bright entryways.
- Label sections (To-Do, Shopping, Kids, Mail) with small wooden tags or printed vinyl for a neat, organized look.
- Repurpose materials: old picture frames, salvaged wood, and thrifted clips reduce cost and add charm.
Budget Breakdown
A basic spring action bulletin board can be completed for $20–$60 depending on materials and embellishments. Cork sheets and springs are affordable; upgrading to premium fabric or a decorative frame increases cost but boosts visual impact.
Spring Action Bulletin Board Maintenance
Routine checks every few months keep the board working: tighten any loose screws, replace worn springs, and wipe down surfaces. Seasonal refreshes — swapping artwork, updating color accents, and rotating decorative items — extend the life and relevance of your board.
Frequently Asked Questions
Yes. For a tool-lite version, buy a pre-cut cork board and use adhesive-backed springs and clips. A hand drill or even heavy-duty hand tools can attach hanging hardware and simple frames.
Absolutely. Elastic cord, braided rope, or fabric tabs provide tension and give a gentler action. You can create loops that hold paper beneath a ribbon or wooden dowel for a “springy” feel without visible metal.
Use wall anchors sized for the board’s weight or mount on studs using screws. For heavier designs with shelves or multiple attachments, use two studs or toggle bolts for extra support.
Conclusion — Bring Spring to Life with a Practical Centerpiece
A spring action bulletin board is an easy, high-impact DIY upgrade that enhances organization and adds seasonal charm to any room. Whether you build a whimsical, flower-decorated message center or a sleek, spring-loaded command hub, this project delivers function and style in one weekend. Ready to tackle your next home upgrade? Try this project as your spring refresh and explore more ideas on our DIY projects and home design ideas pages — and if your board will live in the kitchen, check out creative storage solutions in our kitchen upgrades section.
Want a printable materials list or personalized layout suggestions? Leave a comment or try the project this weekend — then share your before-and-after photos to inspire other readers!