Have you ever wiped your countertops only to glance up and see a dusty, awkward gap staring back at you? Whether it’s a narrow ledge that collects crumbs or a wide dead zone that looks unfinished, the space above kitchen cabinets is one of those small design problems that suddenly becomes the biggest eye-sore in the room. Good news: with a few simple DIY moves you can turn that neglected spot into usable storage, attractive decor, or a seamless built-in look.
Why the space above kitchen cabinets matters (and what to consider first)
Before you start stacking baskets or nailing up crown molding, think about practical constraints. How big is the gap — a few inches or a full foot? Is the top of your cabinets near a vent, range hood, or an exposed light fixture? Does your kitchen get hot or humid from cooking? Knowing these details will help you choose the right approach: decorative styling, added storage, or a more permanent cabinet extension.
Quick checklist before you begin
- Measure the depth and height of the gap from cabinet top to ceiling.
- Check for vents, pipes, and wiring that might be behind the space.
- Decide if you want to hide the gap (built-in look) or highlight it (decor display).
- Consider fire and safety — avoid storing flammable items over or near the stove.
Design directions: 6 creative ways to treat the space above kitchen cabinets
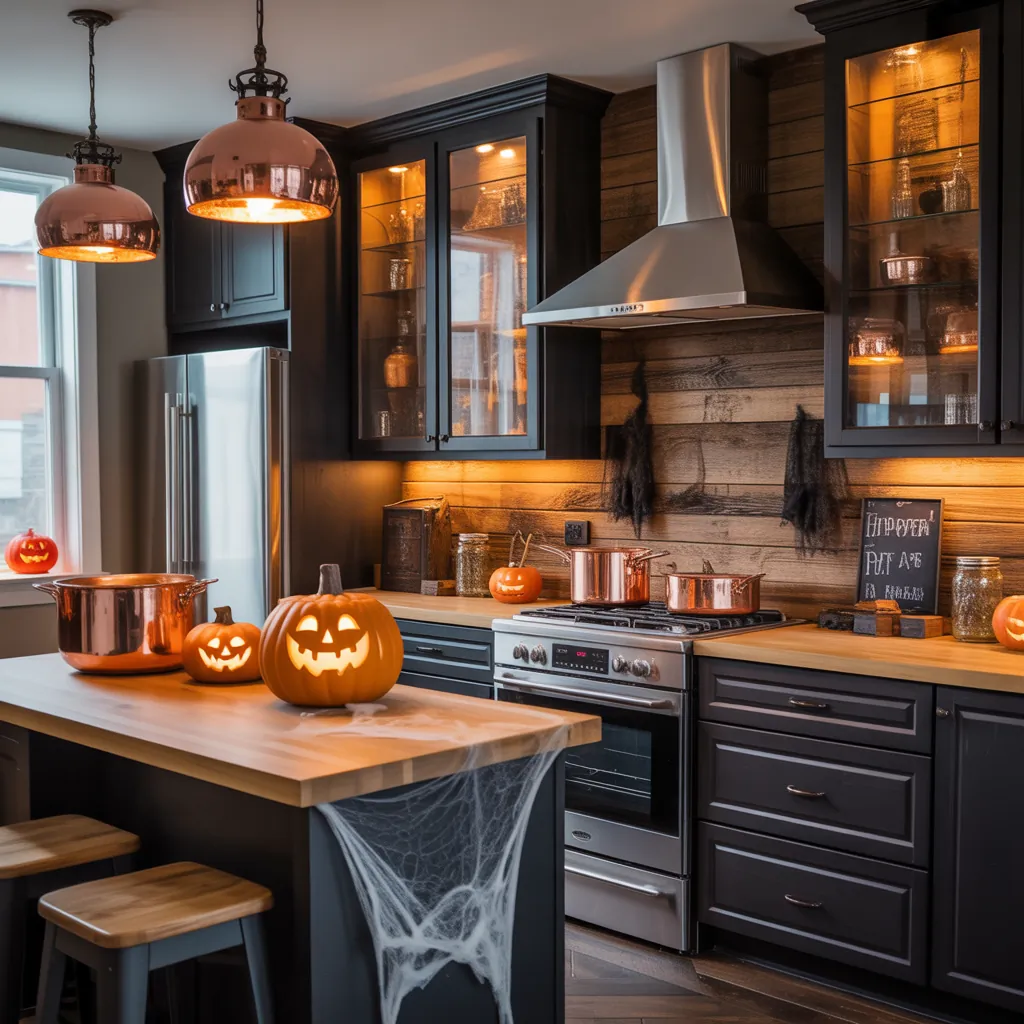
1. Curated decor for a stylish display
Turn the area into a gallery: think oversized pottery, vintage signs, greenery (real or faux), and a few decorative plates or framed art. Keep the color palette limited for a cohesive look and use lightweight pieces so they’re safe and easy to move.
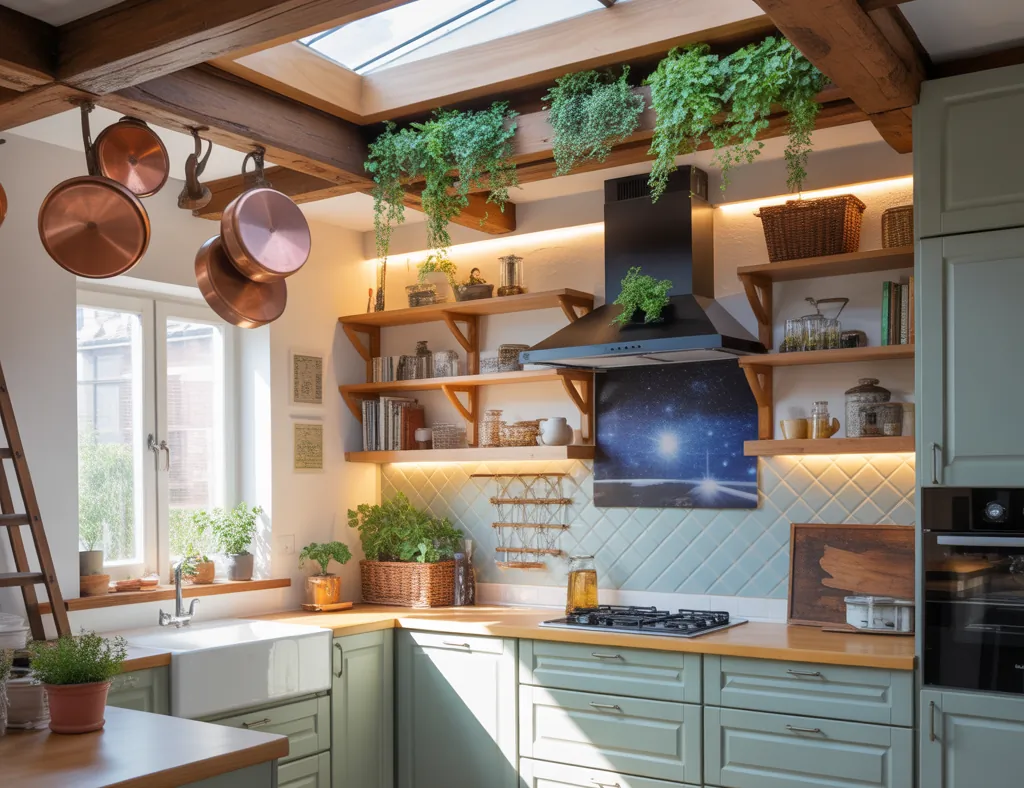
2. Functional storage with baskets and bins
Use woven baskets, labeled bins, or decorative boxes to store seasonal serving pieces, holiday items, or things you rarely access. Choose shallow baskets if the cabinet top is narrow, and line them with dust covers or fabric to keep contents clean.
3. Install LED lighting for ambiance and drama
LED strip lights or puck lights create a warm glow that hides dust and makes the display look intentional. These are low-cost, low-heat options that are easy to install and can be plugged into nearest outlets or hardwired by a pro.
4. Add crown molding or trim to finish the look
Crown molding makes cabinetry look custom and closes the visual gap. You don’t have to be a pro — pre-primed MDF or polystyrene molding can be cut with a miter saw and caulked for a seamless finish.
5. Build out with extra cabinets or shelves
If you want real storage, consider extending the cabinets up to the ceiling with a thin box or short upper cabinets. Prefab cabinet extenders or a DIY plywood box can be painted to match your cabinets for a built-in appearance.
6. Create a recessed niche or wallpapered backdrop
Paint the area a contrasting color or apply wallpaper to add depth and interest. This is a low-cost method that can dramatically change the look without major construction.
Step-by-step DIY: How to add a simple shelf above cabinets
Here’s a quick weekend project to add a stable display shelf above your cabinets.
- Measure the depth and length of the cabinet top and choose a 1×10 or 1×12 pine board trimmed to size.
- Cut the board to length and sand the edges; apply primer and paint or stain to match your kitchen.
- Locate studs or use heavy-duty wall anchors; mark bracket locations about every 16–24 inches.
- Attach L-brackets to wall or cabinet top, then set the shelf and secure it with screws from the top.
- Caulk the back edge against the wall for a finished look and add your décor or storage boxes.
Time: about 3–5 hours. Difficulty: easy–moderate. Cost: low ($20–$100 depending on materials).
Practical tips & safety advice
- Avoid placing heavy, glass, or frequently used items on top of cabinets — they can fall during everyday use or earthquakes.
- Don’t store flammable items near cooktops or vents. Keep the range hood clear.
- Use dust-resistant containers and wipe down the area every month to prevent buildup.
- If installing lights, choose low-heat LED strips and ensure any electrical work follows local codes or is done by a licensed electrician.
- When matching trim or paint, take a cabinet door for color matching to your local store or cut a small sample first.
The budget breakdown: quick fixes vs. big upgrades
Styling with thrifted decor or baskets can cost under $100 and take an afternoon. Installing lighting, molding, or a DIY shelf typically ranges $100–$500 depending on materials. Adding real cabinet extensions or custom built-ins will be the priciest option — think $1,000+ when factoring materials and labor. Choose based on your budget, skills, and how permanent you want the change to be.
Inspiration: styling themes for the gap above cabinets
- Farmhouse: whitewashed baskets, galvanized trays, a string of faux eucalyptus.
- Modern minimalist: matching ceramic vases in a neutral palette and a single art piece.
- Eclectic vintage: a mix of colorful bottles, pottery, and antique kitchen tools.
- High-end built-in: crown molding and painted cabinet extensions for a seamless look.
Frequently Asked Questions
1. Is it safe to store things above kitchen cabinets?
Yes, but choose lightweight, non-flammable items and secure them so they won’t fall. Avoid storing frequently used kitchenware above heat sources or vent openings.
2. How can I close the space between my cabinets and the ceiling without replacing cabinets?
Options include installing crown molding, adding cabinet extenders (thin plywood boxes), building a soffit, or installing shallow shelves. These approaches create a finished look without replacing cabinetry.
3. What’s the easiest way to reduce dust in the area above my cabinets?
Use closed baskets or boxes, add a dust-proof liner, and clean monthly. Installing a dust-proof board or short trim can also reduce the exposed surface area that accumulates grime.
Conclusion — make the space above kitchen cabinets work for you
The space above kitchen cabinets is an easy win for DIYers and homeowners alike: with a little planning you can add storage, elevate your kitchen’s style, or create a custom built-in feel. Whether you choose to style with baskets, add lighting, or install crown molding, start small and test your look before committing to major work. Ready to get started? Browse related projects on our DIY projects page, explore more ideas on kitchen upgrades, or find broader home inspiration on our home design ideas page — then pick one simple fix and try it this weekend.
Have a photo of your finished space above kitchen cabinets or a question about installation? Share it in the comments or subscribe for more step-by-step home improvement tips and inspiration.
For more creative ways to treat the space above your kitchen cabinets, check out Space Above Kitchen Cabinets.
For more creative ways to treat the space above your kitchen cabinets, check out Space Above Kitchen Cabinets.
For more creative ways to treat the space above your kitchen cabinets, check out Space Above Kitchen Cabinets.
For more creative ways to treat the space above your kitchen cabinets, check out Space Above Kitchen Cabinets.