Picture this: it’s Saturday morning, you’re standing in a small, awkward bathroom trying to decide whether to tear out the old bathtub or simply add a shower head. Sound familiar? Whether you’re tackling a full bathroom remodel or a weekend DIY refresh, the right shower tub layout can transform cramped and dated space into a functional, stylish retreat. Below are practical tips, step-by-step improvement ideas, and design inspiration that real homeowners can use to plan and build the perfect tub-and-shower configuration.
Why layout matters: function, plumbing, and resale value
Layout is more than aesthetics. The position of your bathtub, shower head, door swing, and plumbing rough-in affects daily use, water management, safety, and how easy future updates will be. A well-planned bathtub-shower configuration improves accessibility, reduces renovation costs, and even boosts resale value when done right.
Choosing the right shower tub layout for your space
There isn’t a one-size-fits-all solution—your choice depends on bathroom size, existing plumbing, and lifestyle. Here are common layouts and when to use them:
Alcove (three-wall) tub-shower
- Best for: Standard-sized bathrooms or condos with existing plumbing in a wall.
- Pros: Cost-effective, easy to install preformed surrounds, practical for soaking and showers.
- Cons: Less open feeling; consider a clear glass panel to avoid closing in the room.
Corner tub with shower
- Best for: Irregular or small bathrooms where you want to maximize floor space.
- Pros: Opens center floor area; creative tile patterns can make it feel larger.
- Cons: Requires custom surrounds or curved glass; may reduce storage options.
Walk-in tub or walk-in shower-tub combo
- Best for: Aging-in-place, accessibility, or luxury upgrades.
- Pros: Safer entry, universal design benefits, modern appeal.
- Cons: Higher cost; watch headroom and waterproofing details.
Practical DIY tips before you start
Good planning saves time and money. Follow these real-world tips to avoid common pitfalls:
- Measure three times: measure bathroom length, width, ceiling height, and door swing. Note exact plumbing rough-in locations (drain and supply lines).
- Check local codes: minimum clearances, ventilation requirements, and anti-scald valve rules can affect layout choices.
- Visualize with cardboard: cut out tub/shower footprints and tape them to the floor to test traffic flow, vanity clearance, and door openings.
- Decide on enclosure type early: shower curtain, sliding glass door, or hinged glass determines clearances and tile edge details.
- Plan slope and waterproofing: ensure shower pan slopes 1/4″ per foot to drain and use a waterproof backer board or membrane behind tiles.
Step-by-step DIY improvement idea: turn a tub-only space into a tub-shower combo
- Assess plumbing: confirm the shower valve location can accept a tub-shower diverter. If not, plan for valve relocation (may need pro).
- Choose a surround solution: preformed acrylic surround for quick install, or cement board + tile for custom looks.
- Install a new shower valve and riser: follow manufacturer instructions and local code; use a pressure-balance or thermostatic valve for safety.
- Waterproof: apply a waterproof membrane across walls and pan, seal seams with proper tape and sealant.
- Finish: tile or install surround panels, mount shower head and curtain/door hardware, and test for leaks.
Design inspiration and layout tricks
Use these design moves to make any shower tub layout feel intentional and modern:
- Use vertical tile patterns or long narrow subway tiles to make a low-ceiling bathroom feel taller.
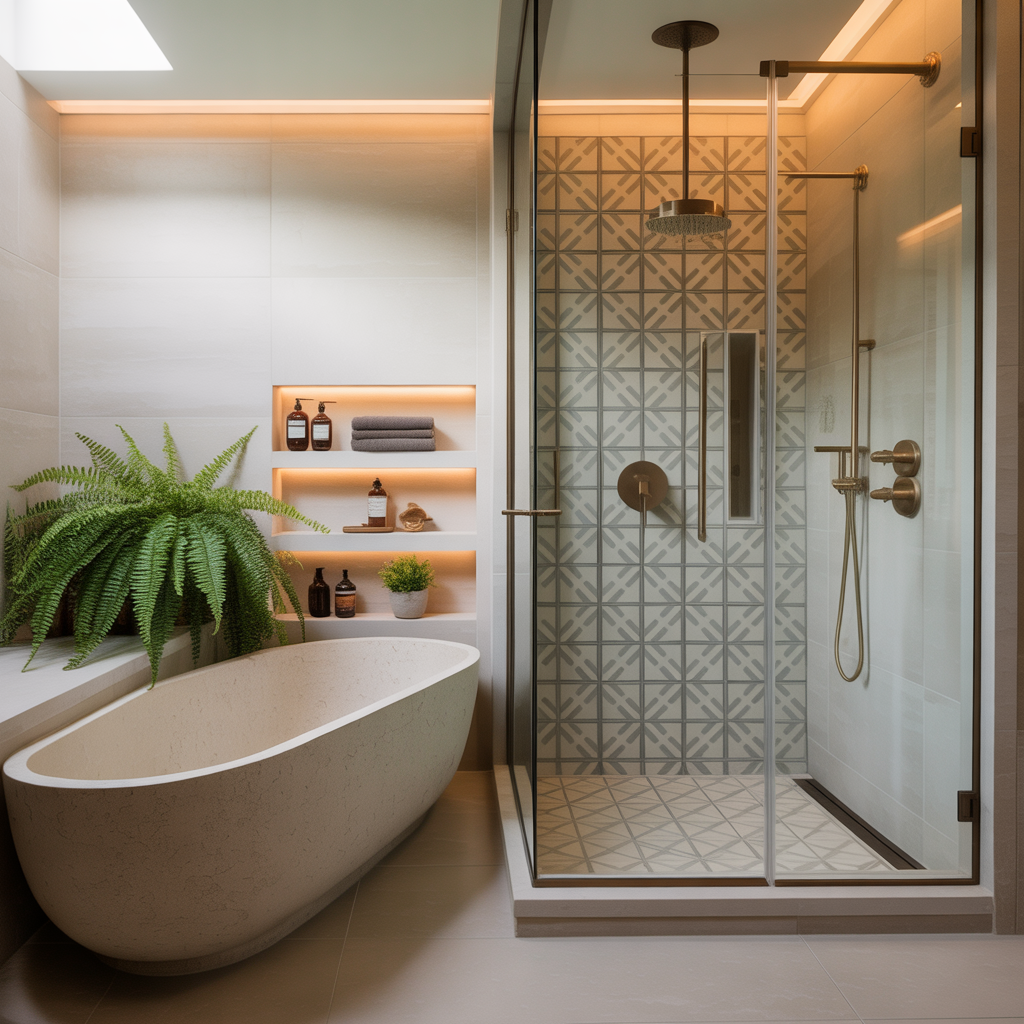
- Install a recessed niche for shampoo and soap instead of a bulky shelf—great in tight alcoves.
- Consider a frameless glass panel on an alcove tub to visually open the space while retaining a tub for soaking.
- Add a handheld shower head on a slide bar for flexibility—useful for families and accessibility.
- Use a linear drain along the back wall for contemporary looks and easier floor slope management.
Budgeting and when to call a pro
Costs vary widely: a simple tub-to-shower conversion with a prefabricated surround could be done on a moderate DIY budget, while moving drains or installing custom tile and glass can push the project into contractor territory. Call a plumber for major relocations and a licensed contractor for structural or extensive waterproofing work. For smaller updates—swap fixtures, install a new shower head, or add waterproof panels—DIYers can save hundreds.
Maintenance and long-term considerations
Think beyond installation. Use mildew-resistant grout, silicone seal at joints, and pick a solid drain cover for easy hair removal. Keep a maintenance schedule: re-caulk yearly, inspect grout, and clean glass with a squeegee to extend the life of your tub-shower combo.
Frequently Asked Questions
A: An alcove or corner tub-shower combo is often best for small bathrooms because these layouts maximize center floor space. Consider a clear glass panel or a curved shower curtain rod to increase perceived room size.
A: Moving a tub drain typically involves opening the subfloor and rerouting plumbing, which can get complex. If the move is minor and you’re comfortable with plumbing, it might be doable; otherwise hire a licensed plumber to avoid leaks and code issues.
A: Walk-in tubs and low-threshold walk-in showers both offer improved accessibility. Walk-in tubs are great for seated bathing and safety, while walk-in showers are easier to enter and often easier to clean. Choose based on mobility needs and personal preferences.
Conclusion — plan your perfect shower tub layout
Whether you’re updating a rental bathroom, tackling a full remodel, or attempting a weekend DIY refresh, a thoughtful shower tub layout makes a big difference in function and comfort. Start with careful measurements, consider existing plumbing, and choose a layout—alcove, corner, or walk-in—that matches your lifestyle. Ready to get started? Browse our DIY projects for step-by-step guides or check out more home design ideas for layout inspiration. If you want help planning a remodel, follow these steps and reach out to a professional when plumbing relocation or structural changes are involved.
Enjoy your project—and when in doubt, measure twice and test the layout with cardboard templates before making permanent changes. Happy renovating!