Ever step into your bathroom and think, “This shower just doesn’t work for me anymore”? Maybe the grout is stained, the space feels cramped, or you dream of a spa-like walk-in shower but worry about cost and disruption. You’re not alone — homeowners face this classic home improvement dilemma every day. The good news: with a few practical design choices and step-by-step DIY tips, you can transform your shower room into a beautiful, functional retreat without breaking the bank.
Plan Before You Demo: Start with a Clear Vision
Before swinging a hammer, take time to define goals: more space, better storage, improved lighting, curbless entry, or an easy-to-clean surface. Sketch a layout or collect inspiration photos. Measure your shower room carefully — width, depth, door swing, ceiling height, drain location and where the plumbing is. These basics will guide whether you can convert a tub to a walk-in, install a linear drain, or keep your existing footprint to save money.
Budget-friendly shower ideas room
Not every upgrade requires a full remodel. Here are budget-conscious ways to refresh a shower room:
- Refinish or reglaze the tub and surround instead of replacing it.
- Install a frameless-look glass panel instead of an entire enclosure for the illusion of space.
- Swap dated hardware — showerhead, faucet, and handles — for modern finishes like brushed nickel or matte black.
- Use water-resistant wall panels or large-format porcelain tiles to reduce grout maintenance and speed up installation.
- Add open shelving or a recessed niche for storage rather than an expensive built-in cabinet.
Small Bathroom Shower Ideas: Maximize Space and Visual Flow
Small rooms demand smart tricks to feel larger:
- Choose large-format tiles or continuous wall panels to reduce visual clutter.
- Opt for a clear glass shower door to keep sightlines open.
- Use vertical subway tile or a vertical accent strip to emphasize height.
- Install a corner bench or fold-down seat for function without sacrificing footprint.
- Pick light, natural colors and reflective finishes to bounce light around the space.
Step-by-Step DIY Shower Remodel (Realistic Plan)
For a confident DIYer, here’s a practical sequence that minimizes surprises:
1. Prep and Permits
- Turn off water and remove fixtures. If moving plumbing more than 6 inches, check local code and permits.
- Protect surrounding areas and lay down dust barriers.
2. Demolition and Assessment
- Remove old tile, pan, or surround carefully. Inspect studs, subfloor and existing drain for rot or water damage.
- Repair structural issues before proceeding. Replace any damaged backer board with cement board or suitable substrate.
3. Waterproofing
- Apply a waterproof membrane (liquid-applied or sheet) on shower walls and floor. Proper waterproofing prevents failures and costly repairs later.
- Seal corners, niches and any penetrations with mesh and appropriate sealant.
4. Tile or Panel Installation
- Lay tiles or install wall panels starting from the floor up. Use a level and spacers for consistent grout lines.
- Consider large-format tiles or engineered stone panels for fewer grout joints.
5. Drain, Door and Finishes
- Install the drain (linear drains are great for curbless showers). Fit shower doors or glass panels and secure them properly.
- Finish with grout, sealant, new fixtures and accessories like niches, shelves, and a shower bench.
Design Inspiration: Styles and Finishes That Work
Your style choices set the tone. Consider these motifs:
- Modern minimal: neutral tile, frameless glass, bench, and linear drain.
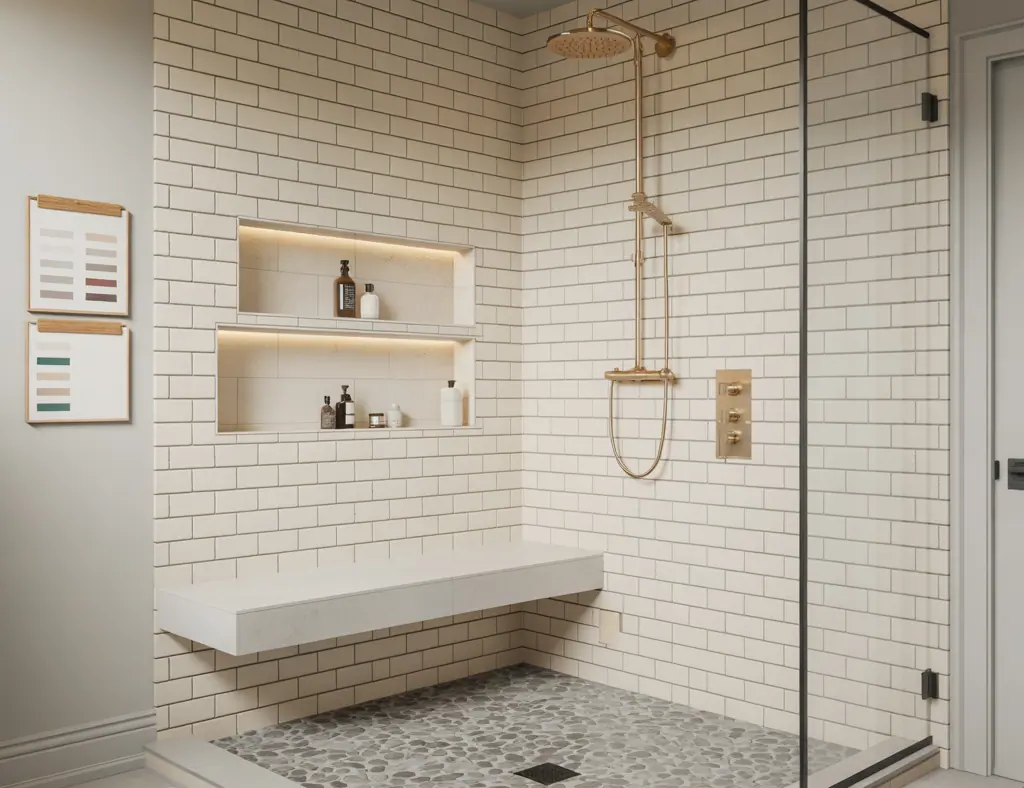
- Farmhouse charm: subway tile, bronze fixtures, and a built-in niche with wood-look tile accents.
- Spa retreat: large stone-look tiles, rainfall showerhead, recessed lighting, and a steam option if space allows.
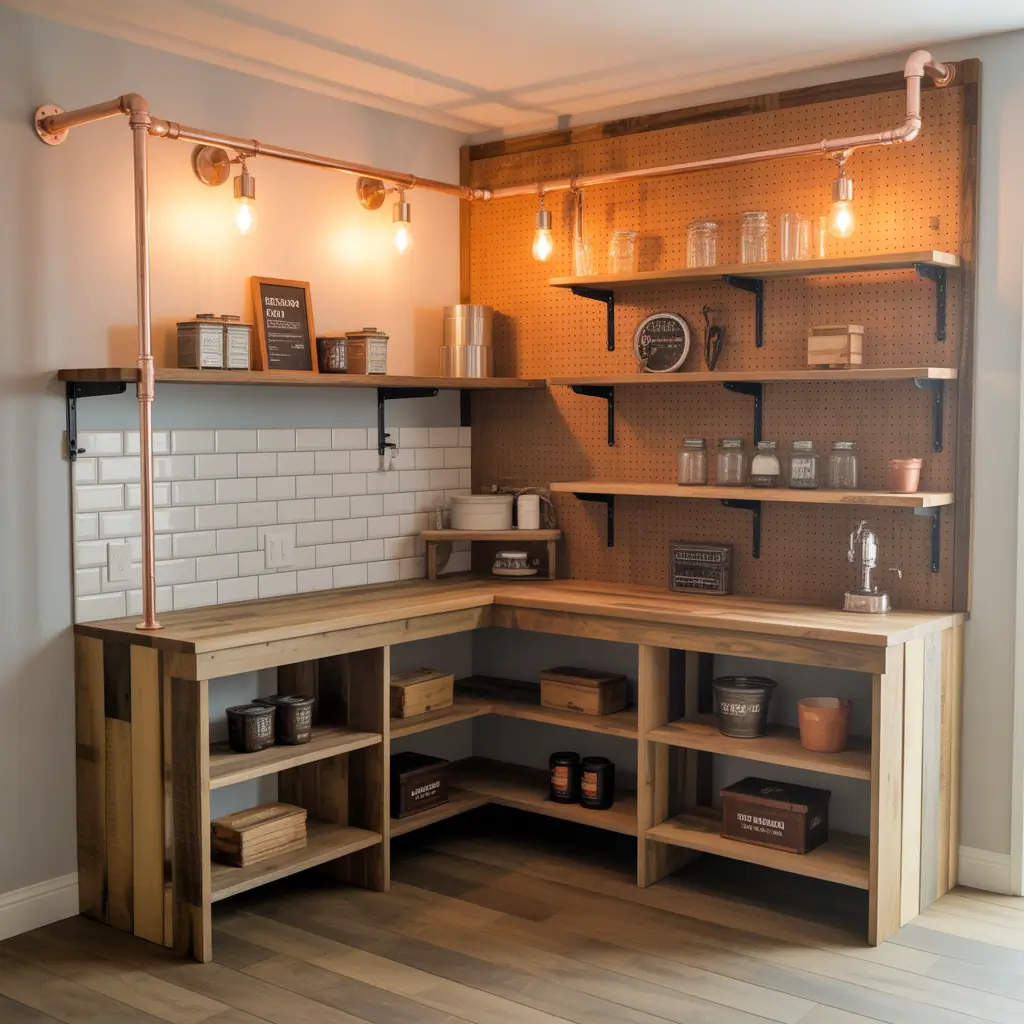
- Industrial: textured concrete-look tiles, black metal hardware, and open shelving.
Lighting, Ventilation & Accessories — Small Details, Big Impact
Don’t overlook function:
- Lighting: Install recessed, damp-rated lights over the shower and consider LED strip lighting in niches.
- Ventilation: A good exhaust fan sized to the room (CFM rating) prevents mold and preserves finishes.
- Fixtures: Choose water-efficient showerheads and thermostatic valves for comfort and conservation.
- Heated floors or a towel warmer make the space feel luxurious with modest investment.
Practical Tips from a Pro
- Always use mold- and mildew-resistant grout and caulk in wet areas.
- Test water pressure before buying showerheads to ensure proper flow and avoid rework.
- Buy tile with extra for cuts and future repairs — a 10–15% overage is typical.
- When in doubt on structural changes or plumbing moves, consult a licensed pro to avoid costly mistakes.
Frequently Asked Questions
Q: What are the best shower ideas room options for a tight budget?
A: Replacing hardware, reglazing the tub, installing a single glass panel, adding a niche insert, or using large-format tiles or waterproof panels are cost-effective updates that refresh the space without a full demo.
Q: Can I install a curbless shower myself?
A: Curbless showers require precise slope for proper drainage and often a different subfloor approach. Experienced DIYers can do it, but many homeowners hire a pro for the waterproofing and slope work to ensure no leaks.
Q: How do I keep grout looking new in my shower room?
A: Use epoxy or polymer-modified grout, seal grout lines after curing, ventilate well to reduce moisture, and clean regularly with non-abrasive cleaners. Consider large-format tiles or grout-free wall panels for even lower maintenance.
Conclusion — Take the Next Step for Your Shower Ideas Room
Whether you want a simple refresh or a full shower transformation, a successful shower ideas room project starts with planning, smart material choices, and realistic DIY steps. Ready to take the plunge? Start by sketching your layout, setting a budget, and trying one small upgrade this weekend — like a new showerhead, a niche, or a frameless panel. For more hands-on projects and inspiration, check out our DIY projects and home design ideas sections to find step-by-step guides tailored to your skill level.
Want personalized advice or a project checklist? Leave a comment or sign up for our newsletter to get more practical tips, product picks, and doable plans straight to your inbox.