Ever stared at a cluttered spare room or garage and imagined it as your own creative sanctuary — a place where you can shape clay, cast forms, and build life-sized figures? If you’re tackling a home improvement project and want a practical, beautiful space for making body sculptures, you’re in the right place. This guide shares realistic, DIY-friendly sculpting room body ideas that will help you plan, build, and enjoy a functional studio without breaking the bank.
Why a Dedicated Sculpture Space Matters
A purpose-built sculpting room improves workflow, keeps tools and materials organized, and protects the rest of your home from dust and mess. Whether you work in clay, plaster, wax, or mixed media, a room designed for three things — ventilation, lighting, and storage — saves time and preserves your work quality. Below are inspirational design choices and step-by-step improvement ideas to create a practical sculpting studio focused on human figures and body forms.
Top Sculpting Room Body Ideas for Layout and Flow
Good layout reduces interruptions and makes every session feel productive. Consider these layout tips:
- Work Zones: Divide the room into clear zones: modeling bench, drying/curing rack, mold-making area, and tool storage. Keep wet and dry areas separate to prevent cross-contamination.
- Central Workbench: Use a sturdy, adjustable-height table as your primary modeling station. Place it near natural light if possible.
- 360° Access: If you’re sculpting body forms, allow space around the piece so you can walk around and view from multiple angles.
- Portable Armature Station: Designate a corner for armature building with clamps and a vice. Portable dollies make moving large pieces easier.
Example Floor Plan
Near the door: cleaning sink and utility storage. Center: adjustable bench on a low-profile mat. Far wall: shelving for materials and molds. One side: drying racks and ventilation exhaust. This keeps heavy dust and water near plumbing and airflow resources.
Lighting, Ventilation, and Flooring — The Essentials
These three elements are vital for safety and comfort.
Lighting
- Install a mix of daylight-balanced overhead LEDs and adjustable task lamps with flexible arms for detailed modeling.
- Consider a north-facing window or daylight bulbs to reduce color shift when judging skin tones and patinas.
Ventilation
- Add a small exhaust fan or window fan to remove dust, fumes from solvents, and plaster powder. Good ventilation is essential when working with resins, solvents, or spray finishes.
- Use a respirator when sanding or working with toxic materials.
Flooring
- Choose resilient, easy-to-clean flooring like sealed concrete, vinyl plank, or epoxy coating — they handle spills and dropped tools.
- Place anti-fatigue mats at standing stations to reduce strain during long modeling sessions.
Sculpting Room Body Ideas for Storage and Organization
Clutter kills creativity. Use smart storage to make your sculpting studio efficient:
- Wall-Mounted Pegboards: Keep frequently used tools visible and accessible.
- Deep Shelving with Bins: Store clays, plasters, pigments, and molds in labeled containers to speed up setup.
- Lockable Cabinets: Secure toxic chemicals or sharp tools away from children and pets.
- Mobile Carts: Use carts for molds-in-progress and for transporting tools between zones.
Materials, Tools, and Surface Tips
Choosing the right surfaces and tools reduces frustration:
- Use stainless steel or sealed wood tops for the workbench — they resist moisture and are easy to wipe down.
- Keep a designated bucket or tray for water and mixing plaster to avoid spills.
- Install a deep utility sink with a hose for washing large armatures and tools.
Step-by-Step: Convert a Spare Room into a Sculpting Studio
Follow this practical DIY roadmap:
- Plan the layout: Measure the room, mark zones on the floor, and sketch a simple floor plan.
- Address ventilation and plumbing: Add a window fan and run a water line if needed for a sink.
- Install durable flooring: Apply epoxy or lay vinyl plank for easy maintenance.
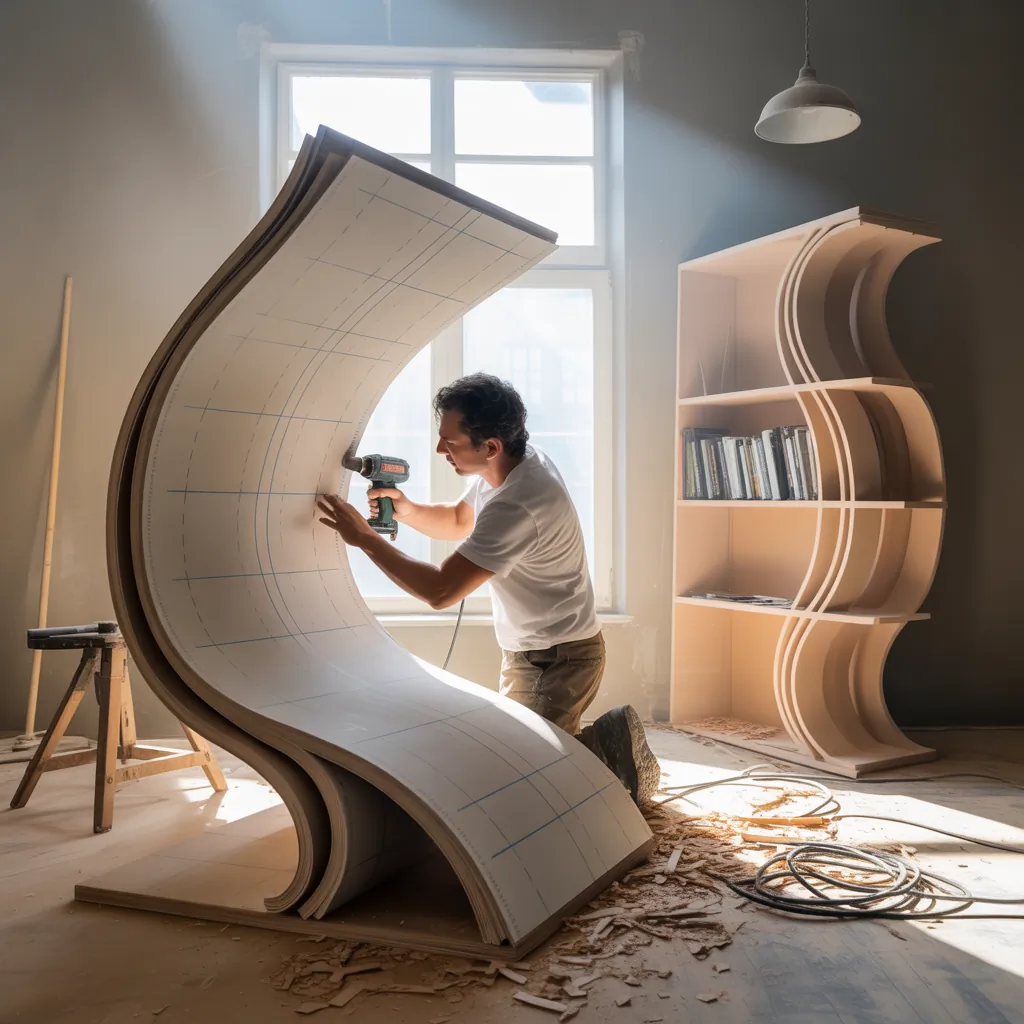
- Build your bench: Assemble an adjustable-height bench and cover it with a replaceable work surface.
- Set up lighting and storage: Mount task lights and pegboards, install shelving and lockable cabinets.
- Organize materials: Label bins, arrange clays and chemicals safely, and place tools on pegboards.
- Test workflow: Create a small practice project to test ergonomics and adjust layout as needed.
Design Inspiration: Styles for Your Sculpting Studio
Match the studio to your aesthetic and practical needs:
- Industrial Loft: Exposed brick, metal shelving, and concrete floors for a rugged creative vibe.
- Scandinavian Minimalist: Light walls, natural wood storage, and streamlined task lighting for a calm workspace.
- Vintage Artist Studio: Repurposed furniture, tall windows, and warm lighting to evoke a traditional atelier feel.
Safety and Maintenance: Real-World Advice
- Wear PPE: gloves, respirator, and eye protection when mixing and sanding materials.
- Keep a fire extinguisher and first aid kit accessible.
- Clean daily: a quick sweep and wipe-down prevents dust buildup and protects your work.
- Rotate displays: store completed body sculptures on stable stands and inspect for cracks or environmental damage regularly.
Sculpting Room Body Ideas: Custom Features to Consider
Want to elevate the space? Add these custom touches:
- Fold-down modeling stations for flexible floor space.
- Integrated drying ovens or climate-controlled cabinets for specialty materials.
- Hanging ceiling hoists for moving large body sculptures safely.
Frequently Asked Questions
1. How large should a sculpting room be for body-sized sculptures?
A comfortable minimum is 10 x 12 feet with at least 3–4 feet of clearance around the piece so you can walk 360°. If you plan to work on life-size sculptures, aim for a larger space or ensure good access to move pieces in and out.
2. What flooring is best for a sculpture studio?
Sealed concrete or epoxy-coated floors are ideal because they resist moisture, are easy to clean, and stand up to dropped tools. Vinyl plank flooring also works well in home studios for a warmer look with good durability.
3. Can I use household rooms for sculpting or do I need a separate garage/studio?
You can convert a spare bedroom, basement, or garage—each has pros and cons. Bedrooms may have less ventilation but better insulation; garages offer space and easier access for large pieces. Focus on ventilation, durable flooring, and protecting the rest of your home from dust and fumes.
Ready to get started? Use these sculpting room body ideas to sketch a plan, then tackle the build in manageable DIY stages. For more project ideas and step-by-step instructions, check out our DIY projects and browse related inspiration in home design ideas or practical remodel guides like kitchen upgrades for tips on durable surfaces and lighting that also work great in studios.
Conclusion — Make Your Sculpting Space a Creative Machine
Transforming a spare room into a dedicated place for body sculpting can dramatically improve your workflow and enjoyment. With careful planning for ventilation, lighting, durable surfaces, and smart storage, your new studio will be both functional and inspiring. Try one small upgrade this weekend — build a pegboard, add a task lamp, or lay down a protective floor mat — and see how much smoother your creative sessions become.
Inspired? Start designing your sculpting room today, and share your progress or questions so we can help. Take the first step: sketch your layout and list three must-have features for your studio. Then get building!


