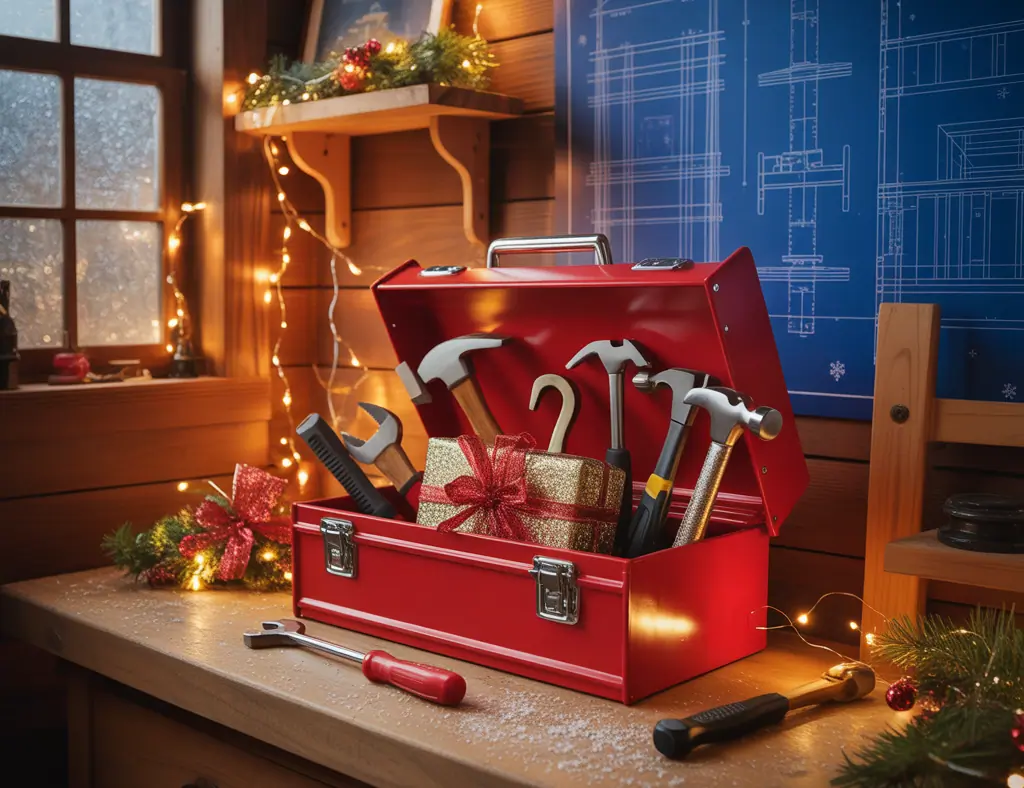
Ever opened your coat closet in mid-December and found wrapping paper, ribbons, and a pile of holiday clutter that suddenly makes you want to remodel the whole house? The santa boxes concept is a clever, low-cost DIY approach to wrangling seasonal chaos while adding playful, festive charm to your home. Whether you’re a weekend maker or a seasoned DIYer, these decorative storage boxes double as holiday decor and practical organization for gifts, ornaments, and seasonal kitchenware.
What is the Santa Boxes Concept?
The santa boxes concept turns simple storage containers into themed, stackable decor pieces that resemble Santa’s workshop crates or gift bins. Think of them as modular holiday storage—painted and labeled wooden boxes, cardboard bins, or fabric totes that hold everything from tape and tags to wrapped presents. They’re designed to be attractive enough to leave out in living rooms, entryways, or kitchens and sturdy enough for repeat yearly use.
Why Try Santa Boxes? Benefits for Home Organization and Design
- Dual-purpose: storage that looks like seasonal decor.
- Customizable dimensions and finishes to match your style—farmhouse, modern, or Scandinavian.
- Reusable year after year, cutting down on disposable gift wrap and single-use containers.
- Encourages family involvement: kids can help paint, label, and sort items.
Materials and Tools — What You’ll Need
Choose materials based on budget and intended longevity. Here are common options and tools:
- Materials: pine boards (1×6 or 1×8), plywood sheet, wooden crates, heavy-duty cardboard, or canvas bins.
- Hardware: screws or wood glue, rope or leather handles, metal corner brackets for reinforcement.
- Finishes: chalk paint or acrylic paint, sandpaper (120–220 grit), clear wax or polycrylic sealer.
- Tools: circular saw or jigsaw, drill, screwdriver, measuring tape, clamps, paintbrushes, stencils.
Step-by-Step: Build Your First Santa Box (Beginner-Friendly)
- Plan dimensions. A common starter size is 16″ wide x 10″ deep x 8″ tall—good for gift wrap rolls and medium ornaments.
- Cut panels. Cut two side panels, a bottom panel, and two end panels from 1×8 pine or plywood. Sand all edges smooth.
- Assemble box. Use wood glue and 1¼” screws to join the sides to the bottom, then attach the ends. Pre-drill to avoid splitting.
- Add handles. Drill holes and insert rope or install leather strap handles with screws and washers.
- Paint and decorate. Prime if desired, then paint a base coat. Use stencils for “Santa’s Workshop,” a North Pole stamp, or a playful Santa face. Seal with clear wax or polycrylic.
- Label and stack. Use removable vinyl labels or chalkboard paint on the front face for seasonal contents (e.g., “Gift Wrap,” “Ornaments,” “Elf Costumes”).
Quick Tips for a Polished Look
- Distress edges with sandpaper after painting for a rustic, farmhouse finish.
- Use magnetic closures or small latches for boxes that double as gift chests.
- Line boxes with felt or fabric to protect delicate ornaments.
- Number or color-code boxes for easy stacking and retrieval.
Design Inspiration: Styles and Themes
Santa boxes can adapt to any interior style. Try these design ideas:
- Rustic farmhouse: whitewashed paint, rope handles, stenciled pine trees.
- Modern minimal: matte black boxes with gold lettering or simple white with clean sans-serif labels.
- Scandinavian cozy: muted pastels, light wood, and simple Nordic motifs like stars and reindeer.
- Vintage Santa: bright red boxes with illustrated Santa faces, trimmed with faux fur for whimsical displays.
How to Use Santa Boxes Throughout Your Home
These boxes are more than holiday props. Here are practical placement ideas:
- Entryway: keep gift bags, tissue paper, and tape handy for last-minute wrapping.
- Living room: stack under the tree as part of the decor; use for extra throw blankets in winter.
- Kitchen: a “Santa pantry” box for seasonal baking supplies or holiday serving utensils—great for quick access during parties.
- Closet or garage: labeled boxes for ornaments, lights, and garlands to speed up holiday setup and teardown.
Maintenance and Storage Tips
To keep your santa boxes concept working year after year:
- Clean and dry all items before storing to prevent moisture damage or mildew.
- Store filled boxes off the floor in a cool, dry place—shelving or attic cubbies work well.
- Rotate decorative decors to avoid paint fading; consider removable covers or slipcases if boxes are near sunlight.
Safety and Budget Considerations
If you’re building a lot of wooden boxes, shop for offcuts at local lumber yards to save money. For families with small children, avoid small nails and use rounded handles. If boxes will hold heavy items, reinforce bottoms with plywood or metal brackets and test stack stability before placing under a tree or on a shelf.
How the Santa Boxes Concept Transforms Holiday Storage
Adopting the santa boxes concept moves holiday organization from an afterthought to a curated part of your decor. It reduces last-minute scrambling, saves money over disposable solutions, and gives you a fun craft to share with family. With customizable sizes, finishes, and labels, these boxes become a seasonal system you’ll reach for each year.
Frequently Asked Questions
1. What materials are best for long-lasting santa boxes?
Wood (pine or plywood) provides the best durability and finish options. For cheaper, temporary options, heavy-duty corrugated cardboard or canvas bins work well. Seal wood boxes with polycrylic or wax to protect paint.
2. Can I use santa boxes as an advent calendar?
Yes. Create 24 small boxes or compartments, number them, and fill with treats or small activities. Use a wall-mounted shelf or stackable design for an interactive, reusable advent solution.
3. How do I store delicate ornaments in santa boxes?
Line boxes with felt or bubble wrap and use dividers to prevent shifting. Consider using acid-free tissue paper for vintage ornaments and store in a climate-controlled area to avoid temperature extremes.
Conclusion — Ready to Try the Santa Boxes Concept?
If you want a fun, practical way to tame holiday clutter while adding charm to your home, the santa boxes concept is a weekend project with big payoff. Start with one box, match it to your holiday palette, and expand into a coordinated system that lives year to year. For more hands-on ideas, explore other DIY projects, practical kitchen upgrades for holiday cooking, or seasonal home design ideas to complete your decor. Share your finished boxes on social media or with friends, and enjoy a more organized, festive season.
Ready to build? Grab some wood, paint, and a hot glue gun—then make your home holiday-ready with your own santa boxes today.