Ever finished your basement into one big, useful space only to realize it’s missing definition — no office nook, no play area, no private guest corner? If you’re staring at an open-plan lower level and wondering how to carve out purpose without a full remodel, you’re not alone. In this guide I’ll show practical, stylish, and budget-friendly room divider ideas basement homeowners can use to transform their layout quickly, whether you want temporary separation or a semi-permanent partition.
Why divide your basement? Benefits of smart partitioning
Dividing a basement gives you functional zones for work, sleep, play, storage, and entertaining. A well-chosen basement room divider improves privacy, controls noise, creates visual interest, and can even add storage or display opportunities. It’s one of the highest-impact DIY projects for making a basement feel like a collection of purposeful spaces instead of a single cavernous room.
Room Divider Ideas Basement: Top picks for every budget
Below are tested divider solutions — from temporary screens to built-in half-walls — with step-by-step tips, materials lists, and design inspiration so you can pick what fits your space and skill level.
1. Ceiling-mounted curtain divider (fastest & most flexible)
Why it works: Curtains are cheap, easy to install, and perfect for renters. Use heavy drapery for better sound dampening and light control.
- Materials: curtain track (ceiling-mounted), blackout or decorative panels, ceiling anchors
- Steps: measure ceiling length, install track into joists or with solid anchors, hang panels and hem to floor level
- Tip: use a double track to layer sheer + blackout for daytime light and nighttime privacy.
2. Freestanding bookcase or shelving unit (storage + separation)
Why it works: Creates a functional wall without construction — great for dividing a family room from a home office or play area.
- Materials: sturdy bookcase or modular shelving, anti-tip kit
- Steps: choose depth for stability (12–18″), arrange items for visual balance, anchor to floor or wall as needed
- Tip: back panels can be painted a bold color or covered with wallpaper for a polished look.
3. Sliding barn doors or track doors (stylish semi-permanent)
Why it works: Adds character and real closure between zones without sacrificing easy access.
- Materials: barn door slab, track kit, floor guide, hardware
- Steps: ensure wall clearance and stud support for track, install header, hang door and adjust
- Tip: leave a small gap for HVAC return air or plan alternative ventilation.
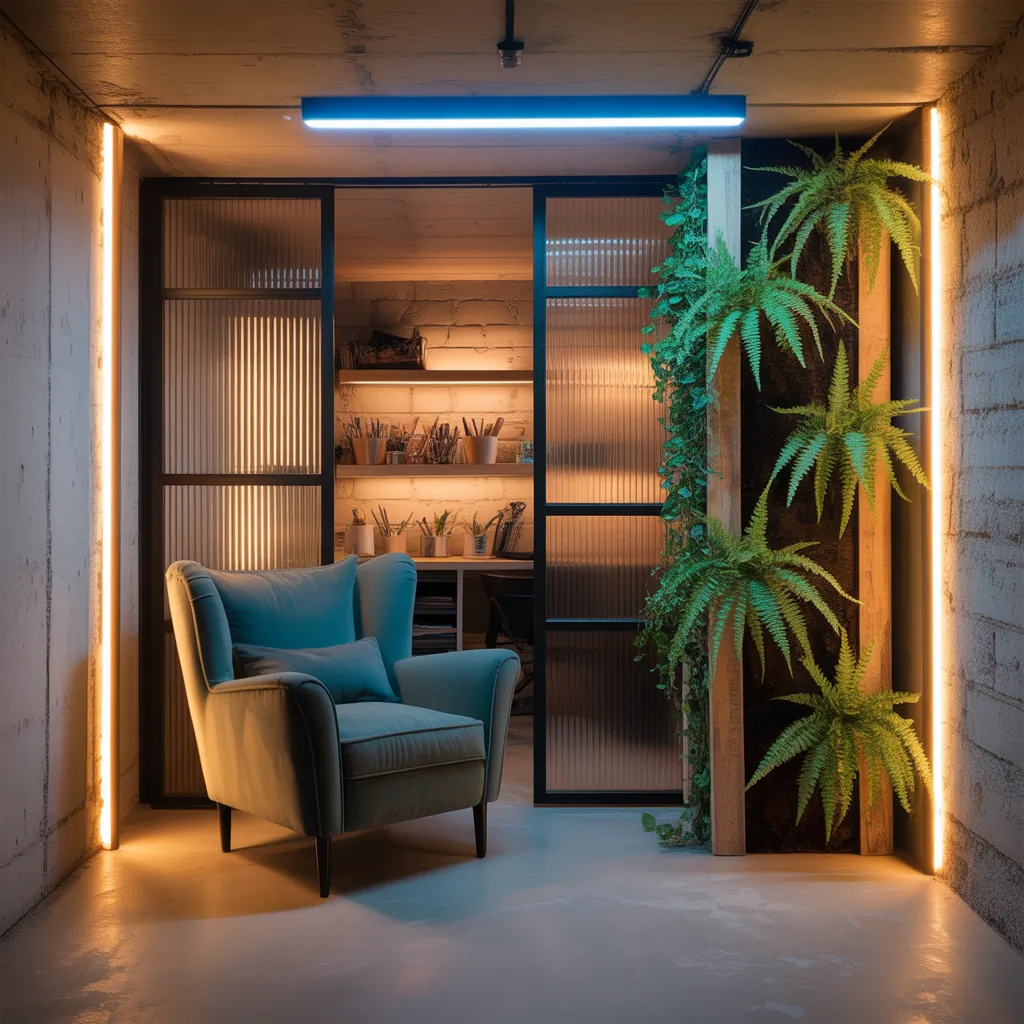
4. Glass and steel partition (modern industrial vibe)
Why it works: Keeps sightlines and light while creating distinct rooms. Use tempered glass for safety.
- Materials: framed glass panels, steel or aluminum frames, gasket seals
- Steps: measure and order prefabricated panels or build a frame; install with shims and sealant
- Tip: black-framed mullions give a factory-style look and pair well with warm wood furnishings.
5. Half wall with built-in storage (permanent & practical)
Why it works: A knee wall provides separation but keeps the basement open and airy. Ideal for dividing a media area from a guest nook.
- Materials: 2×4 studs, drywall, paint, shelving or cubbies
- Steps: plan foundation and framing, build studs anchored to floor and ceiling, drywall and finish, add shelving or trim
- Tip: add recessed lighting on the room-facing side for ambiance.
6. DIY pallet wood partition (budget-friendly & rustic)
Why it works: Repurposed pallet wood creates texture and warmth. Great for accenting a basement bar or lounge.
- Materials: reclaimed pallet boards, screws, framing lumber, sealer
- Steps: build a lightweight frame, attach pallet boards staggered for interest, sand and seal
- Tip: treat wood for pests and mold before installation in basements with moisture risk.
Planning tips before you divide
- Check egress and local codes — bedrooms in basements often require egress windows.
- Consider lighting and HVAC — partitions can block heat and light; add supplemental lighting and ventilate where needed.
- Address moisture — waterproof any wood elements, use mold-resistant drywall, and run a dehumidifier if necessary.
- Anchor safely — when attaching dividers to ceilings or floors, locate joists and studs or use appropriate anchors.
Soundproofing and aesthetics: make your divider feel intentional
For quieter zones, add acoustic panels, dense curtains, or insulated drywall. Use rugs to reduce echo and coordinate divider finishes with paint, flooring, and lighting. A well-chosen divider becomes a design feature — pick textures and colors that tie into your overall basement decor.
Budget and time estimates
- Curtain divider: $50–$300, 1–3 hours
- Bookcase partition: $100–$800, 2–6 hours
- Sliding barn door: $300–$1,200, weekend project
- Glass partition: $800–$3,500, pro recommended
- Half wall with storage: $400–$2,000, 1–3 weekends
Step-by-step: build a simple bookcase room divider (DIY friendly)
- Choose your location and measure height/width; allow 6–12″ clearance from walls for walkthroughs.
- Select a sturdy bookcase or build one from 3/4″ plywood for custom depth and height.
- Assemble and finish (paint or stain) before final placement to avoid drips on floors.
- Position the unit and balance heavy items low for stability; anchor to floor or ceiling using brackets for safety.
- Style with baskets, plants, books, and lighting to create two distinct faces.
Frequently Asked Questions
Use freestanding shelving or a weighted curtain system. Floor-to-ceiling tension rods or track-mounted curtains with ceiling anchors provide temporary separation without permanent alterations. Add anti-tip brackets to freestanding units for safety.
Yes — choose glass partitions, open shelving, or half walls that keep sightlines open. Translucent panels or frosted glass maintain privacy while allowing light to flow between zones.
Wood is susceptible to moisture and mold in damp basements. Use pressure-treated lumber for frames near the floor, seal all wood surfaces with an appropriate finish, use mold-resistant drywall where needed, and ensure a functioning dehumidifier and proper drainage.
Conclusion: transform your lower level with smart room divider ideas basement owners love
Whether you need a quick privacy screen, a built-in half-wall, or a bold glass partition, these room divider ideas basement-focused DIYers can apply will help you create purposeful spaces that reflect your lifestyle. Pick the option that matches your budget, timeline, and design taste, and don’t be afraid to mix solutions — a bookcase plus a curtain can be both practical and pretty.
Ready to start? Try a simple curtain or shelving partition this weekend and see how much more functional your basement becomes. For more step-by-step inspiration, check out our DIY projects and broader home design ideas. If you’re also thinking about updating a kitchen near that space, you might find our kitchen upgrades page useful for coordinating finishes.
Want personalized advice for your basement layout? Leave a comment or take a photo of your space and share it — I’ll help you pick the best divider for your needs.