Have you ever stood in a paint-splattered room holding a can of blush pink and wondered how to turn a plain bedroom into a magical space your child will love? Whether you’re tackling a weekend DIY or planning a full girls’ bedroom makeover, transforming a room into a princess sanctuary is one of the most rewarding — and budget-friendly — projects you can do at home.
Princess room ideas: design tips and DIY projects
If you’re searching for affordable princess room ideas, this guide gives you practical, step-by-step projects, layout suggestions, and decorating inspiration that work in small spaces and larger bedrooms alike. The goal: a safe, functional, and enchanting room that grows with your child.
Plan first: theme, palette, and priorities
Before you pick up a paintbrush, decide on a cohesive theme and practical needs. Are you creating a fairy-tale castle, a modern princess suite, or a subtle royal look? Think about storage, study space, and how long you want this design to last.
Choose a color palette
- Classic: Soft blush, ivory, and gold accents.
- Modern: Lavender, silver, and charcoal for a grown-up twist.
- Whimsical: Mint, coral, and rose gold for a playful vibe.
Set a budget and timeline
Break projects into weekend-friendly tasks. Example budget breakdown for a small makeover:
- Paint and primer: $40–$80
- Canopy or curtains: $30–$100
- Decals, small furniture, accessories: $100–$300
- Optional larger items (bed, wardrobe): $200–$700
Furniture, layout, and storage solutions
A successful princess-themed bedroom balances style and function. Start with the bed and storage, then layer in décor.
Bed choices and upgrades
- Platform bed with a custom headboard: paint the headboard in a contrasting color or add tufted fabric for a royal look.
- Loft bed to free floor space for play or a reading nook underneath.
- Daybed for flexibility — perfect for sleepovers and small rooms.
Smart storage ideas
Use under-bed boxes, built-in shelves, and a statement armoire. Consider labeled baskets for toys and rotating seasonal décor to reduce clutter and keep the room feeling magical.
DIY projects to create a princess atmosphere
Here are step-by-step DIY ideas that deliver big impact without professional help.
1. DIY canopy (Beginner, ~2–3 hours)
- Materials: sheer fabric, hoop (embroidery or metal), ceiling hook, ribbon or faux flowers.
- Instructions: Attach fabric to hoop, secure hoop to ceiling hook centered above the bed, drape fabric and tie with ribbon. Add faux flowers or string lights for extra sparkle.
- Tip: Use a tension rod for a canopy in apartments without ceiling hooks.
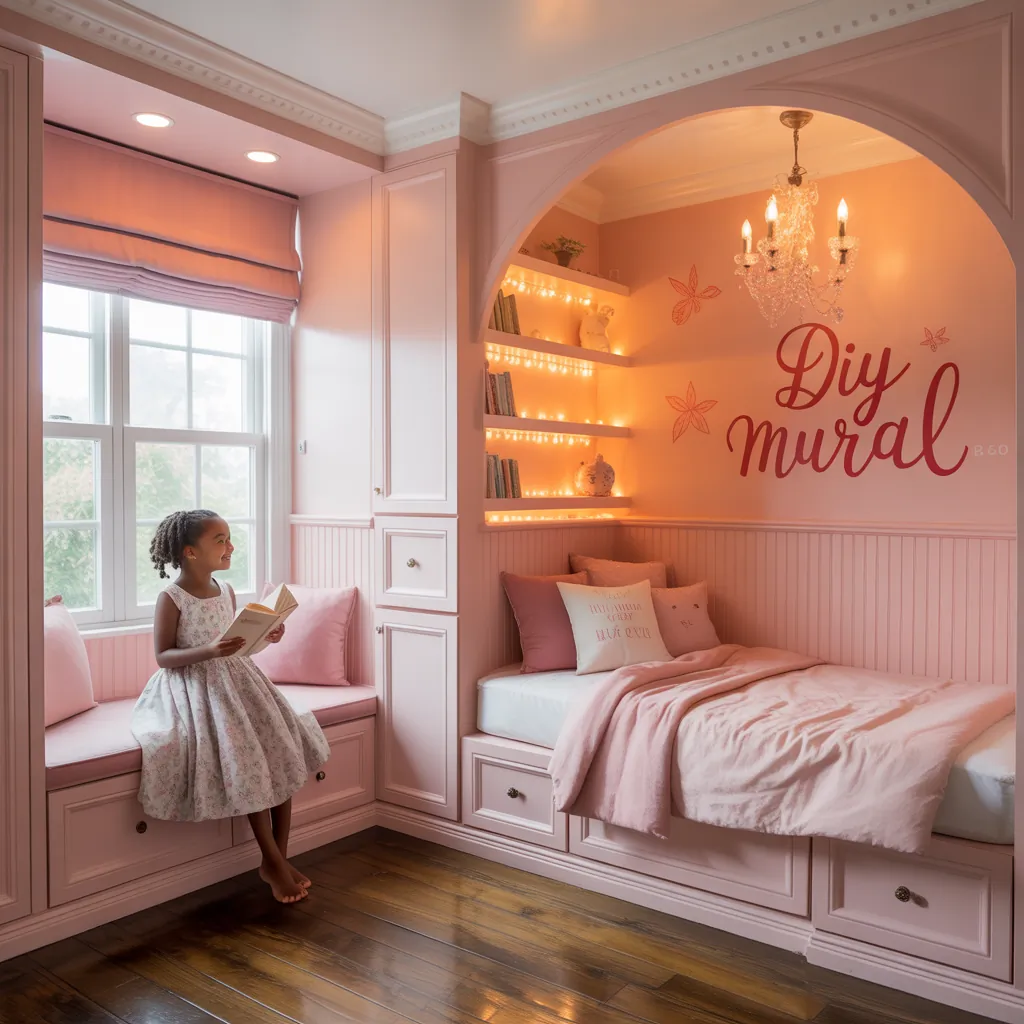
2. Accent wall with removable wall decals (Easy, ~1–2 hours)
- Choose a low-VOC paint or a wallpaper mural for a feature wall behind the bed.
- Apply vinyl decals (crowns, stars, castles) in a pattern — they’re easy to replace as tastes change.
- Tip: For a more subtle look, paint stencils in metallic or soft pastels.
3. Upholstered headboard (Intermediate, ~4–6 hours)
- Materials: plywood, foam, batting, fabric, staple gun, brackets.
- Instructions: Cut plywood to size, attach foam and batting, stretch fabric and staple on the back, mount to bed frame or wall.
- Tip: Choose durable, washable fabric — a velvet or microsuede reads luxurious and cleans well.
Lighting and finishing touches
Lighting sets the mood. Combine ambient, task, and accent lighting for a layered, dreamy effect.
- Chandelier or pendant light for a focal point — choose a kid-safe fixture with a dimmer.
- String lights around a canopy, bookshelves, or window for soft, twinkling light.
- Task lamp at the desk for homework and a nightlight for bedtime comfort.
Small princess room ideas for limited spaces
Even tiny rooms can feel luxurious with a few tricks:
- Use mirrors to amplify light and create a sense of space.
- Opt for multi-functional furniture like storage ottomans and beds with drawers.
- Create vertical storage with shelves and hanging organizers.
- Keep a consistent color palette to avoid visual clutter.
Real-world advice: durability, safety, and longevity
When designing a princess-themed room, choose washable paints, low-VOC materials, and furniture with rounded edges. Secure bookshelves and armoires to studs, use cordless window coverings for child safety, and pick fabrics that can stand up to play.
Budget-friendly decorating hacks
- Thrift or upcycle: repaint a hand-me-down dresser and add new knobs to refresh the look.
- DIY artwork: frame fabric scraps, wrap canvases, or print a family photo with a custom frame.
- Rotate accents: change throw pillows and rugs seasonally instead of replacing big pieces.
Frequently Asked Questions
Soft pastels like blush pink, lavender, and mint are classics, but modern palettes include neutrals with metallic accents (gold or silver) for a sophisticated royal feel. Consider the room’s natural light when choosing tones.
Choose adaptable base pieces (neutral walls, quality bed, sturdy storage) and add removable accents — decals, bedding, and soft furnishings — that can be swapped as tastes change. Aim for timeless furniture and update accessories over time.
Yes — painting an accent wall, adding a canopy, switching out lighting fixtures, and creating a statement headboard all transform a room quickly and affordably.
Conclusion — start your princess room makeover today
Creating enchanting princess room ideas doesn’t require a designer or a huge budget — just a plan, some creativity, and a few weekend DIY projects. Start with paint and lighting, add a statement bed or canopy, and use smart storage to keep the room functional. If you want step-by-step inspiration, check out our DIY projects page and browse home-focused tips on our home design ideas and kitchen upgrades pages for more renovation motivation. Ready to begin? Pick one small project today and watch the room transform into a royal retreat.
Call to action: Share a photo of your princess room makeover or ask for project help in the comments — I’ll respond with tips and troubleshooting to keep your renovation on track.