Have you ever stared up at a boring popcorn or stained ceiling and thought, “I could do better”? Maybe you want a cozy cabin vibe in your living room, a modern plywood plank ceiling over the dining table, or a fast budget-friendly ceiling refresh before guests arrive. Plywood ceiling projects are one of the best ways to reinvent a room without gutting it—fast, affordably, and with plenty of style options.
Why choose plywood for ceiling renovations?
Plywood is lightweight, widely available, and comes in a range of grades, thicknesses, and veneers that mimic expensive hardwoods. It offers excellent flexibility for different styles—rustic planks, smooth painted panels, or even a coffered look using simple plywood beams. For DIYers, plywood is forgiving: you can cut it with standard tools, install it directly to joists or furring strips, and finish it to match any decor.
Plywood ceiling projects: ideas and inspirations
Below are practical project ideas that range from weekend makeovers to multi-day transformations.
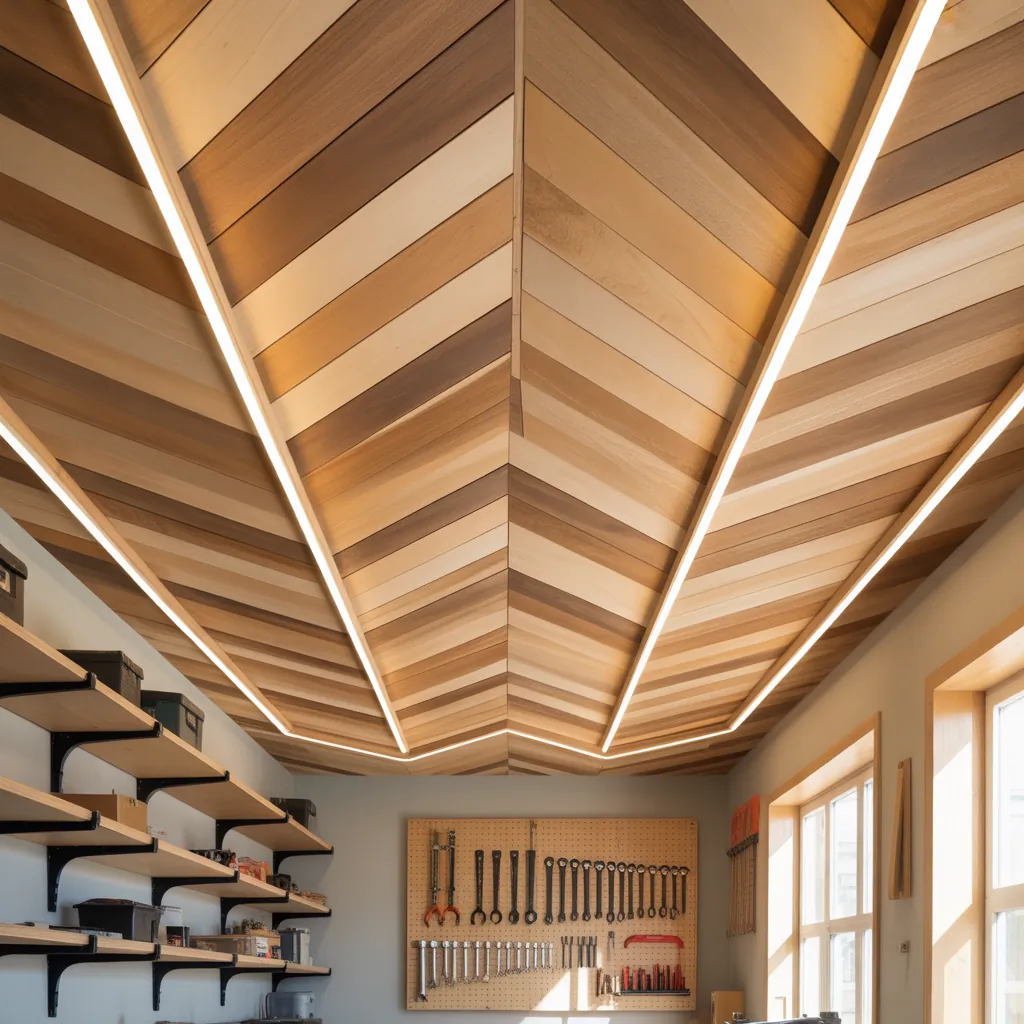
1. Plywood plank ceiling (tongue-and-groove look)
- Use thinner plywood (1/4″ to 5/16″) ripped into 4–6″ planks for a beadboard or plank look.
- Install on furring strips perpendicular to joists. Leave small expansion gaps and finish with paint or stain.
- Time: 1–3 days for an average room. Cost: low to moderate depending on veneer.
2. Smooth plywood panels for a modern ceiling
- Install 4’x8′ plywood sheets (1/2″ to 3/4″) directly to ceiling joists for a clean contemporary surface.
- Use joint compound or seam tape + caulk for invisible seams, then prime and paint in a matte or satin finish.
- Great for basements or rooms where you want a sleek, continuous plane.
3. Coffered-look beams with plywood
- Create faux beams by building boxes from 1/2″ plywood and attaching them in a grid. Stain or paint for dramatic effect.
- This project delivers high-end character at a fraction of the cost of solid timber.
4. Accent ceiling over dining or kitchen areas
- Use a plywood panel inset or a contrasting plywood stain to define a dining nook or the island area — perfect for tying into a kitchen upgrades plan.
Step-by-step: How to install plywood ceiling panels (basic method)
Below is a straightforward approach that most confident DIYers can follow. Always take safety precautions when working overhead.
- Measure and plan: Determine sheet layout, joist locations, and lighting/vent openings. Sketch a plan to minimize seams across the room.
- Choose materials: Select plywood grade and thickness. For typical ceilings, 1/2″ to 5/8″ exterior-grade plywood works well. For planked looks, 1/4″ or 5/16″ is easier to handle.
- Prepare the workspace: Turn off power to ceiling fixtures, remove old fixtures, and confirm joist spacing. Use ladders or scaffolding securely.
- Attach furring strips (optional): If your joists are uneven, screw 1×3 furring strips perpendicular to the joists at 16″ OC for a flat substrate.
- Apply adhesive: Run construction adhesive across joists/furring strips where each sheet will contact to reduce squeaks and increase holding strength.
- Fasten sheets: Lift plywood into position and screw into joists with 1-5/8″ coarse-thread screws every 8–12″ along edges and 12–16″ in the field. Countersink slightly.
- Finish seams and fasteners: Use joint tape and compound or sandable wood filler. For plank installations, use trim for a finished edge.
- Prime and finish: Apply primer before paint or seal with polyurethane/stain if using a natural veneer.
Practical tips, tools, and real-world advice
- Tool checklist: Circular saw or table saw, drill/driver, drywall screws, construction adhesive, ladder/scaffold, measuring tape, stud finder, safety goggles, dust mask.
- Best plywood for ceiling: Use A-C or B-B veneer for visible faces; CDX for painted or hidden surfaces. Choose exterior-grade for moisture-prone areas.
- Thickness matters: 1/2″ gives good rigidity for direct-to-joist installs; 1/4″ is best for planks over a backing. Heavier sheathing may require more fasteners.
- Lighting and HVAC: Plan cutouts before installation. Use adjustable fixtures or extension cans when reinstalling lights.
- Sound and insulation: Plywood alone won’t significantly improve acoustics—add insulation above the ceiling or acoustic panels if noise control is a priority.
- Safety: Turn off circuits near work, secure ladders, and work with a partner for lifting sheets.
Design inspiration: finishes, stains, and patterns
Plywood can be stained to show a warm wood grain, painted in a bold color, or whitewashed for a coastal look. Try these ideas:
- Dark walnut stain for a dramatic library or media room.
- White-painted plywood planks for bright, Scandinavian-style rooms.
- Diagonal plank patterns for visual interest on sloped ceilings.
- Combining plywood with recessed lighting and crown molding for a polished, high-end appearance.
Budgeting and timelines
Expect material costs to vary by plywood grade and finish. A small room ceiling (10’x12′) material cost can be under $200 for basic plywood and fasteners; higher for specialty veneers or thicker panels. Installation time ranges from a single weekend for plank projects to several days for full-panel installs with finishing.
Common mistakes to avoid
- Not locating joists—screwing into drywall won’t hold plywood long-term.
- Skipping adhesive—this can lead to sagging and noise.
- Failing to allow expansion gaps—wood moves with humidity.
- Ignoring lighting/electrical planning—retrofits are harder after panels are up.
Frequently Asked Questions
1. Is plywood a good material for ceilings?
Yes. Plywood is durable, affordable, and versatile—suitable for both painted and stained finishes. Select the right grade and thickness for your project and follow proper fastening practices.
2. How thick should plywood be for a ceiling?
For direct-to-joist installs, 1/2″ to 5/8″ is commonly used. For planked ceilings over furring strips, 1/4″ to 5/16″ is easier to handle. Thicker panels offer more rigidity but increase weight and fastener needs.
3. Can I install plywood ceiling panels myself?
Many DIYers can, provided they are comfortable working on ladders and using power tools. Proper planning, a helper for lifting, and attention to electrical fixtures and joist layout make the project manageable.
Conclusion: Take on one of these plywood ceiling projects today
Plywood ceiling projects offer a high-impact, budget-friendly way to transform your home. Whether you’re tackling a simple plank ceiling, a modern smooth panel install, or a faux-coffered ceiling, plywood gives you design flexibility and strong DIY potential. Ready to start? Browse our DIY projects for step-by-step guides, peek at home design ideas for inspiration, and consider a small plywood ceiling accent over the breakfast nook under your next kitchen upgrades plan. Grab your tools and try a plywood ceiling makeover—your ceiling will thank you.