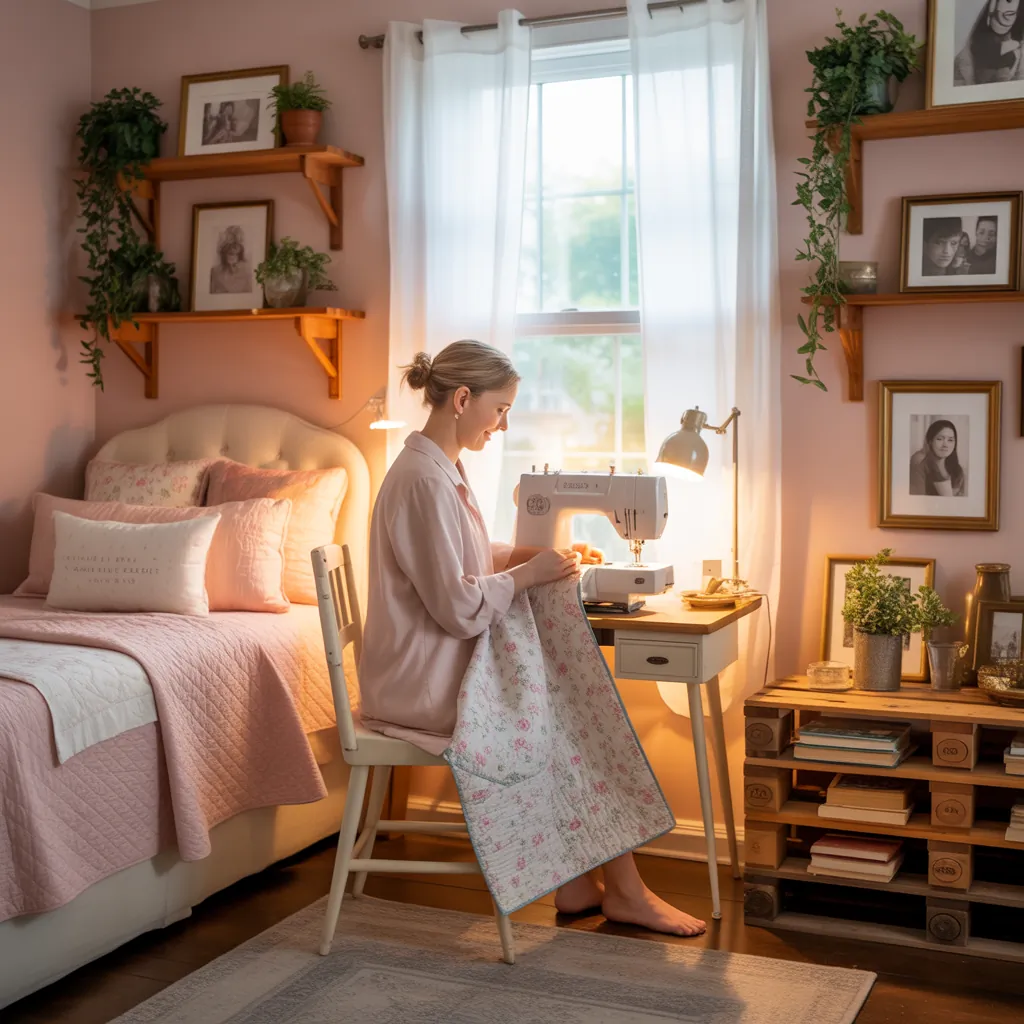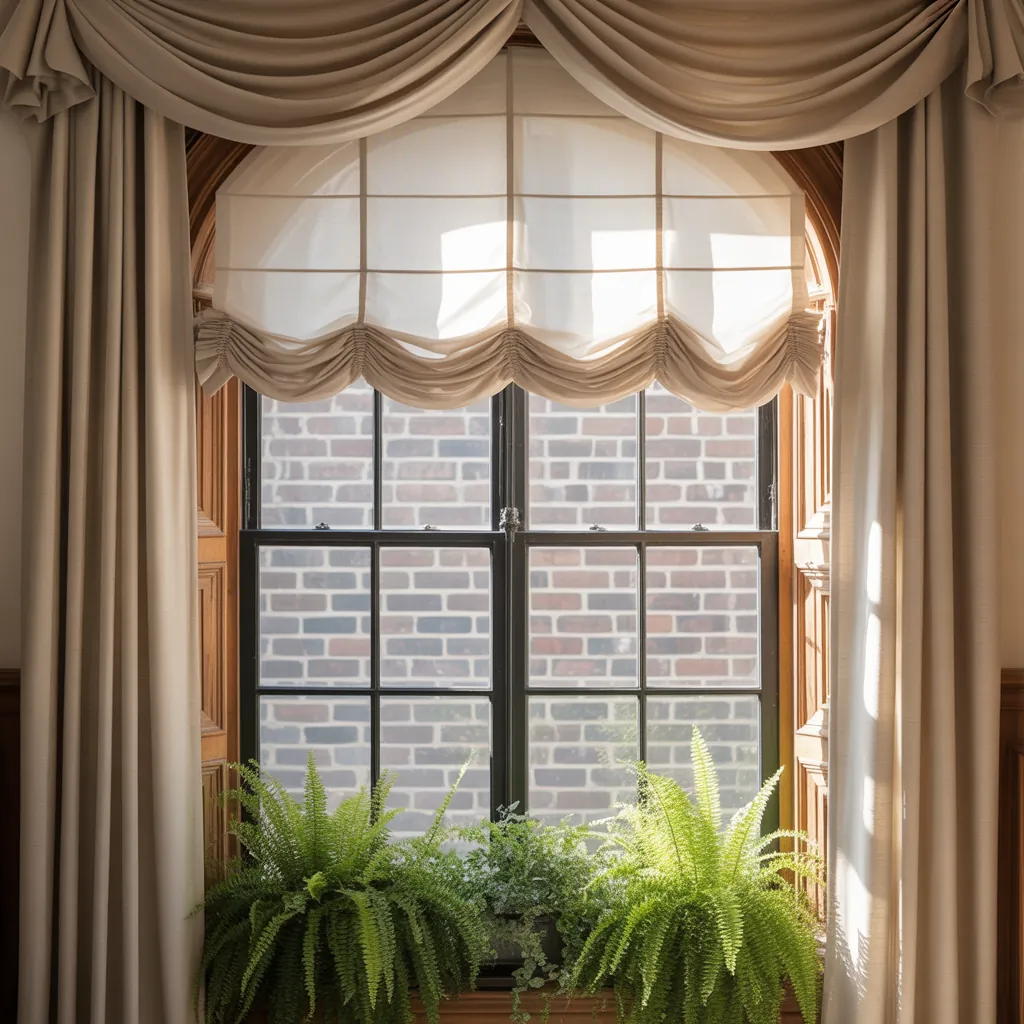
Ever stood in front of a beautiful arched window and wondered how to dress it without losing the curve that makes your room special? Maybe you’ve bought fabric, started a project, then paused at the awkward top curve. If that sounds familiar, you’re not alone. Arched windows are showstoppers, but they present unique challenges for curtains, shades, and shutters. If you’re searching for pictures arched window treatment ideas, this guide gives you real-world inspiration, step-by-step DIY tips, and practical solutions to make your arched windows look professionally finished.
Why arched windows need special attention
Arched or radius windows add architectural charm, increased light, and a focal point that can define a room. However, their curved shape requires more thoughtful measuring, hardware, and treatment choices than standard rectangular windows. The goal is to enhance the arch, not hide it.
Pictures arched window treatment ideas to inspire your next DIY
Below are three popular approaches with pictorial-style descriptions you can visualize, plus tips for photographing your results (because great photos help you learn and show off your work).
1. Soft Drapery with an Arched Rod (Classic & Elegant)
Visualize floor-length curtains pooling slightly and a slim arched track that follows the curve. This look preserves the arch while adding luxury.
- Materials: flexible curtain track, curtain panels, lining, brackets.
- DIY tip: mount the track inside the frame for a seamless look. For photography, backlight during golden hour to show the curtain silhouette and arch.
- Best for: living rooms, formal dining, bedrooms that need softening.
2. Custom Arch Valance or Cornice (Tailored & Clean)
Imagine a smooth, upholstered half-moon board that mimics the arch—clean lines, tailored fabric, and easy to make.
- Cut plywood or MDF into the arch shape using a cardboard template traced from the window.
- Attach foam and batting, then upholster with your fabric and secure from the back.
- Mount above or inside the arch with French cleats for strength.
Design tip: choose a contrasting trim or welt to highlight the curve. Photographic note: use close-up detail shots of the fabric texture to mimic the feel of designer images.
3. Plantation Shutters or Arched Shutters (Structured & Light-Controlled)
Picture crisp louvers cut to fit the radius—timeless, energy-efficient, and excellent for privacy.
- Order custom arched shutters for the best fit, or use DIY shutter kits for a semi-custom solution.
- Installation requires precise measurement of the arch depth and curvature; use a flexible measuring tape and mark multiple points along the curve.
- Photography tip: shoot from multiple angles to capture how louvers control light at different times of day.
Step-by-step: Build an upholstered arched valance (easy DIY)
This project is budget-friendly, quick, and produces a high-impact result.
- Measure the arch: record the width and the maximum height at the center. Make a paper template by placing tracing paper against the frame.
- Transfer the template to 1/2″ plywood. Cut slowly with a jigsaw and sand the edge smooth.
- Glue 1″ foam to the face, then wrap with batting and your chosen fabric. Staple at the back and trim excess fabric.
- Attach a cleat or sturdy hanger to the back and mount it level above the window.
- Add sheer curtains or a roman shade behind if you need privacy while keeping the arch accent.
Practical tips for measuring and installing arched treatments
- Measure at multiple points across the curve—arches aren’t always perfect. Note depth too if you plan inside mounts.
- Use a cardboard template for any custom-fitted element. Cutting plywood to match the template reduces errors.
- If sewing curved hems, try using a walking foot and clip curves frequently to allow smooth turns.
- For curtain tracks, consider flexible spline rod systems or made-to-measure curved tracks for a clean fit.
- Choose hardware rated for your fabric weight; heavy drapery needs reinforced brackets.
Design inspiration and style pairings
Pair your arched window treatments with these room styles:
- Modern farmhouse: white-painted arch, linen curtains, and distressed wood cornice.
- Mid-century modern: low-profile valance, bold geometric fabric, and slim hardware.
- Coastal: soft blues, light sheers, and a white-washed arched cornice.
- Traditional: layered sheers, silk drapes, and an upholstered arch with decorative trim.
Lighting and photography tips for your arched window projects
Good photos help you keep a portfolio of before-and-afters. Try these tricks:
- Shoot at multiple times of day—morning and late afternoon reveal different textures and light diffusion.
- Use a tripod and level to keep lines straight; arches can distort perspective without stabilization.
- Take detail shots of fabric, trim, and hardware to show craftsmanship.
Frequently Asked Questions
1. Can I use standard curtain rods on arched windows?
Standard straight rods work for the straight sections below the arch, but they won’t follow the curve. For a smooth, arch-following look use flexible tracks or custom arched rods. Alternatively, pair a straight rod with a fixed arch valance to preserve the shape.
2. Are DIY arched shutters realistic for a beginner?
Simple DIY shutter kits exist, but true arched shutters require precision cutting and hinge placement. If you’re confident with jig saws and measuring, you can attempt a semi-custom solution; otherwise, plan for professional installation to ensure a perfect fit.
3. What’s the best way to add privacy without blocking the arch?
Use a two-layer approach: a lightweight sheer or frosted window film inside the arch for privacy, plus a decorative valance or drapery below to frame the curve. Roman shades cut to the arch shape also allow daytime light while preserving privacy.
Conclusion
If you’ve been searching for pictures arched window treatment ideas, hopefully this guide gave you clear visuals, practical DIY steps, and confidence to start your project. Whether you choose soft drapery, an upholstered valance, or custom shutters, a little planning and the right measuring tricks make the difference between a frustrating install and a stunning finish. Ready to try one of these projects? Head over to our DIY projects page for more step-by-step tutorials, or explore home design ideas and kitchen upgrades for additional inspiration. Share your before-and-after photos and join the conversation — your arched window could be the next neighborhood showpiece!