Have you ever stood on your front porch the week before Halloween wondering how to turn your yard into a spooky, welcoming scene without blowing your budget or hiring a pro? Whether you’re prepping for trick-or-treaters, a neighborhood party, or just love seasonal curb appeal, smart outside halloween decorations can transform an ordinary yard into something memorable. Below are creative, practical, and safe ideas you can tackle this weekend.
Plan Your Spooky Look: Theme, Budget, and Safety
Start by choosing a theme—classic graveyard, haunted Victorian, witchy cottage, or minimalist eerie. Decide on a budget and a “wow” focal point, like a lighted entry arch or a DIY graveyard scene. Don’t forget safety: keep walkways clear, use outdoor-rated electrical gear, and secure tall props against wind.
- Theme ideas: Graveyard, Haunted House, Witch Garden, Monster Mash, Pumpkin Patch
- Budget ranges: Under $50 (one focal prop + lighting), $50–$200 (several props + audio), $200+ (inflatable displays, projectors)
- Safety checklist: GFCI outlets, outdoor extension cords, non-slip mats, secure stakes and anchors
DIY Projects for Outside Halloween Decorations
This section focuses on easy DIY projects that deliver high impact. Each project lists materials, time, cost estimate, and step-by-step instructions so you can tackle them confidently.
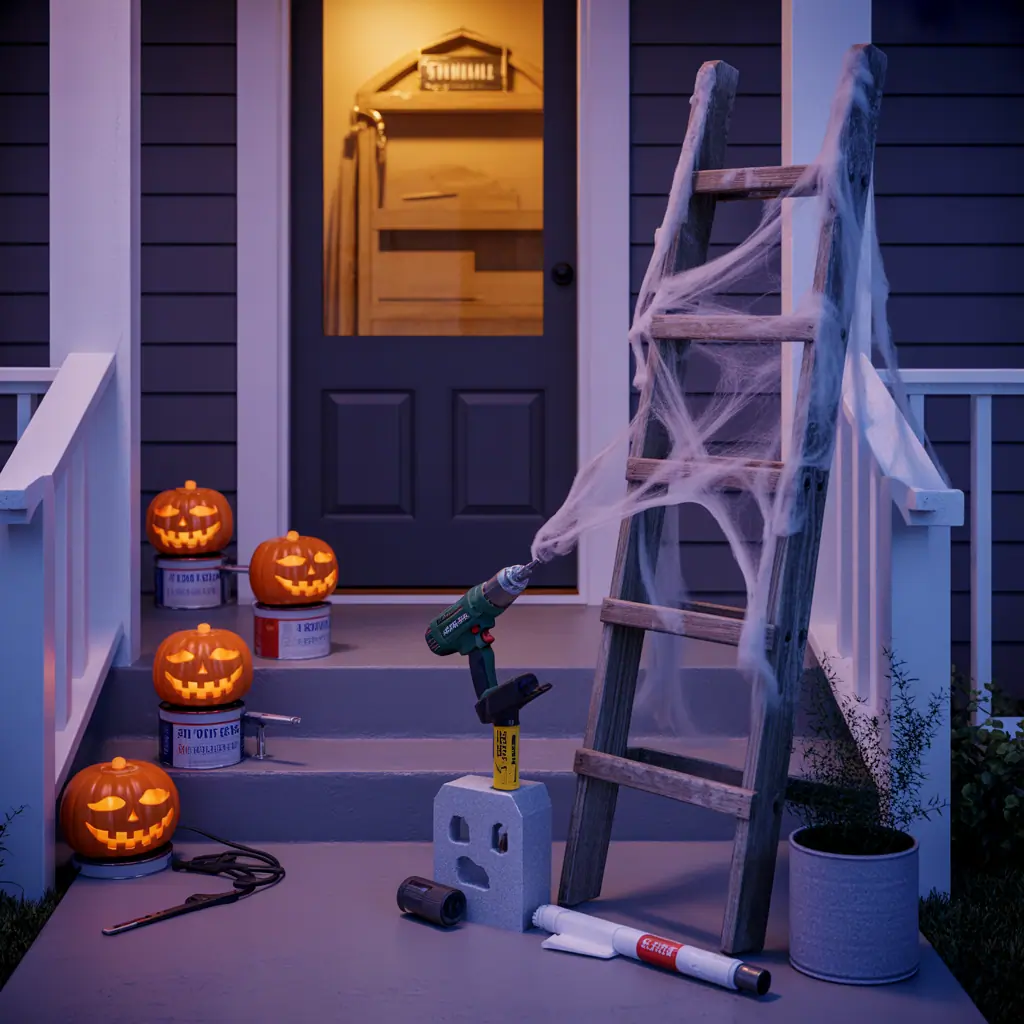
1. Spooky DIY Tombstones (Graveyard Scene)
Materials: insulation foam or plywood, jigsaw or serrated knife, gray spray paint, black wash (dilute acrylic), stakes or rebar.
- Sketch tombstone shapes, transfer to foam or plywood.
- Cut shapes with a jigsaw (wood) or serrated knife (foam).
- Paint with gray spray paint; add weathering using a watered-down black wash.
- Attach stakes or rebar to the back and anchor into the ground.
Tip: Use a hot glue gun to add faux cracks and moss (green craft paint and glue) for extra realism. This project typically takes 2–3 hours and costs under $30 for foam.
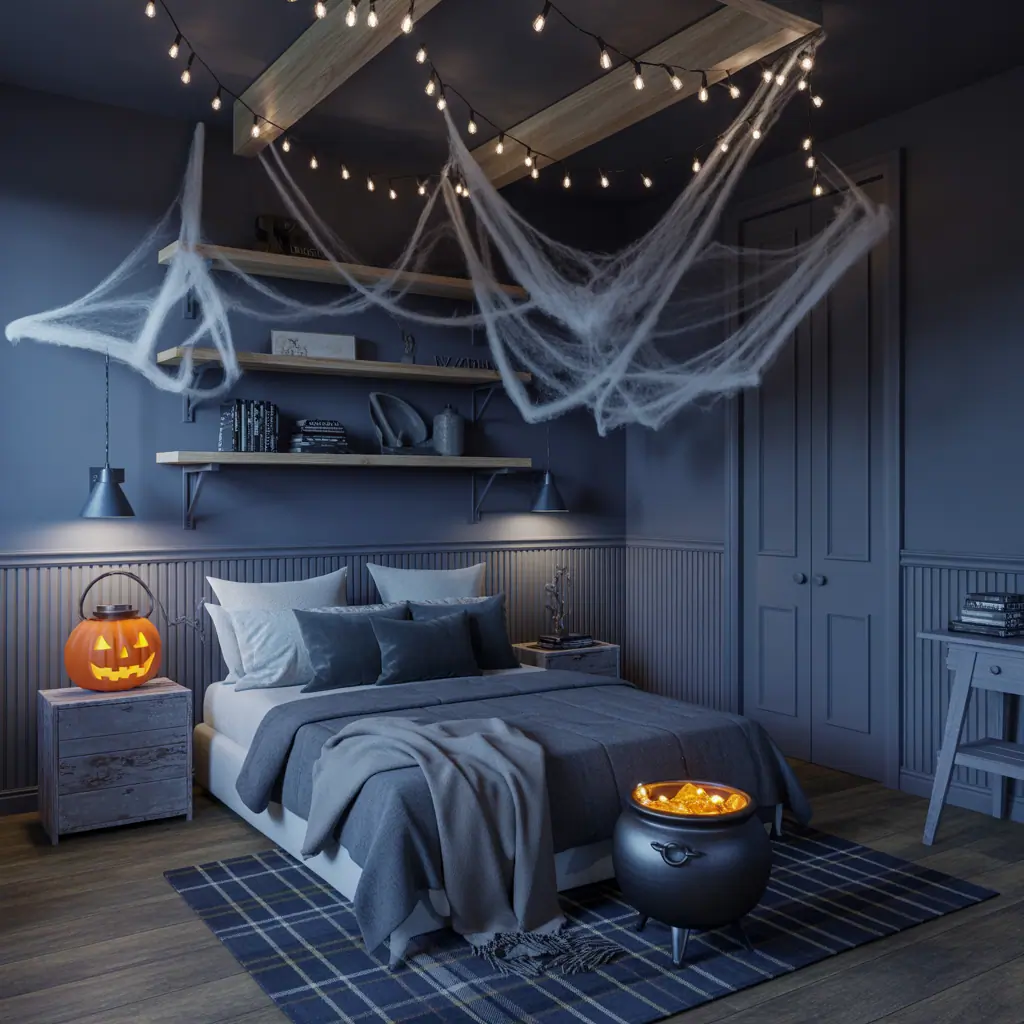
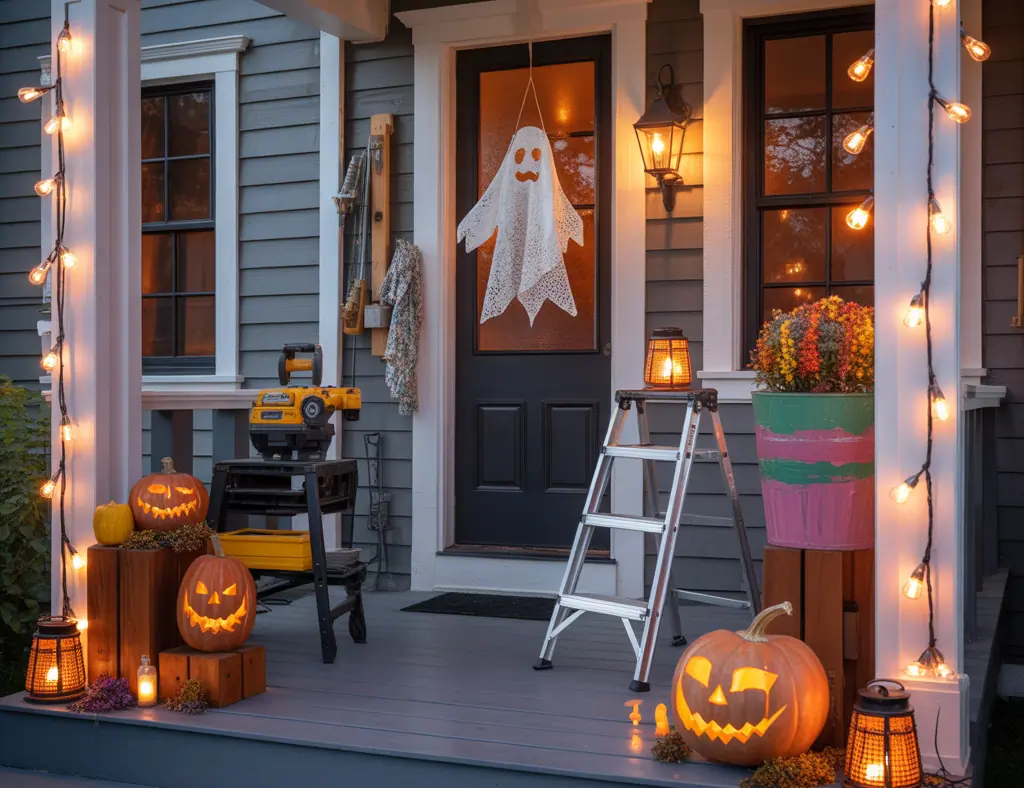
2. Creepy Porch Setup (Welcoming but Eerie)
Materials: black fabric, old branches, battery LED candles, string lights, skeleton or mannequin, fishing line.
- Drape black fabric to create depth behind pumpkins and props.
- Arrange stacked pumpkins with varying sizes; carve or paint faces.
- Hang skeletons or cloth ghosts from the porch ceiling using fishing line for a floating effect.
- Use battery LEDs in jars to create safe, ambient lighting.
Design tip: Keep one clear path to the door for safety and accessibility while maximizing visual interest by layering props at different heights.
3. Motion-Activated Spook Zone
Materials: motion sensor lights or speakers, fog machine (optional), cheap plastic bats.
- Position motion sensors near the walkway or gate and test range.
- Set LED floodlights to a low glow, trigger to brighter or colored lighting when motion is detected.
- Add a short burst of spooky sound from an outdoor speaker for theatrical effect.
Real-world note: Motion sensors save energy and increase the “jump factor” for visitors without needing a full-time operator.
Lighting, Sound, and Motion: Bringing Your Yard to Life
Lighting and sound are the quickest ways to change mood. Use warm amber LEDs for pumpkins, cool blue or green washes to create otherworldly shadows, and gobos or projectors for moving patterns on your house façade. For sound, loop short, spooky tracks at a low volume so neighbors aren’t disturbed.
- Use waterproof solar lights along paths—energy-efficient and easy to install.
- Pinspots highlight focal props; stake them low to avoid glare.
- Projectors create moving textures (trees, ghosts) with minimal setup—place them under eaves and secure against rain.
Weatherproofing, Storage, and Longevity Tips
Outdoor decorations must survive wind, rain, and possibly early snow. Invest in outdoor-rated paint, seal wooden props with polyurethane, and use zip ties or ratchet straps to anchor large items. For storage, collapseable boxes, labeled bins, and silica gel packets can extend the life of fabrics and electronics.
Quick checklist:
- Seal wood and foam with outdoor spray to prevent moisture absorption.
- Remove or cover electronics during heavy rain and storms.
- Store decorations in plastic bins in a dry place; keep a small repair kit handy (hot glue, duct tape, spare LEDs).
Design Inspiration: Layouts That Work
Layout is essential for flow and impact. Consider these practical dispositions based on your yard:
- Small porch: One strong focal point (arched doorway or oversized pumpkin) plus layered lighting.
- Front yard with walkway: Line path with luminaries, small tombstones, and low-level lighting for drama.
- Large yard: Create multiple “scenes” (graveyard corner, witch’s table, spooky tree) and connect them with themed lighting.
Balance is key: use odd numbers of props, repeat a color palette, and ensure sightlines from the street show your best pieces.
Frequently Asked Questions
Q1: What are affordable outside halloween decorations that still look professional?
A: Focus on lighting, one strong DIY focal prop (like a graveyard or sign), and well-placed silhouettes. Use inexpensive materials—foam, spray paint, and solar lights—to create a high-end look for under $100.
Q2: How can I make my Halloween decorations safe for guests and kids?
A: Keep walkways clear, use battery-operated candles instead of real flames, anchor tall props, and avoid tripping hazards like loose cords. Test motion features during daylight to check activation zones.
Q3: What’s the easiest way to protect decorations from rain and wind?
A: Use waterproof materials and sealants, mount heavier items on stakes or anchors, and store electronics during storms. For fabric props, choose outdoor-rated textiles or cover them with clear tarps when bad weather is forecast.
Conclusion: Get Creative and Start Decorating Today
Outside halloween decorations are a fun, high-impact way to improve curb appeal and celebrate the season. With a little planning, some DIY spirit, and these practical tips, you can create a memorable, safe, and weather-ready display. Ready to try a project this weekend? Start with one focal piece and build from there—then share your results with neighbors. For more seasonal projects and home tips, check out our DIY projects and home design ideas pages to keep your next upgrade simple and rewarding.
Call to action: Pick one idea above, gather your supplies, and give your yard a Halloween makeover tonight—then come back to explore more inspiration and step-by-step guides on our site.
For more home decor ideas beyond just outside Halloween decorations, check out our Home Decor Inspo.
For more home decor ideas beyond just outside Halloween decorations, check out our Home Decor Inspo.