Do you find yourself juggling groceries while fumbling on cracked, slippery steps? Or maybe your backyard slope is a muddy path rather than a welcoming route to the patio. If your home’s entrance is more hazard than welcome, it’s time for a change. Whether you’re tackling a small DIY weekend project or planning a full exterior makeover, the right outdoor steps ideas can transform curb appeal, safety, and functionality — without breaking the bank.
Why Outdoor Steps Matter: Function, Safety, and Curb Appeal
Outdoor stairs are more than a way to go up and down — they define how people experience your home. From front-porch steps to garden stairs and back patio stairs, good design improves accessibility, prevents accidents with non-slip surfaces, and gives your house personality. Consider materials, slope, drainage, and local building codes before starting any project.
Popular Outdoor Steps Ideas to Fit Every Home
1. Simple Gravel Steps (Budget-friendly)
Gravel steps are fast, affordable, and ideal for sloped gardens. They’re perfect as DIY outdoor steps for properties where a formal staircase feels out of place.
- Materials: landscape fabric, gravel, timber or stone risers, landscape staples.
- Steps: mark the path, excavate each tread, lay fabric, add timber risers or compacted soil, fill with gravel, and compact. Add edging to keep gravel contained.
- Tips: install drainage at the base and use coarse gravel for better traction.
2. Paver or Flagstone Steps (Durable and Attractive)
Pavers and flagstones give a high-end look without the complexity of poured concrete. They work well for front steps and pathways.
- Materials: pavers/flagstones, sand bed, compacted gravel, polymeric sand, optional mortar.
- Steps: excavate treads, create a compacted gravel base, set a sand bed, place stones, level, and fill joints with polymeric sand.
- Tips: choose larger irregular stones for a natural look; use consistent riser heights (6–7 inches) for safe stepping.
3. Wooden Steps and Composite Decking (Warm and Comfortable)
Wood or composite steps suit porch entries and backyard decks. Composite decking lasts longer and needs less maintenance than wood.
- Materials: pressure-treated lumber or composite boards, stringers, galvanized screws, sealing or stain for wood.
- Steps: cut and mount stringers to a solid ledger, attach treads, check for level and spacing, and add riser boards if desired.
- Tips: use anti-slip strips for rainy climates and apply a protective finish on wood every few years.
4. Poured Concrete or Stamped Concrete (Modern and Long-lasting)
Poured concrete provides a durable, low-maintenance solution and can be stamped or stained to mimic stone or tile.
- Materials: concrete mix, forms, rebar or wire mesh, stamp/stain if desired.
- Steps: build forms, prepare a compacted base, pour and level concrete, add reinforcement, and finish with stamping or staining after initial cure.
- Tips: hire a pro for large pours or complex stamping to ensure even finish and proper curing.
Design Details That Make Outdoor Steps Shine
Little details elevate a simple staircase into a design feature:
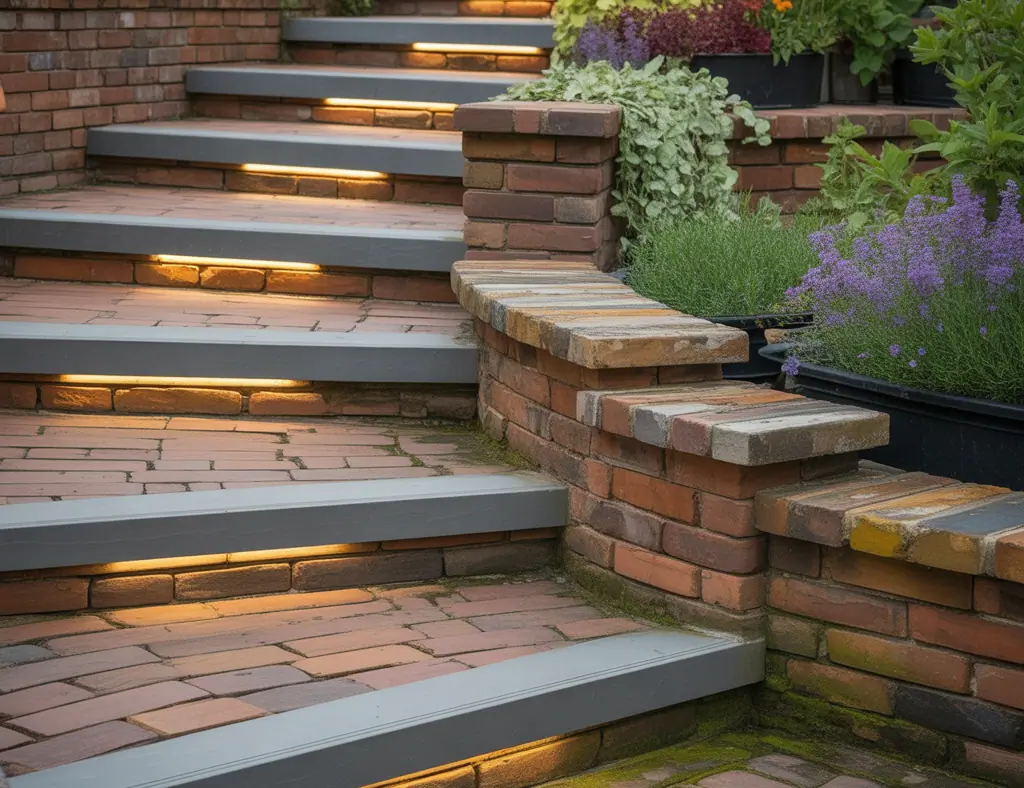
- Lighting: add LED strip lighting under treads, step lights, or solar path lights to improve night safety and ambiance.
- Handrails and guardrails: required by code in many areas and excellent for accessibility—choose materials that match your home’s style.
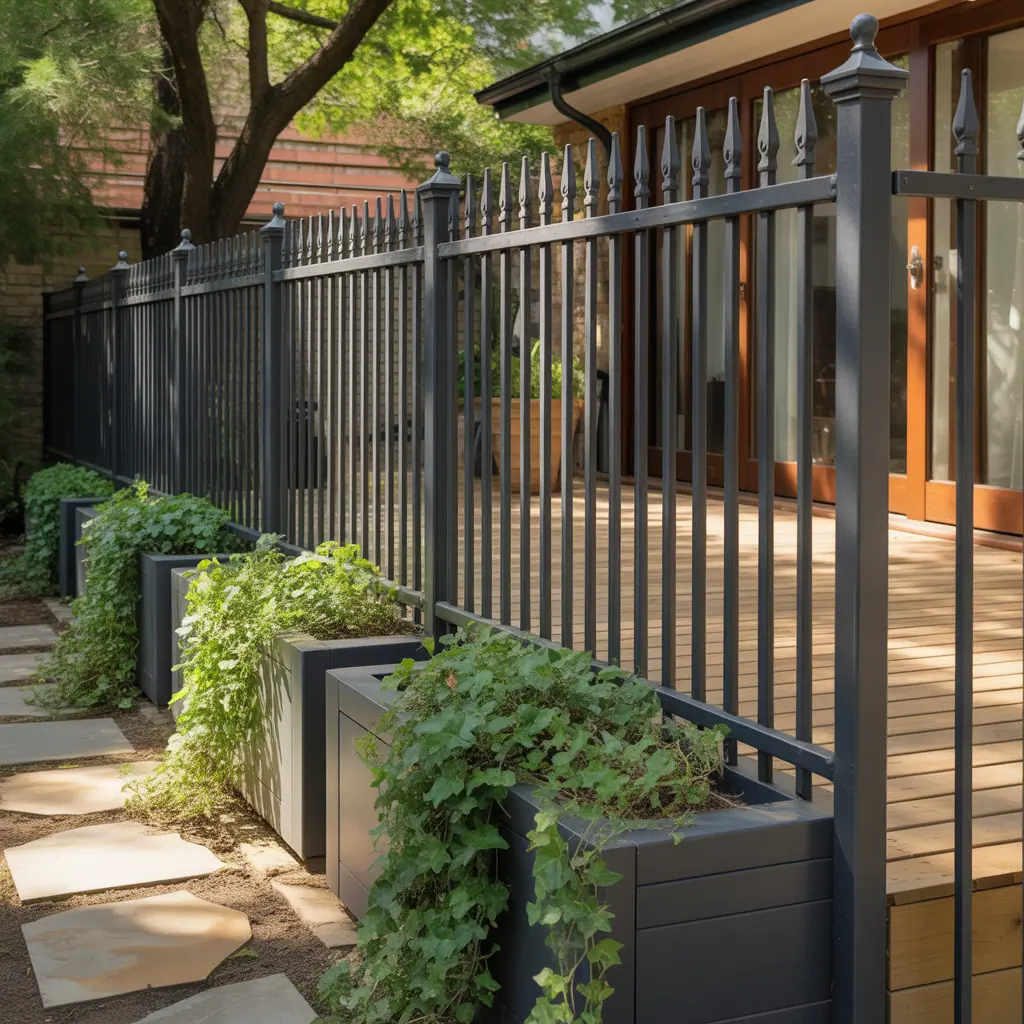
- Landscaping: flanking steps with low shrubs, ornamental grasses, or potted plants softens hard edges and integrates stairs into the yard.
- Contrasting nosing: paint or use contrasting stone on the tread edge to improve visibility and reduce trips.
Step-by-Step DIY Improvement: Refreshing Existing Outdoor Steps
If your steps are sound but worn, a refresh can restore safety and beauty in a weekend.
- Inspect: look for loose treads, rotten wood, spalling concrete, and drainage issues.
- Clean: power wash concrete or wood, remove algae and dirt, and allow to dry.
- Repair: replace rotted wood, patch concrete with a repair mix, and tighten hardware.
- Resurface: apply concrete resurfacer, add stone veneer, or install anti-slip stair tread covers.
- Finish: paint or stain, add new handrails, and install lighting for a professional look.
Tip: Always check local building codes for handrail and rise/run requirements before making structural changes.
Materials Guide: Choosing the Best Material for Your Project
Match materials to climate, use, maintenance preferences, and budget:
- Stone (granite, bluestone): premium, durable, low-maintenance, higher cost.
- Concrete: economical, versatile, great for stamping or staining.
- Wood: warm and traditional; needs regular sealing in wet climates.
- Composite: low-maintenance, good slip resistance, mid-to-high cost.
- Pavers: modular and easy to replace; good for DIY installers.
Safety First: Non-Slip and Drainage Tips
Slippery steps are a common hazard. Make safety a priority:
- Add anti-slip grit or adhesive strips to treads.
- Ensure tread depth and riser height follow comfortable ergonomics (tread at least 10 inches, riser 6–7 inches common guideline).
- Provide adequate slope and drainage to prevent water pooling and freeze/thaw damage.
- Use sealed or treated materials in rainy or icy climates.
Cost Considerations and Time Estimates
Budgets vary widely by material and scope:
- Gravel steps: $50–$300 for a small path (materials only).
- Paver steps: $500–$2,500 depending on size and stone quality.
- Wood/composite porch steps: $300–$2,000 depending on materials and labor.
- Poured concrete: $800–$4,000 for a small to medium staircase with finishing.
DIYers can save 30–50% on labor but should only tackle tasks within their skill level. When in doubt, consult a contractor for structural work.
Outdoor Steps Ideas for Inspiration
Want a few quick looks to consider?
- Rustic wooden steps with rope handrail for a lakeside cabin vibe.
- Wide stone treads with low risers and integrated planting beds for a terraced garden look.
- Floating concrete treads anchored to a retaining wall for modern minimalism.
- Composite deck steps with built-in LED strips for evening entertaining.
Outdoor Steps Ideas: Final Thoughts and Next Steps
Transforming uneven, unsafe, or lackluster stairs into a beautiful, functional feature is one of the highest-impact home improvements you can make. Start by evaluating safety and drainage, choose materials that suit your climate, and pick a design that complements your home. Many outdoor steps ideas are approachable for DIYers — from gravel paths to paver installations — but don’t hesitate to hire a pro for structural work.
Ready to tackle your stairs? Check out related projects and inspiration on our DIY projects and home design ideas pages. If your outdoor upgrade inspires an interior refresh, browse our kitchen upgrades for ideas that boost value and comfort.
Frequently Asked Questions
1. What is the safest rise and run for outdoor steps?
While codes vary, a common comfortable guideline is a riser height of 6–7 inches and a tread depth (run) of at least 10 inches. Consistency is critical—each step should match the others to avoid trips.
2. Which material is best for low-maintenance outdoor steps?
Composite decking and stone are low-maintenance options. Composite resists rot and requires little upkeep, while stone (like bluestone or granite) is very durable and weathers well with minimal care.
3. Do I need a permit to build outdoor steps?
Permits depend on local building codes, the height and complexity of the stairs, and whether you’re altering structural elements. Check with your local building department before starting, especially for handrail and landing requirements.
Conclusion — Make Your Outdoor Steps Work for You
Outdoor steps ideas range from quick DIY improvements to full-scale design statements. Whether you want low-maintenance stone treads, budget-friendly gravel stairs, or a cozy wooden porch entry, the right plan improves safety and curb appeal. Take measurements, choose appropriate materials, and prioritize drainage and non-slip surfaces. If you enjoyed these ideas, try one this weekend — and share your results with friends or in the comments below.
Ready to upgrade your entryway? Start with a small project and build confidence — then take on larger outdoor renovations. Happy building!