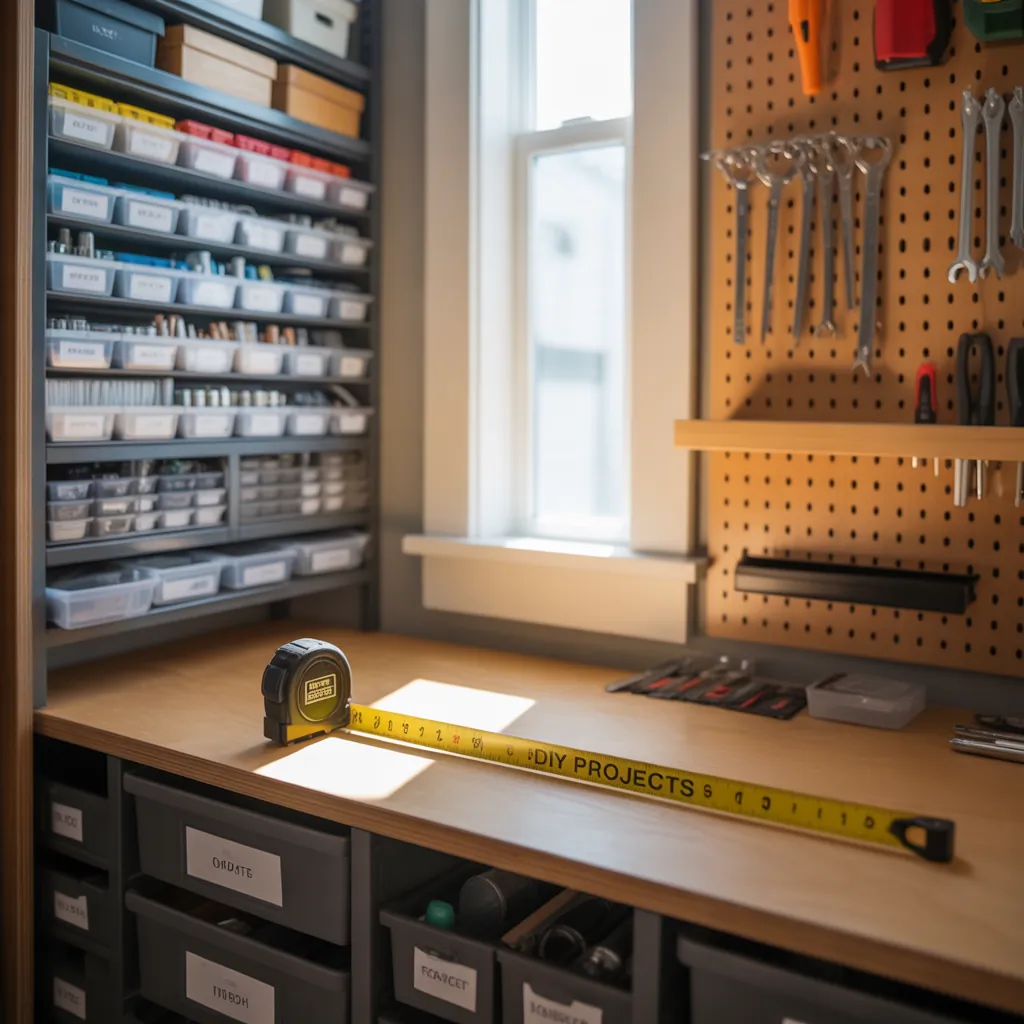
Have you ever stood in your yard on a warm evening and imagined a wooden tub under the stars or a stone shower tucked into a flowering hedge? If you’re feeling the itch to upgrade your backyard with character and functionality, you’re not alone. Transforming an unused corner into a charming outdoor bathroom can be one of the most rewarding DIY home improvement projects—if you plan it right.
Why Choose an Outdoor Rustic Bathroom?
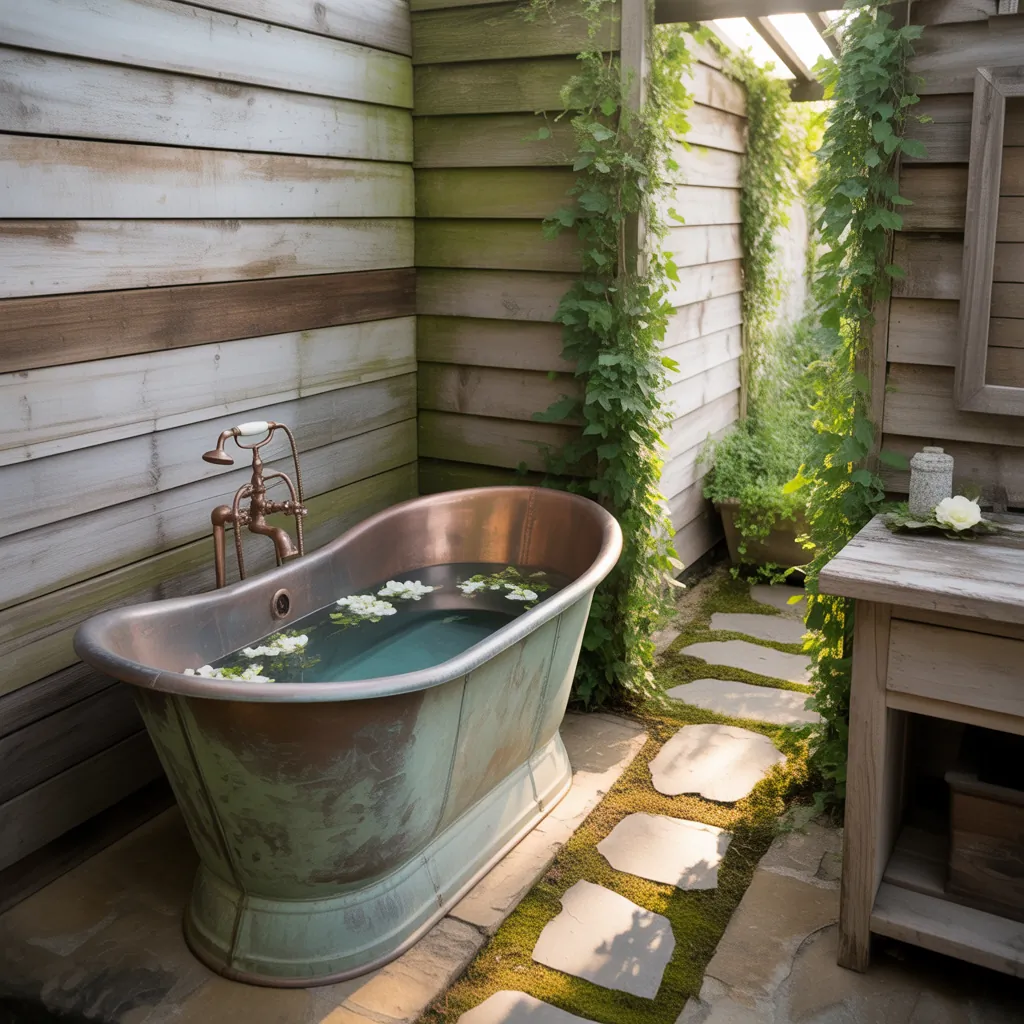
Outdoor rustic bathroom ideas blend natural materials, simple lines, and relaxed design to create a spa-like escape in your own backyard. Whether you want an outdoor shower next to the pool, a freestanding tub framed by cedar screens, or a fully sheltered rustic powder room, this approach emphasizes reclaimed wood, stone, metal accents, and greenery to connect the space to the landscape.
Outdoor Rustic Bathroom Inspirations
Below are practical design inspirations and step-by-step tips to help you build a durable, beautiful outdoor bathroom that suits your climate, budget, and DIY skill level.
1. Pick the Right Location
- Choose a level area with good drainage or plan to install a gravel base and drain channel.
- Consider privacy from neighbors—use hedges, trellises, or cedar privacy screens.
- Think about sunlight and wind: morning sun is great for showers, while a sheltered nook suits a soaking tub.
2. Prioritize Drainage and Plumbing
Good drainage prevents water pooling and foundation issues. For a basic outdoor shower or tub:
- Install a slightly sloped floor (1–2% slope) toward a linear drain or gravel trench.
- Use PVC or PEX for water lines and ensure connections are above frost line in cold climates.
- Consider a composting toilet or a closed-loop graywater system if sewer access is limited.
3. Materials That Age Beautifully
Rustic outdoor bathroom designs favor materials that patina over time:
- Reclaimed barn wood or cedar for walls and screens (seal with a UV-protective finish).
- Natural stone or flagstone floors—laid over a compacted base for stability.
- Galvanized metal, copper fixtures, and stone sinks for authentic rustic charm.
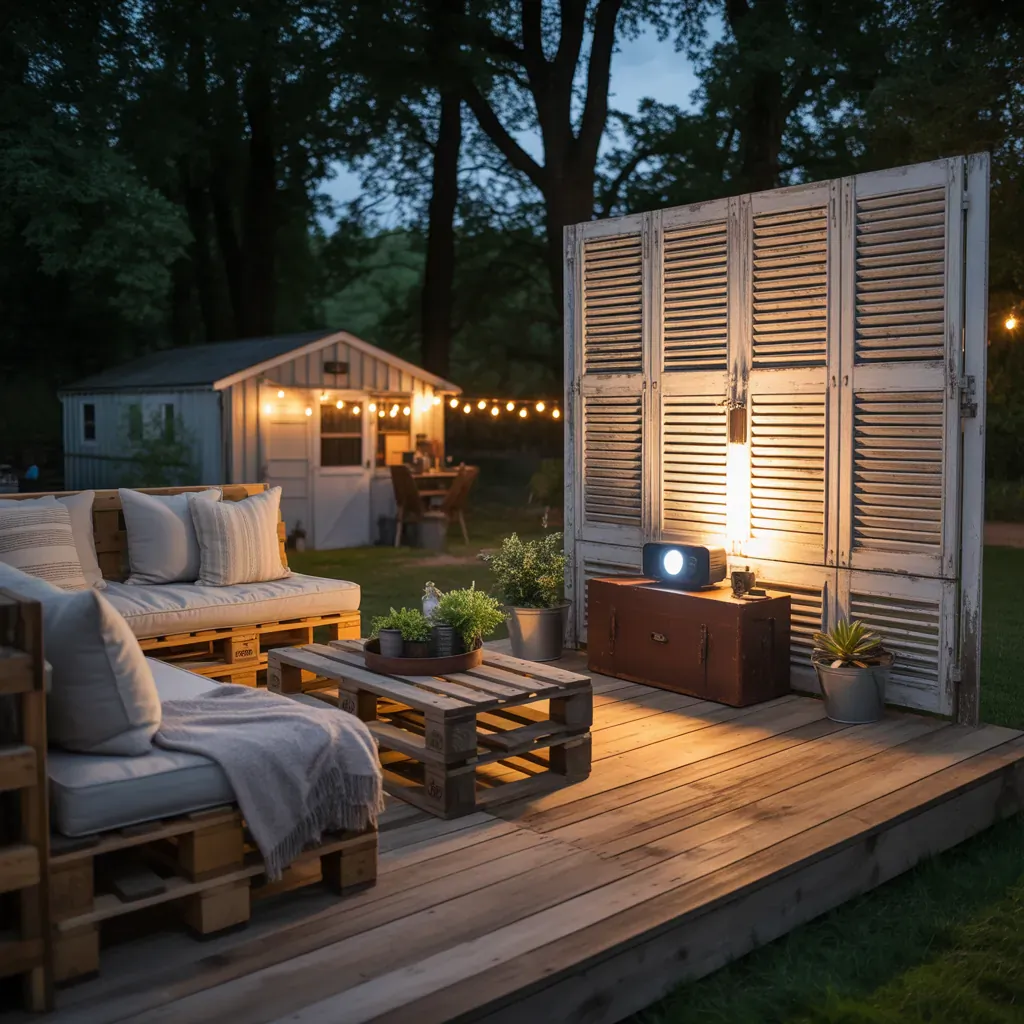
4. DIY Cedar Privacy Screen — Step-by-Step
A simple cedar screen adds privacy and style. Quick how-to:
- Measure the area and cut 4×4 posts to required height; dig post holes 18–24″ deep.
- Set posts in concrete and allow to cure.
- Attach horizontal cedar 1×4 rails, spaced to create a slatted effect (leave a 1/2″ gap for airflow).
- Finish with an exterior-grade wood sealer or let the cedar naturally silver for an authentic look.
5. Fixtures and Finishes
Choose fixtures that stand up to moisture and temperature swings:
- Outside showers: stainless steel or brass showerheads with anti-corrosion finishes.
- Soaking tubs: lightweight composite or copper freestanding tubs are easier to install outdoors than heavy cast iron.
- Sinks: stone vessel sinks or concrete basins integrate well into rustic vanities.
6. Lighting, Ambience, and Greenery
Lighting sets the mood and extends usability into evening hours:
- Use solar LED path lights for low-voltage, maintenance-free illumination.
- String lights or recessed deck lighting create a warm glow without harshness.
- Integrate plantings—ferns, bamboo, or native grasses—for privacy and a spa-like feel.
7. Weatherproofing and Maintenance
Rustic doesn’t mean neglected. Protect your outdoor bathroom with these tips:
- Seal wood with marine-grade varnish or penetrating oil each year in wet climates.
- Winterize plumbing by draining outdoor lines or using insulated, freeze-proof fixtures.
- Choose mildew-resistant caulk and clean stone floors with gentle, pH-neutral cleaners.
Practical Project Plan: From Concept to Completion
Follow this timeline to keep your rustic outdoor bathroom project on track:
- Week 1: Sketch design, confirm local permit requirements, and source materials.
- Week 2: Prepare site—clear vegetation, level ground, and set footings.
- Week 3: Install drainage and plumbing rough-in.
- Week 4: Build structural elements (screens, floor framing), then add finishes, fixtures, and landscaping.
- Week 5: Finalize seals, test plumbing, and decorate with durable textiles and storage.
Budget-Smart Tips
- Use reclaimed materials to cut costs—old boards, salvaged stone, and repurposed metal work wonderfully.
- Buy fixtures during seasonal sales or source from local salvage yards.
- Prioritize good drainage and plumbing—skimping here usually costs more later.
Design Combinations to Inspire
Mix and match these ideas for unique results:
- Rustic shower with pebble floor, galvanized rain head, and a trellis covered in jasmine for scent and privacy.
- Freestanding copper tub on a stone pad surrounded by low cedar screens and lanterns for a romantic soak.
- Minimalist rustic powder room: reclaimed wood vanity, concrete basin, and an eco composting toilet concealed behind plants.
Frequently Asked Questions
Permit requirements vary by location and the scope of work. Simple outdoor showers that drain to a gravel bed may need fewer permits than permanent plumbing tied to the sewer or septic system. Check with your local building department before starting work.
Combine hard screens (cedar slats, lattice) with living screens (bamboo, hedges) for layered privacy. Frosted glass or sliding wooden panels can add style and discretion without feeling boxed in.
Yes. Drain lines and fixtures before freezing temperatures, insulate exposed pipes, and consider removable fittings for showers. For tubs, install an insulated cover or move portable tubs indoors when possible.
Conclusion — Bring Your Outdoor Rustic Bathroom Inspirations to Life
Creating an outdoor rustic bathroom is a fulfilling blend of landscaping, carpentry, and plumbing that delivers a unique, relaxing retreat right in your backyard. With thoughtful planning, weatherproof materials, and a few smart DIY techniques, you can build a space that feels timeless and personal. Ready to start? Browse our DIY projects for step-by-step build guides, peek at creative layouts in our home design ideas gallery, or get inspired by eco-conscious materials used in our kitchen upgrades—then sketch your plan and take the first step today. Share your ideas or questions below, and let’s build something beautiful.