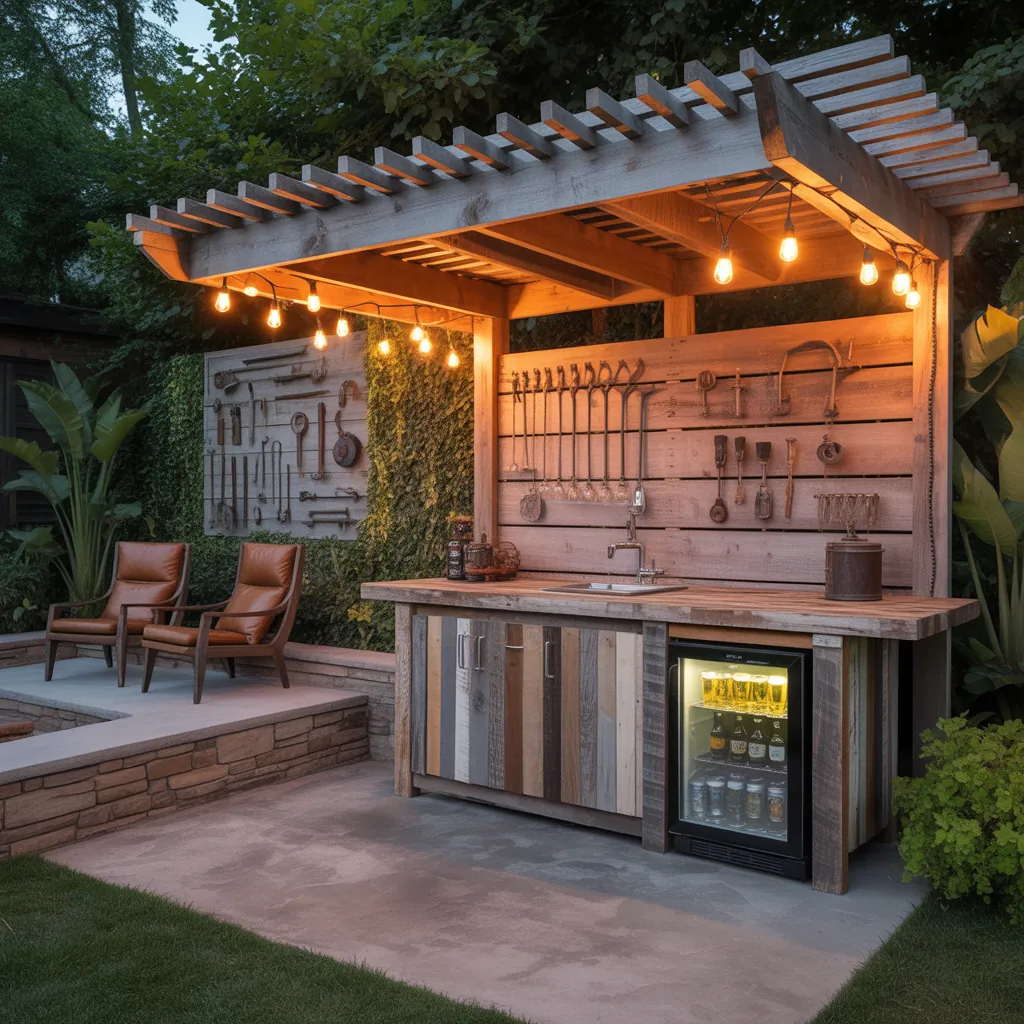
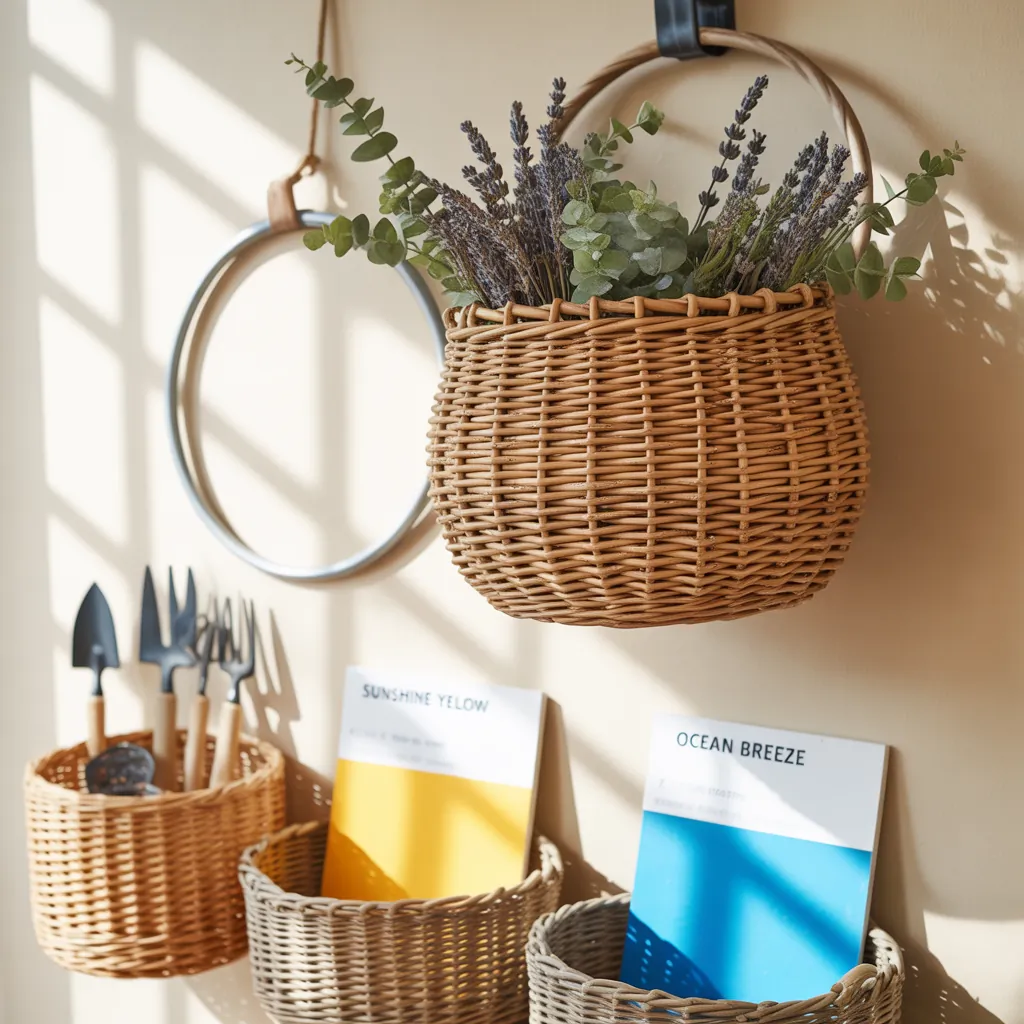
Ever find yourself dreaming of a quiet corner of the yard where you can unwind after a long day — but your garage is full of boxes, the shed is a mess, and the patio is just a concrete slab? If you’ve been picturing a backyard sanctuary for watching games, tinkering on projects, or hosting friends, an intentional man cave outdoor design can transform wasted space into a practical, stylish retreat. Whether you’re tackling a weekend DIY or planning a full backyard makeover, this guide walks through design ideas, step-by-step improvements, and budget-friendly tips to get you started.
Why an Outdoor Man Cave Makes Sense
Outdoor living is more popular than ever, and creating a dedicated man cave outside expands usable square footage without the cost of an addition. A well-designed backyard retreat improves entertaining, increases property appeal, and gives you a private spot for hobbies — from grilling to woodworking. Consider this your blueprint for turning a neglected patch of lawn, a small patio, or an old shed into a functional and inviting space.
Man Cave Outdoor Design: Start with a Clear Plan
A great project begins with planning. Define how you’ll use the space — entertaining, relaxing, DIY projects, or all of the above — then tailor the layout and features accordingly. Here are the essentials to plan for:
- Function: TV area, workshop, bar, or combination?
- Footprint: How much space do you really have (small backyard, deck, or shed conversion)?
- Budget: Set a realistic budget and prioritize must-haves.
- Timeline: Staged improvements vs. one big build.
- Local rules: Check permits and HOA restrictions for structures and electrical work.
Quick design checklist
- Measure your space and sketch a basic floor plan.
- Decide on covered vs. open-air (roofed pergola, canopy, or gazebo).
- Choose durable materials suitable for your climate (composite decking, pressure-treated lumber, outdoor fabrics).
Practical DIY Improvements: Step-by-Step Ideas
Start small and build over time. Below are staged improvement ideas that let you enjoy the space quickly and upgrade as budget allows.
Phase 1 — Quick Wins (Weekend projects)
- Clear and level the area. Remove debris, mow, and lay landscape fabric to reduce weeds.
- Install quick flooring: gravel with pavers, interlocking deck tiles, or a stamped concrete paint on existing slab.
- Add flexible seating: weatherproof sofas, foldable chairs, and a coffee table. Use cushions with outdoor fabric.
- String outdoor lights or hang solar lanterns for instant ambiance.
Phase 2 — Built Features (Longer weekend builds)
- Build a simple pergola or install a retractable canopy for shade and rain protection.
- Create a DIY outdoor bar or counter using pallet wood or plywood with a weather-resistant finish.
- Install an outdoor TV mount with weatherproof enclosure or a projector screen for movie nights.
Phase 3 — Major Upgrades (Pro or multi-weekend)
- Convert a small shed into an insulated man cave with electricity and HVAC or a mini-split for year-round comfort.
- Install a stone fire pit or gas fireplace for heat and atmosphere.
- Build custom cabinetry, a kegerator station, or dedicated tool/workbench areas.
Design Inspiration: Styles That Work Outdoors
Choose a design direction that fits your personality and property:
- Rustic Workshop: Reclaimed wood, metal accents, and industrial lighting — perfect for hobbyists.
- Modern Lounge: Clean lines, composite decking, and minimalist furnishings for a sleek look.
- Sports Fan Cave: Comfortable seating, mounted TV/projector, fridge, and stadium-style decor.
- Backyard Bar & Grill: Built-in grill, bar seating, and string lights for entertaining.
Materials, Tools, and Budget Tips
Choose durable, low-maintenance materials that can withstand weather shifts — composite decking, exterior-grade plywood, galvanized metal, and outdoor fabrics. Basic tools for most projects include a circular saw, drill, level, tape measure, and a stud finder. Save money by:
- Upcycling furniture and repurposing pallet wood.
- Phasing improvements to spread costs over time.
- Buying materials during sales and using reclaimed stone or pavers.
Comfort, Privacy, and Lighting — The Details That Matter
Small details make your man cave truly comfortable:
- Heating & Cooling: A patio heater, chiminea, or outdoor-rated ceiling fan extends usability.
- Privacy: Plant tall hedges, install lattice with climbing vines, or use privacy screens.
- Lighting: Layer ambient (string lights), task (pendant over bar), and accent lighting (pathway LEDs).
- Storage: Built-in benches with storage or a compact shed keep the space tidy.
Safety, Permits, and Longevity
Always follow local building codes. Electrical and gas installations may require licensed professionals. Use exterior-rated fasteners and sealants to prolong life, and perform seasonal maintenance like cleaning gutters, checking seals, and storing cushions in bad weather.
Real-World Examples and Layout Ideas
Some layout ideas for common backyard sizes:
- Small Yard: Tight seating area, wall-mounted TV, vertical storage, and a compact fire table.
- Medium Yard: Pergola-covered lounge, outdoor bar, and a small lawn for games.
- Large Yard: Zoned space with workshop shed conversion, separate lounge area, and dining/BBQ island.
For hands-on projects and inspiration to expand your skills, check out our DIY projects and more detailed how-tos in home design ideas and kitchen upgrades where you can adapt indoor concepts for outdoor use.
Frequently Asked Questions
1. How much does a basic outdoor man cave cost?
Costs vary widely based on size and features. A budget-minded setup with seating, lighting, and simple flooring can start around $1,000–$3,000. A fully outfitted shed conversion with electricity, insulation, and furnishings can range from $5,000–$20,000+. Phase your upgrades to manage costs.
2. Can I convert a garden shed into a year-round man cave?
Yes. Insulate walls, add vapor barrier, install proper flooring, run electricity (with a licensed electrician), and add a heating/cooling solution like a mini-split. Ensure the foundation and structure are sound and address ventilation and moisture control.
3. What are the best low-maintenance materials for outdoor furniture?
Look for powder-coated aluminum, wrought iron with rust-resistant finishes, teak or eucalyptus (with oiling), and all-weather wicker with UV-resistant fabrics. For textiles, choose solution-dyed acrylic cushions that resist fading and mildew.
Conclusion — Take the First Step Toward Your Backyard Retreat
Man cave outdoor design is about matching purpose to place: start with a clear plan, prioritize comfort and durability, and build in phases so the project stays fun and affordable. Ready to turn that neglected corner of your yard into a go-to retreat? Sketch a layout, pick one weekend project from the Phase 1 list, and start transforming your space today. Share your progress or questions — I’d love to help you plan your next DIY step.
Call to action: Download a simple planning checklist, grab your tools, and begin your first weekend build — then come back and tell us how it went!


