Ever pulled into your driveway and felt like your mailbox just didn’t match the charm of your country home? Whether you’re tackling a weekend DIY, prepping for spring curb appeal, or craving a small weekend project that makes a big visual impact, designing the perfect rural mailbox is an easy, satisfying upgrade. In this post you’ll find practical, beautiful mailboxes country ideas that fit farmhouses, cottages, and ranch-style homes—plus step-by-step instructions and real-world tips to build or refresh one yourself.
Why a Country Mailbox Makes a Big Impact
Street-level details matter. A thoughtfully designed mailbox is more than a functional receptacle—it’s the first impression guests and delivery drivers get of your property. A rural mailbox can reinforce your home’s architectural style, show off woodworking or metalworking skills, and even add seasonal planter space. If you want creative mailbox ideas for country homes—think rustic, reclaimed, and weather-friendly—you’ve come to the right place.
Match the Mailbox Style to Your Home
- Farmhouse: whitewashed wood, black iron hardware, and a simple post.
- Cottage: painted florals, scalloped trim, or a planter base.
- Ranch: sturdier stone or metal finishes with a bold, practical design.
For more small home upgrades that make a big difference, check out our DIY projects and home design ideas pages to expand these concepts across your property.
Mailboxes Country Ideas: Rustic Designs You Can Build or Buy
Below are practical mailbox concepts—each paired with materials, a short DIY plan, and design notes to help you decide.
1. Reclaimed Barnwood Post with Iron Mailbox
- Materials: reclaimed board, treated 4×4 post, black metal mailbox, lag screws, exterior stain.
- DIY tip: Use a pocket hole jig for hidden fasteners. Seal with exterior-grade polyurethane for longevity.
2. Stone Pillar Mailbox
- Materials: concrete blocks or natural stone, mortar, mailbox mount plate.
- DIY tip: Lay a concrete footing to avoid settling. This is a durable, low-maintenance option for windy rural roads.
3. Planter Mailbox (Dual Function)
- Materials: cedar box, metal mailbox, drainage soil mix, seasonal plants.
- Design note: Use rot-resistant wood and add a removable liner for easy replanting.
4. Upcycled Wheelbarrow or Wagon Wheel Base
- Materials: vintage wheelbarrow or wagon wheel, mounting bracket, paint.
- DIY tip: Stabilize with hidden steel hardware and add a coat of rust-inhibiting paint for longevity.
5. Barn Door or Metal Sheet Mailbox
- Materials: repurposed corrugated metal or barn door slats, rivets, matte finish.
- Design note: Best for industrial-farmhouse blends; contrasts nicely against greenery.
Step-by-Step DIY: Build a Simple Farmhouse Mailbox Post
This straightforward build is perfect for beginners and takes a weekend.
Materials & Tools
- Treated 4×4 post (6–8 feet)
- Horizontal 2×6 cross arm (optional decorative piece)
- Standard curbside mailbox
- Gravel, quick-setting concrete
- Drill, level, tape measure, post hole digger
- Exterior paint or stain, sealant
Steps
- Measure and mark the post height: the mailbox mouth should be 41–45 inches from the road surface (check local guidelines).
- Dig a hole 24–30 inches deep and 12 inches wide. Add a few inches of gravel for drainage.
- Place the post in the hole, use a level to plumb it, and pour quick-setting concrete around it. Allow to cure per instructions.
- Mount the mailbox using a metal bracket or lag screws. Add cross arm or trim pieces for aesthetic detail.
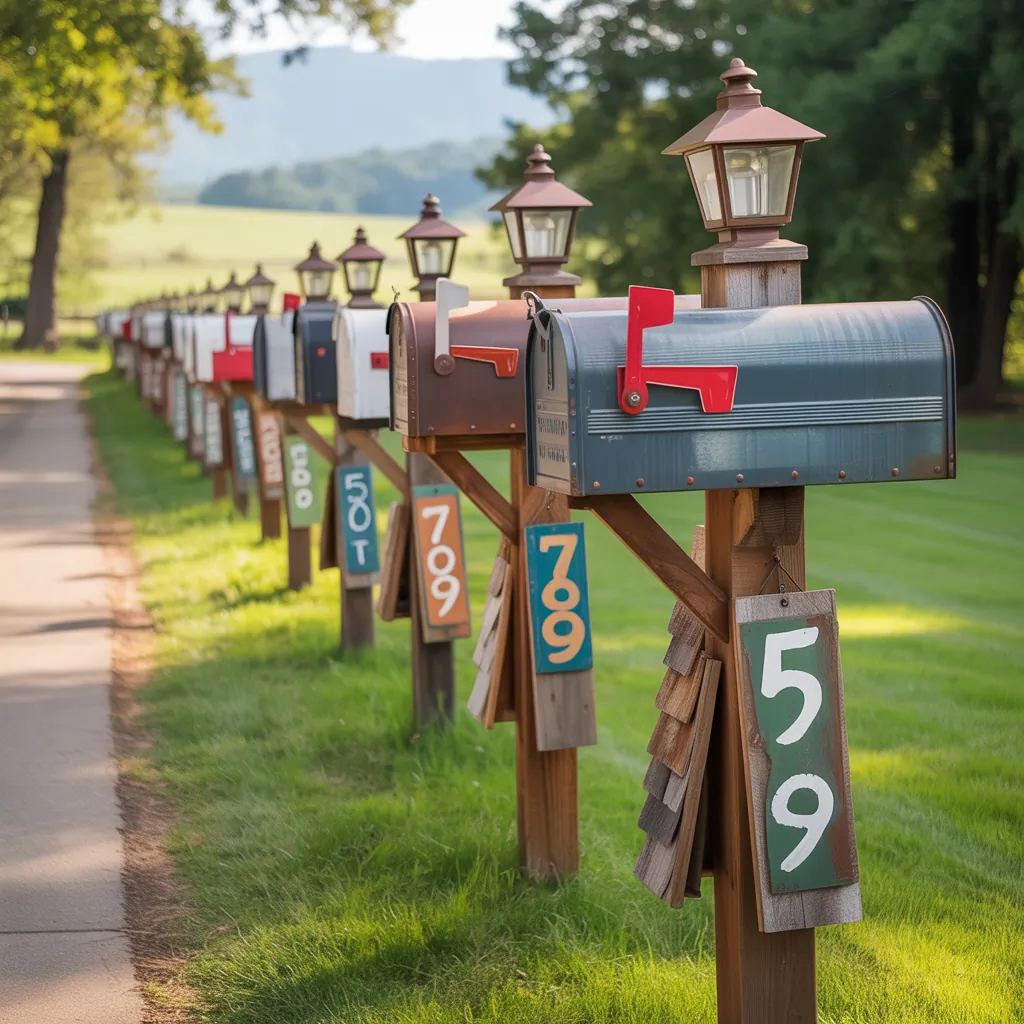
- Paint or stain, then seal. Attach house numbers for visibility.
Estimated time: 3–6 hours (including curing); cost: modest, depending on materials if you upcycle components.
Weatherproofing, Paint, and Maintenance
Country mailboxes face sun, wind, rain, and snow. Here’s how to keep yours looking good year-round:
- Use exterior-grade paints and stains formulated for sun and moisture resistance.
- Elevate wooden parts slightly off the ground and add flashing where water could pool.
- Choose rust-resistant hardware (stainless steel or galvanized) for brackets and screws.
- Inspect twice a year: tighten fasteners, touch up paint, and clear any snow or debris.
Pro tip: Add a clear exterior sealant over painted wood for extra UV protection and easier cleaning.
Planning, Permits, and Safety Considerations
Before you start, check any local regulations or postal standards that dictate mailbox height, distance from the road, or approved mounting methods. These rules exist to ensure safe pickup and delivery. Also consider:
- Visibility: Keep plantings and hedges trimmed so the mailbox is visible from the road.
- Safety: Use proper eye protection, gloves, and a helper when setting large posts or working with concrete.
- Accessibility: Make sure the mailbox is easy to access during winter or muddy conditions—gravel or pavers can help.
Design Inspiration: Styling Tips for a Cohesive Look
- Match metals: Use the same finish for house numbers, porch lights, and mailbox hardware for a unified look.
- Repeat textures: If you have stone accents on the home, echo that in a stone mailbox base or post cap.
- Seasonal swaps: Planters and removable decorations make it easy to refresh the look for holidays or seasons.
Frequently Asked Questions
1. How high should a country mailbox be from the road?
Most guidelines recommend the mailbox opening be 41–45 inches above the road surface. Local rules can vary, so verify with your local postal service or municipal office.
2. Can I use reclaimed wood for an outdoor mailbox post?
Yes—reclaimed wood adds charm and character. Make sure it’s structurally sound, treated for outdoor use, or sealed with exterior-grade products to prevent rot and insect damage.
3. What’s the easiest way to stabilize a mailbox post on soft soil?
Use a larger-diameter concrete footing or a short poured concrete base below the post. Adding gravel below the concrete improves drainage and reduces settling.
Conclusion: Start Your Mailbox Makeover Today
Whether you choose a simple painted post, a stone pillar, or a creative upcycled design, these mailboxes country ideas are meant to inspire and empower you to tackle a weekend project that adds personality and value to your home. Pick a design that complements your house, gather the right materials, and try one of the step-by-step plans above. Ready to dive into more hands-on ideas? Explore our DIY projects and other home design ideas pages to keep the momentum going.
Share your mailbox makeover in the comments, or start a photoshoot once your project is finished—your driveway will thank you.