Have you ever stood at the edge of your lawn wondering how to tame that unruly border between the sidewalk and your garden beds? Maybe your current edging looks overgrown, opens a gap for weeds, or just doesn’t match your home’s style. Liriope border concepts can transform that strip into a tidy, attractive feature with minimal maintenance — and yes, you can do much of it yourself this weekend.
Why choose liriope for borders?
Liriope (sometimes called lilyturf) is a favorite for landscapers and DIY gardeners because it’s resilient, shade-tolerant, and delivers clean lines year after year. If you’re searching for low-maintenance border plants, liriope groundcover is a smart pick—available in varieties from dark green clumps to variegated selections that add color contrast. It’s also deer-resistant, drought-tolerant once established, and holds up well along walkways and foundation beds.
Design inspiration: Liriope border concepts to spark your project
Here are plantings and layouts that work particularly well when using liriope as an edging or border:
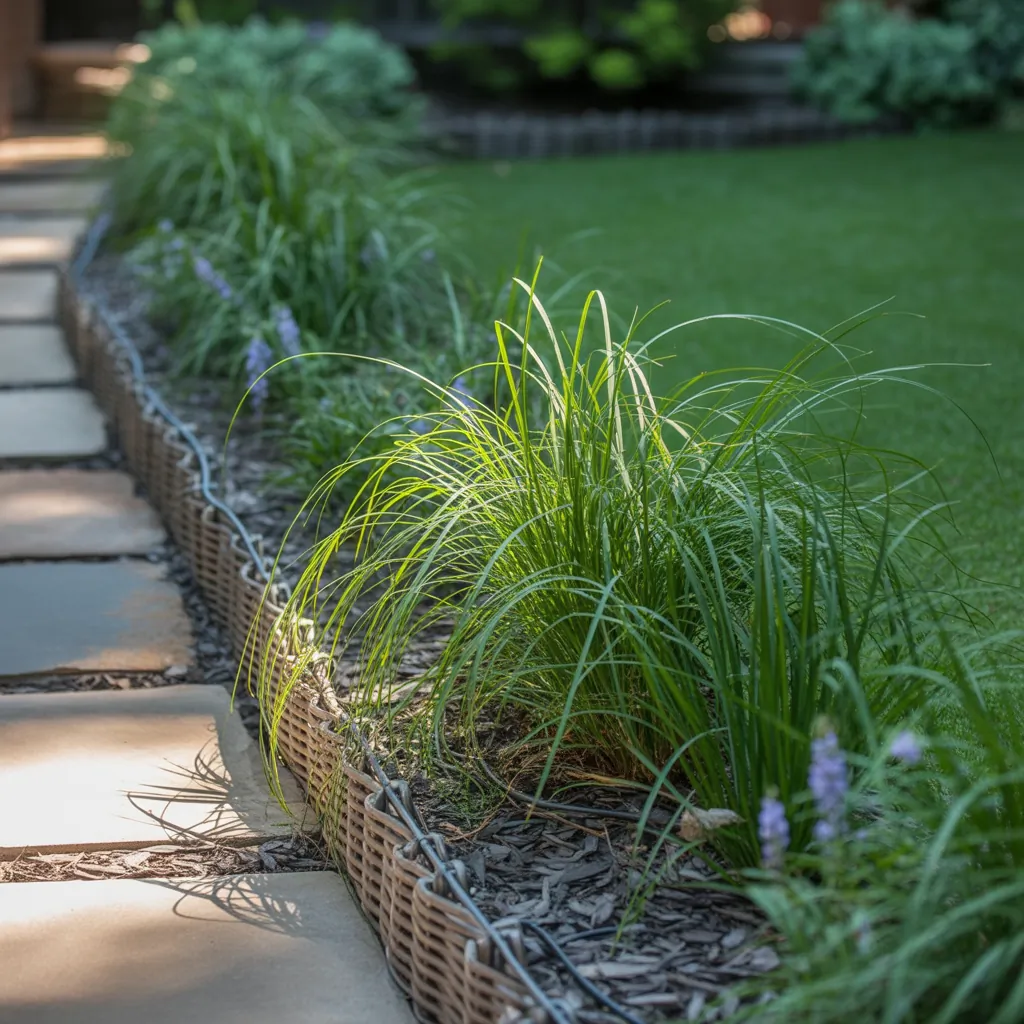
- Formal edge: Plant a single-file row of compact liriope (8–10 inches spacing) for a neat, modern look along sidewalks and driveways.
- Naturalistic wave: Use staggered rows and mix different heights for a softer, cottage-garden feel that mimics natural drifts.
- Mass planting: Plant liriope in broad swaths in front of mixed perennial beds for winter structural interest and spring flowers.
- Contrast edge: Pair dark green liriope with variegated hostas or silver-leaf plants for bold textural contrast.
- Stepped border: Use liriope on terrace edges or in raised beds to create a cascading green skirt.
Design tip: mix and match
Combine liriope with shade-loving companions like hostas, ferns, heuchera, and astilbe. Variegated liriope or Liriope spicata makes an excellent contrast against deep-leaved hostas, while purple-flowered varieties add seasonal color and interest.
Step-by-step DIY: Install a liriope border
This simple project requires basic tools and can be completed in a weekend.
- Plan and measure: Mark the border with string or a garden hose and measure the length. Decide the spacing (typical spacing: 8–12 inches for a tight edge; 12–18 inches for a more natural look).
- Choose the right variety: Pick between Liriope muscari (clumping) for tidy rows or Liriope spicata (spreading) if you want a quick groundcover.
- Prepare the soil: Remove weeds and turf, loosen soil to about 6–8 inches, and amend with compost for better drainage and fertility.
- Lay out plants: Place pots along the line to verify spacing and visual balance.
- Planting: Dig holes slightly wider than the root balls, set plants level with the soil surface, backfill, and firm gently.
- Mulch and water: Apply a 2–3 inch layer of mulch to suppress weeds and retain moisture. Water deeply after planting and keep soil moist during the first few weeks until established.
- Finish with edging: Add a low physical edging (stone, steel, or wood) if you want a very crisp look and to prevent grass encroachment.
Tools and materials you’ll need
- Shovel and hand trowel
- Garden gloves
- String line or garden hose
- Compost or soil amendment
- Mulch
- Liriope plants (calculate quantity based on spacing)
- Optional: edging material and a mallet
Liriope border concepts for specific locations
Walkways and driveways
Use dense clumping liriope planted close together to create a living edge that holds its form. Add low-profile stones or pavers if you want an even sharper line.
Shaded foundation beds
Liriope thrives in shade or partial shade, making it ideal for planting around foundations and beneath trees where grass struggles.
Slopes and erosion control
Liriope spicata spreads and forms a mat, which helps stabilize soil on gentle slopes while providing attractive groundcover.
Maintenance: keep your liriope border looking sharp
Liriope is forgiving, but a little seasonal care extends the tidy look:
- Trim back old foliage in late winter or early spring to reveal fresh growth.
- Divide crowded clumps every 3–4 years to rejuvenate plants and control width.
- Water moderately during dry spells—liriope becomes drought-tolerant once established.
- Fertilize lightly in early spring with a balanced slow-release fertilizer if growth seems sluggish.
- Pull weeds from the mulch layer to avoid competition and maintain a polished look.
Common mistakes and how to avoid them
Many DIYers make these avoidable mistakes:
- Planting too close: Overcrowding leads to disease and messy edges — stick to recommended spacing.
- Poor soil prep: Liriope tolerates poor soil but will look better if you amend heavy clay with compost and improve drainage.
- Skipping mulch: Mulch conserves moisture and reduces maintenance. Don’t skip it.
Frequently Asked Questions
1. How far apart should I plant liriope for a border?
For a formal edging, space clumping liriope 8–12 inches apart. For a naturalized border, space plants 12–18 inches apart. If using spreading Liriope spicata, you can space slightly wider knowing it will fill in.
2. Can liriope grow in full shade?
Yes. Liriope tolerates full to partial shade better than many turf grasses and is an excellent choice for shaded foundation beds and under trees.
3. How do I divide liriope and when is the best time?
Divide liriope in early spring or fall. Dig up the clump, separate into smaller sections with roots and crowns, and replant. Dividing every 3–4 years keeps plants vigorous and prevents overcrowding.
Real-world project idea: weekend liriope border makeover
Transform a 30-foot sidewalk border in one weekend. Buy 40–50 clumping liriope plants, remove the old sod, amend the soil with compost, plant at 10-inch spacing, mulch, and add steel edging. By Monday, you’ll have a tidy, professional-looking edge that reduces mowing and weed work.
Conclusion — start your liriope border project today
Liriope border concepts are versatile, beginner-friendly, and offer high visual return for low maintenance. Whether you want a crisp walkway edge, a shade-loving foundation border, or massed groundcover, liriope delivers. Ready to give your home an instant facelift? Grab your tools, plan your spacing, and try one of these DIY ideas this weekend. For more step-by-step inspiration and projects, check out our DIY projects and home design ideas pages.
Which border concept will you try first? Share your plans or photos in the comments and keep reading for more easy garden upgrades like kitchen upgrades and other home improvement ideas.