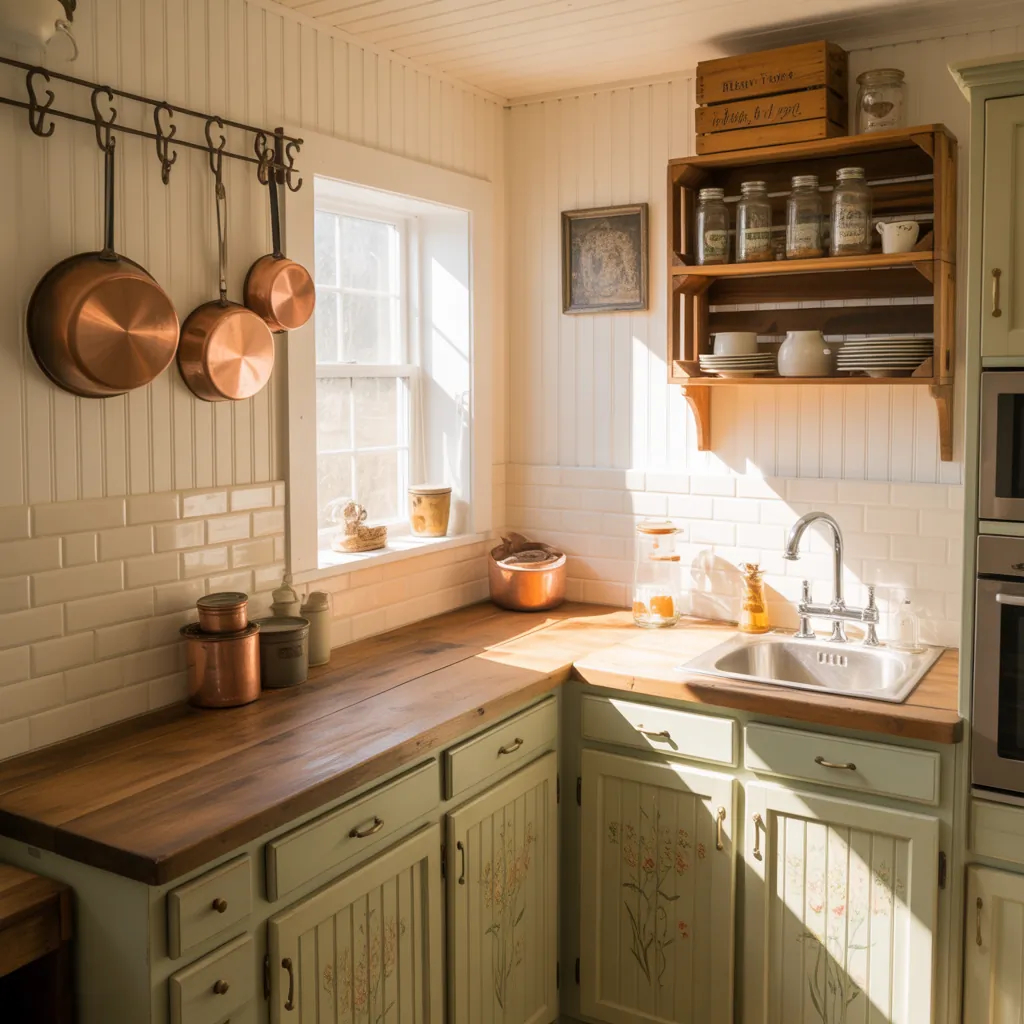
It starts with a weekend plan to repaint the kitchen island and ends with a dusty stand mixer rescued from the back of a cabinet. Sound familiar? If you’ve been tackling home improvements — new backsplash, painted cabinets, or a refreshed countertop — your kitchen is the perfect place to reconnect with hands-on projects. But what if that trusty appliance could do more than sit pretty? These kitchenaid mixer recipes and smart DIY ideas will help you bake, craft, and upgrade your kitchen so your renovations actually get used.
Why Your Renovation Needs Kitchenaid Mixer Recipes (and How They Fit Into Kitchen Design)
When you invest time in kitchen upgrades, you want appliances that deliver both style and function. A stand mixer becomes more than a baking tool — it anchors cooking routines and inspires new projects. Incorporating kitchenaid mixer recipes into your daily life ensures your remodel pays off: clean counter workflows, purposeful storage solutions, and recipes that test your updated surfaces.
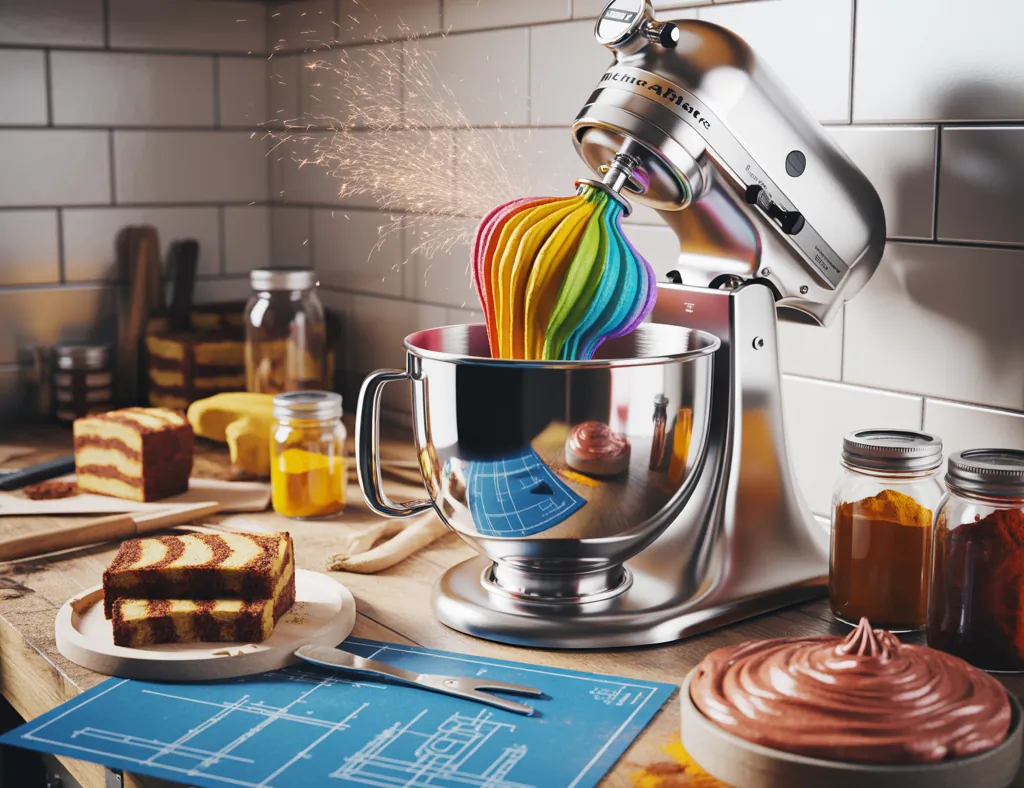
Top Kitchenaid Mixer Recipes to Try Today
Below are versatile, crowd-pleasing recipes you can make with a stand mixer. Each recipe includes practical tips and minor tweaks to suit your kitchen — whether you’ve got a classic tilt-head or a heavy-duty bowl-lift model.
1. No-Knead Bread Dough (Perfect for Beginners)
- Ingredients: bread flour, water, yeast, salt, olive oil.
- Method: Use the dough hook on low speed for 5–7 minutes until elastic. Let rise in a warm spot.
- Tip: Use the mixer to finish kneading and check windowpane stage to avoid overworking dough.
2. Chewy Chocolate Chip Cookie Dough
- Ingredients: butter, brown sugar, granulated sugar, eggs, flour, baking soda, chocolate chips.
- Method: Cream butter and sugars with paddle attachment; add eggs one at a time; fold dry ingredients and chips on low.
- Tip: Chill dough on a pull-out shelf while you tweak cabinet knobs — chilled dough yields thicker cookies.
3. Fresh Homemade Pasta (Attachment-Friendly)
- Ingredients: semolina or 00 flour, eggs, salt, olive oil.
- Method: Use the flat beater for initial mixing, then switch to dough hook. Run the dough through a roller attachment for sheets or cut shapes.
- Tip: Make pasta while installing under-cabinet lighting — natural light highlights texture and makes cutting easier.
4. Quick Whipped Cream and Buttercream
- Method: Use whisk attachment on high for 2–3 minutes for whipped cream. For Swiss meringue buttercream, whisk egg whites and sugar over simmering water, then beat until stiff peaks form and fold in butter.
- Tip: Keep your mixer bowl chilled in the fridge for ideal whipped cream volume.
How to Make Your Mixer Work Better in Your Remodel (DIY Upgrades and Storage)
Integrating a stand mixer into your kitchen layout enhances usability. Try one of these small projects to keep your appliance ready and stylish:
Build a Pull-Out Mixer Shelf
- Measure the mixer base and the cabinet opening.
- Install heavy-duty drawer slides rated for 100+ lbs.
- Add a recessed cutout on the shelf so the mixer sits flush and is easy to lock into place.
Real-world benefit: frees countertop space and protects the mixer from backsplash splatter during cooking.
Create a Custom Mixer Lift
- Materials: plywood, pocket screws, gas strut (optional for smooth lift).
- Tip: A mixer lift allows storage under the counter while making setup effortless — perfect for smaller kitchens or islands.
Design Inspiration: Match Colors and Finishes
Choose finishes that complement your remodeling style. Brushed nickel or matte black attachments pair well with modern cabinets, while retro pastel mixers are perfect for farmhouse or vintage kitchens. Use coordinating open shelving or a painted back panel to make your mixer a focal point.
Practical Tips for Better Mixing Results
- Room temperature ingredients mix more evenly — especially butter and eggs.
- Use the correct attachment: paddle for cookie dough, whisk for light batters, dough hook for bread.
- Don’t overcrowd the bowl — divide recipes when scaling up to avoid under-mixed centers.
- Clean attachments immediately; soak in warm soapy water to prevent hardened residue.
- Test speed settings: start low to combine, increase to finish. This reduces splatter and strain on the motor.
Step-by-Step Weekend Plan: Paint, Install, and Bake
Turn one weekend into a mini-makeover that’s functional and delicious.
- Day 1 morning: Paint the cabinet or island surface where the mixer will live; choose a contrasting color for personality.
- Day 1 afternoon: Install the pull-out shelf or designate a niche with proper ventilation and outlets.
- Day 2 morning: Clean and polish the mixer; check attachments; swap or paint knobs to match.
- Day 2 afternoon: Bake a simple kitchenaid mixer recipe — cookies or a loaf of bread — to celebrate your new setup.
Frequently Asked Questions
1. What are the best beginner-friendly kitchenaid mixer recipes?
Start with cookie dough, whipped cream, and simple bread. These recipes use basic attachments and teach you speed control. They’re forgiving and show quick results while you get comfortable with the mixer.
2. Can a stand mixer handle multiple batches for a large family or party?
Yes—most mid- to heavy-duty models can mix large batches, but avoid overfilling the bowl. For doughs or thick batters, divide ingredients into two batches if needed to ensure even mixing and reduce motor strain.
3. How do I store my KitchenAid mixer during a kitchen remodel?
Cover the mixer with a breathable cover to protect from dust. If you’re painting or sanding nearby, move it to another room. For long-term storage, keep attachments wrapped and bowls nested to prevent scratches.
Conclusion: Try These Kitchenaid Mixer Recipes and DIY Upgrades Today
Your next home improvement project doesn’t stop at fresh paint or new hardware — it’s about making the space livable and joyful. Try these kitchenaid mixer recipes, build a pull-out shelf or mixer lift, and match finishes to your design scheme to see immediate results. Ready to make your kitchen more functional and beautiful? Start with a small upgrade from our DIY projects and explore more ideas for kitchen upgrades and home design ideas to keep momentum going.
Call to action: Pick one recipe and one small DIY upgrade this weekend — then come back and share your photos and tips!