You’ve just installed a new quartz countertop and painted the kitchen cabinets—now what? Imagine celebrating that small renovation with the ultimate housewarming treat: a homemade batch of ice cream churned right on your KitchenAid. Whether you’re tackling weekend DIY projects or planning a family gathering, kitchenaid ice cream recipes are a fun, delicious way to showcase your updated kitchen and practice a new skill.
Why Use Your KitchenAid for Homemade Ice Cream?
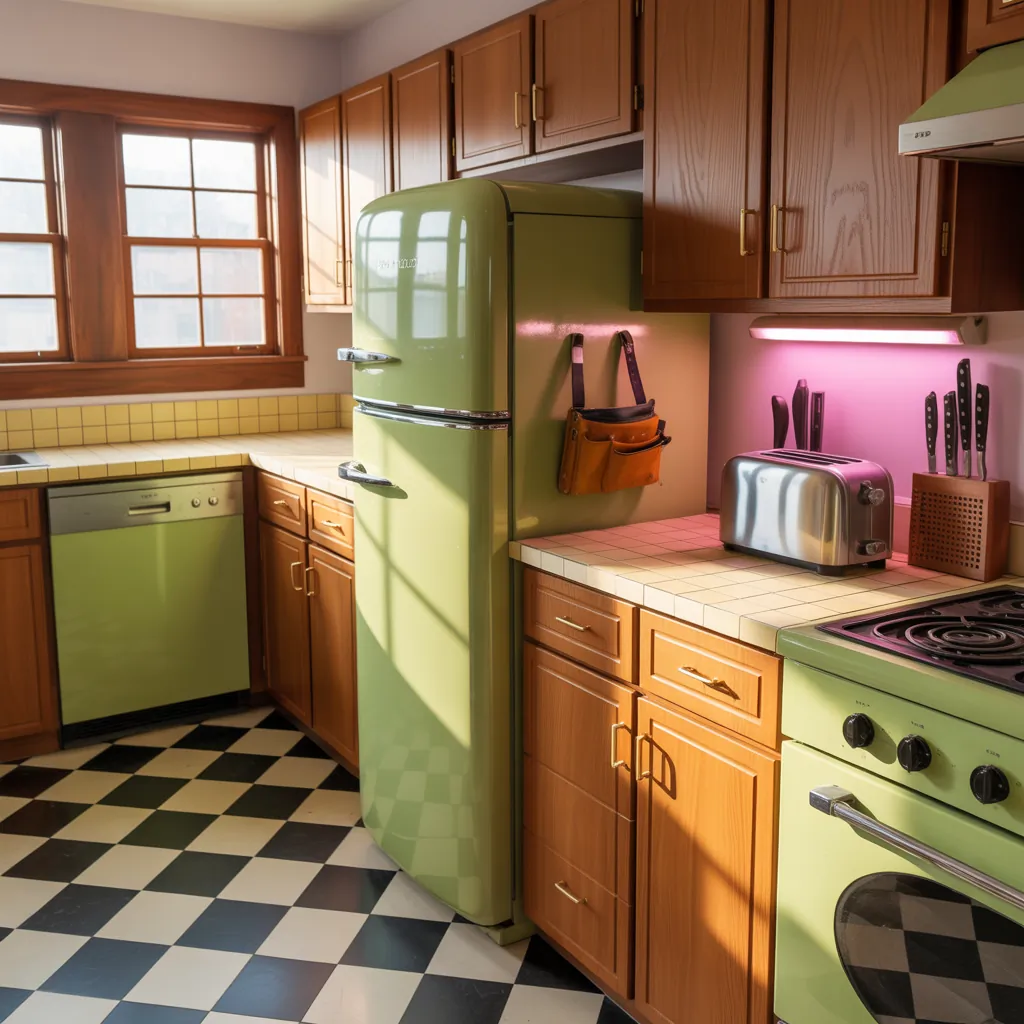
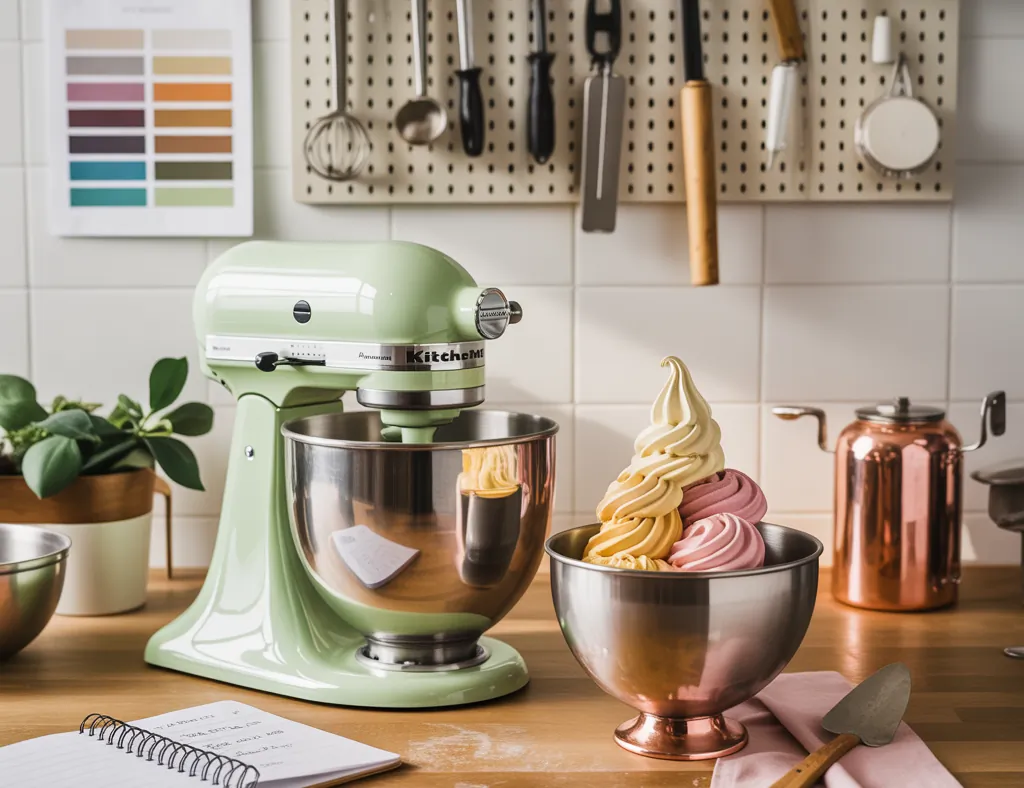
KitchenAid stand mixers with ice cream attachments make small-batch artisan ice cream practical for home cooks. They’re perfect for experimenting with flavors, adapting recipes for dietary needs (like dairy-free or low-sugar), and minimizing cleanup. Plus, creating frozen desserts is a great way to add personality to your kitchen upgrades—think countertop-ready ice cream station or cart to match your new finishes.
Equipment & Prep: What You Need
- KitchenAid stand mixer and ice cream maker attachment or frozen bowl (ensure bowl is fully frozen per manufacturer instructions).
- Quality ingredients: heavy cream, whole milk (or alternatives), sugar, eggs for custard bases, extracts, and mix-ins.
- Freezer-safe containers, spatulas, and an instant-read thermometer for custard recipes.
- Optional: silicone molds or ramekins for portioning, labels for date/flavor tracking.
KitchenAid Ice Cream Recipes: 3 Crowd-Pleasing Small-Batch Ideas
Below are three simple, adaptable recipes that work well with the KitchenAid ice cream maker attachment or frozen bowl. Each is written as a beginner-friendly guide and includes tips for DIY tweaks.
1. Classic Vanilla Bean (Custard-Style)
- Ingredients: 2 cups heavy cream, 1 cup whole milk, 3/4 cup sugar, 5 egg yolks, 1 vanilla bean (or 2 tsp extract).
- Steps: Warm milk and cream; whisk sugar into yolks; temper yolks with warm milk; cook until 170–175°F to form custard; cool completely; churn in KitchenAid per attachment directions; freeze 2–4 hours to firm.
- DIY tip: Steep the vanilla bean in warm cream and cover overnight in the fridge for deeper flavor.
2. Salted Caramel Swirl (Quick Method)
- Ingredients: 2 cups heavy cream, 1 cup milk, 3/4 cup sugar, 1/2 cup prepared caramel sauce, 1 tsp flaky sea salt.
- Steps: Whisk dairy and sugar until dissolved, chill 2 hours, churn, and fold in caramel and salt during the last minute of churning. Freeze until set.
- DIY tip: Make caramel in advance and store in a mason jar. Warm slightly before swirling so it ribbons through the ice cream.
3. Vegan Strawberry Basil (No-Cook)
- Ingredients: 2 cans full-fat coconut milk, 3/4 cup maple syrup, 2 cups frozen strawberries (thawed), a handful fresh basil.
- Steps: Blend coconut milk, maple syrup, and basil until smooth; chill; fold in mashed strawberries; churn and freeze.
- Design idea: Serve in glassware that complements your kitchen finishes—think copper or matte black accents to contrast creamy pink.
Practical DIY Tips: Turn Your Kitchen Into an Ice Cream-Friendly Space
Adding a small “ice cream station” near your prep area can be both functional and decorative. Here are low-effort projects you can do in an afternoon:
- Create a rolling cart with dedicated storage for the frozen bowl and attachments—use soft-close drawers and labeled bins to keep toppings organized.
- Install a small under-counter freezer drawer for ready-to-serve pints. If a drawer isn’t possible, add attractive airtight containers to the back of your main freezer with date labels.
- Use peel-and-stick backsplash tiles behind your prep area for an easy-to-clean surface that resists sugar splatters and looks custom.
- Mount floating shelves to display glass jars of sprinkles, nuts, and sauces—this makes toppings part of your kitchen decor.
Step-by-Step: Simple Weekend Build — Ice Cream Cart
- Measure the space where you want the cart and choose dimensions to match counter height.
- Purchase a flat-pack cart or repurpose a small cabinet; add casters for mobility.
- Add a cutting board top to protect surfaces and create a serving area.
- Install hooks on the side for scoops and towels, and paint or stain to coordinate with your kitchen palette.
- Organize containers for mix-ins on the lower shelf and a lined bin for the frozen bowl to sit between uses.
Design Inspiration: Make It a Feature, Not an Afterthought
Think of your ice cream setup as a mini bar for the family. Coordinate materials—wood warmth, matte metal, or colorful ceramic—to tie it to your overall kitchen scheme. A small pendant light above the cart or station will highlight your creation and invite guests to grab a scoop. Keep the color palette cohesive: neutral containers and pops of color from fresh ingredients (berries, mint, citrus) create an attractive vignette.
Troubleshooting & Real-World Advice
- My ice cream is too icy: Reduce water content by using more cream or adding a bit of alcohol (like 1–2 tbsp vodka) to lower freezing point. Use proper chilling time for the base.
- Ice cream won’t firm: Make sure the mix is thoroughly chilled before churning and allow enough post-churn time in a sealed container in the freezer.
- Attachment didn’t freeze: Confirm that the bowl was fully frozen (usually 12–24 hours). Keep a backup bowl or a small chest freezer if you churn often.
- Cleaning tip: Wash attachments by hand with warm soapy water and dry immediately to prevent rust. Store blades and lids in a labeled box.
Frequently Asked Questions
1. Do I need a special KitchenAid attachment to make ice cream?
No. You can use either a KitchenAid frozen bowl or a compressor-style attachment. Frozen bowls must be chilled in your freezer for the recommended time, while compressor attachments chill on demand but are more expensive. Both produce excellent homemade ice cream.
2. Can I make dairy-free or low-sugar ice cream with my KitchenAid?
Absolutely. Use full-fat coconut milk or oat cream for dairy-free bases and natural sweeteners like maple syrup or erythritol for lower sugar options. Churning behavior may vary, so expect slightly softer textures and adjust recipes as needed.
3. How long does homemade ice cream keep in the freezer?
Homemade ice cream is best within 1–2 weeks for peak flavor and texture, though it can typically keep up to a month if stored in airtight containers with minimal air exposure. Label containers with dates and flavors.
Conclusion: Start Churning and Upgrade Your Kitchen Moments
Ready to celebrate your next project with something truly homemade? Kitchenaid ice cream recipes let you combine your passion for home improvement with delicious DIY food experiments. Set up a dedicated ice cream station, try one of the recipes above, and use the design and storage tips to make the process smooth and stylish. Share your creations with family and friends, and consider pairing your ice cream station with other home design ideas to make it a lasting feature.
Call to action: Pick one recipe, free the bowl overnight, and churn your first batch this weekend—then come back and tell us which flavor became your family favorite!
For more housewarming party ideas to showcase your updated kitchen, check out Ideas for Housewarming Party.
For a fun and delicious way to showcase your updated kitchen at your next housewarming party, check out these Ideas for Housewarming Party.
For more kitchen ideas and products like the Copper Backsplash Kitchen, check out our other articles.
For more information on KitchenAid appliances, including their ice cream maker attachment, check out HomeAwad’s Copper Backsplash Kitchen page.
For more kitchen ideas, check out our Copper Backsplash Kitchen.