Have you ever looked at your scuffed, tired table the night before guests arrive and wondered if you could give it a fresh look in a weekend? Whether your kitchen table has water rings, old paint, or mismatched chairs, a quick kitchen table makeover can dramatically change your dining area without breaking the bank. As a long-time DIY enthusiast and home improvement blogger, I’ll walk you through practical, budget-friendly ways to update your table — from refinishing and repainting to clever upcycling and modern upgrades.
Why a Kitchen Table Makeover Is Worth the Effort
A dining table is the heart of many homes: family meals, homework, crafts, and weekend projects all happen around it. Instead of replacing it, a table transformation or dining table restoration can save money, reduce waste, and give your kitchen a personalized touch. With simple tools and a little elbow grease, you can achieve showroom-quality results.
Quick Assessment: What Does Your Table Need?
Before starting any dining table transformation, do a quick inspection to decide whether to refinish, repaint, or rebuild. Ask these questions:
- Is the tabletop structurally sound or wobbly?
- Is the finish just scratched and stained or completely worn off?
- Do you want a rustic, modern, or eclectic style?
- Is your priority speed (weekend makeover) or longevity (durable finish)?
Materials & Tools for a Successful Makeover
- Sandpaper (80–220 grit), orbital sander (optional)
- Wood stain or paint (chalk paint, milk paint, or latex), primer
- Topcoat: polyurethane, polycrylic, or wax
- Wood filler, clamps, wood glue (for repairs)
- Paint brushes, foam rollers, tack cloths
- Drop cloths, painter’s tape, gloves, safety goggles
5 Step-by-Step Kitchen Table Makeover Ideas (Weekend-Friendly)
1. Classic Refinish: Restore Natural Wood
- Remove chairs and clean table thoroughly.
- Strip old finish if needed, then sand progressively (80 → 120 → 220 grit).
- Apply wood conditioner (for softwoods), then stain to desired color.
- Finish with two coats of satin polyurethane for durability.
Best for solid wood tables where you want to showcase grain — think farmhouse or mid-century styles.
2. Paint and Distress: Farmhouse Chic
- Lightly sand to remove gloss, then prime the surface.
- Apply two coats of chalk paint or furniture paint.
- Distress corners with sandpaper and seal with wax or polycrylic.
Great for a budget kitchen table makeover and for hiding imperfections.
3. Two-Tone Makeover: Contrast Top and Legs
- Sand tabletop and legs separately (or tape off areas).
- Stain or paint the tabletop for warmth, and paint the base a coordinating color.
- Seal both parts; reattach if you removed the tabletop.
This modern approach gives a high-end custom look with minimal cost.
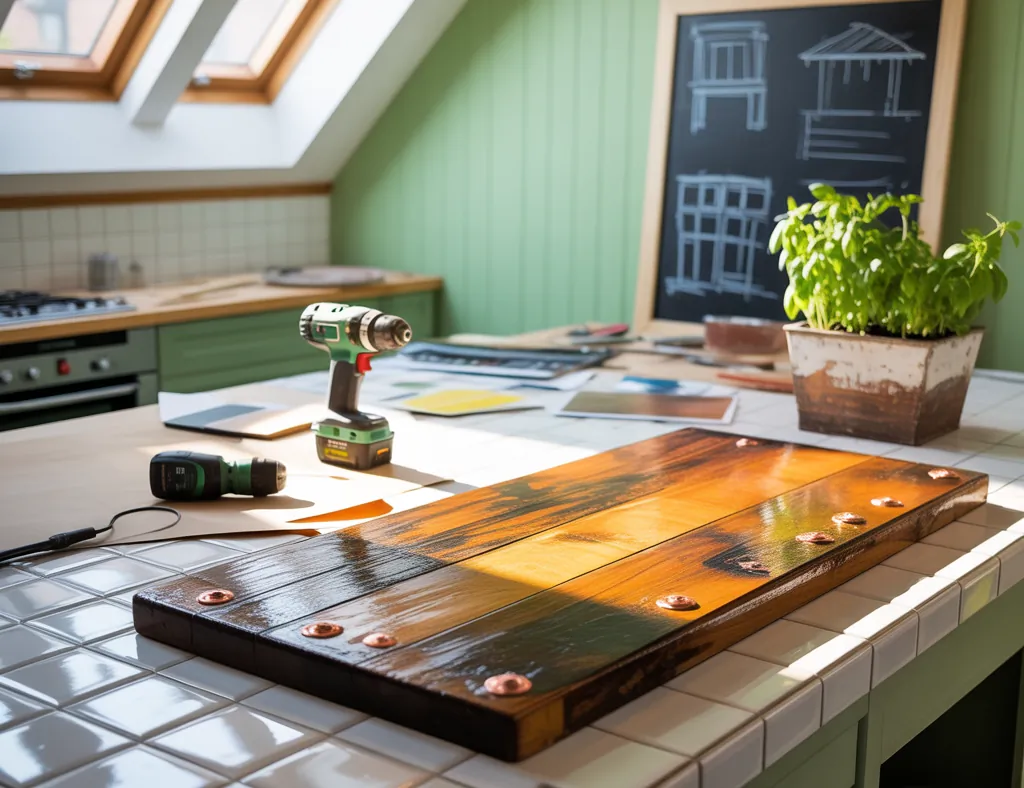
4. Upcycle With New Legs or a Reclaimed Top
- Remove old legs and replace with hairpin legs, turned wooden legs, or metal trestles.
- Add a reclaimed wood top or plywood cut to size and finish as desired.
- Secure with brackets and finish edges for a polished look.
Perfect if the tabletop is beyond repair or you want an industrial or mixed-material aesthetic.
5. Tile or Epoxy Top for Durability and Style
- Build a stable substrate (plywood) over the original top if needed.
- For tile: adhere tiles with thin-set, grout, and seal.
- For epoxy: mix and pour epoxy over a sealed surface; add pigments or metallics for visual interest.
Ideal for busy families who need a durable, easy-to-clean surface that’s also a statement piece.
Design Inspiration: Styles That Work for Any Home
- Farmhouse: distressed paint, warm stain, turned legs.
- Modern Minimal: clean lines, matte black legs, light wood top.
- Industrial: metal base, reclaimed wood surface.
- Eclectic: mix-and-match chairs, bold painted tabletop, patterned tile inlay.
- Coastal: whitewashed finish, soft blues and greens.
Real-World Tips From a DIY Pro
- Test colors and finishes on a hidden spot or scrap wood before committing.
- Work in a well-ventilated area and follow product instructions for curing times.
- If you’re short on time, paint the base and buy a ready-made butcher block or plywood top to swap in; it’s a fast kitchen upgrade.
- Use felt pads on feet to protect floors and reduce wobbles; tighten hardware after a few weeks of use.
- Document measurements and take photos before disassembly to simplify reassembly.
Budgeting and Timeline
A basic kitchen table makeover can cost anywhere from $30 (paint and supplies) to $400+ (new top, quality stain, metal legs). Most weekend projects (paint or refinish) take 1–3 days including dry time. More extensive work like epoxy or tile may require longer curing periods, so plan accordingly.
Kitchen Table Makeover: Maintenance After Your Transformation
Protect your new finish by using placemats, coasters, and a table runner. For painted surfaces, avoid harsh cleaners; a mild soap and water solution usually suffices. Reapply wax or a topcoat every few years for long-term protection.
Frequently Asked Questions
1. How much does a typical kitchen table makeover cost?
Costs vary by materials and scope. Expect $30–$100 for a paint or distressing project, $100–$300 for staining and quality finishes, and $200+ for new tops, legs, or epoxy surfaces.
2. Can I refinish a laminate or veneer table?
Laminate is tricky because paint adhesion can be poor; it’s best to sand lightly, use a high-bond primer, and then paint. For veneer, repair any lifting edges, sand carefully, and use a stain or paint depending on the look you want.
3. How long does it take for finishes to cure?
Drying and curing times depend on the product: paints may dry in hours but fully cure in 7–30 days. Polyurethane usually dries in a few hours but requires 24–48 hours between coats and up to a week to fully harden. Always read manufacturer directions.
Conclusion — Ready for Your Own Kitchen Table Makeover?
If your table is holding memories but not looks, a kitchen table makeover is one of the most rewarding DIY projects you can tackle. Start small with paint or distressing, or go bold with a two-tone design, new legs, or an epoxy top. Remember to test finishes, take accurate measurements, and allow proper drying time. Want more inspiration or project guides? Check out our pages on DIY projects, kitchen upgrades, and home design ideas to plan your next transformation.
Ready to transform your table this weekend? Gather your supplies, pick one of the step-by-step ideas above, and share your before-and-after photos to inspire others!
For more tips on home improvement projects, check out our guide on What to Look for in a New Air Conditioner.