You’re standing in the middle of a half-renovated room—paint chips on the floor, a stack of magazine clippings on the counter, and a pile of inspiration photos on your phone. How do you turn this chaos into a plan that actually gets done? Enter the journal scrapbook: a compact, beautiful way to track design decisions, save samples, and chronicle every step of your renovation or DIY project. Whether you’re planning kitchen upgrades or making a memory book, journal scrapbook inspiration can transform ideas into actions.
Why a Journal Scrapbook Works for Home Improvement and Life
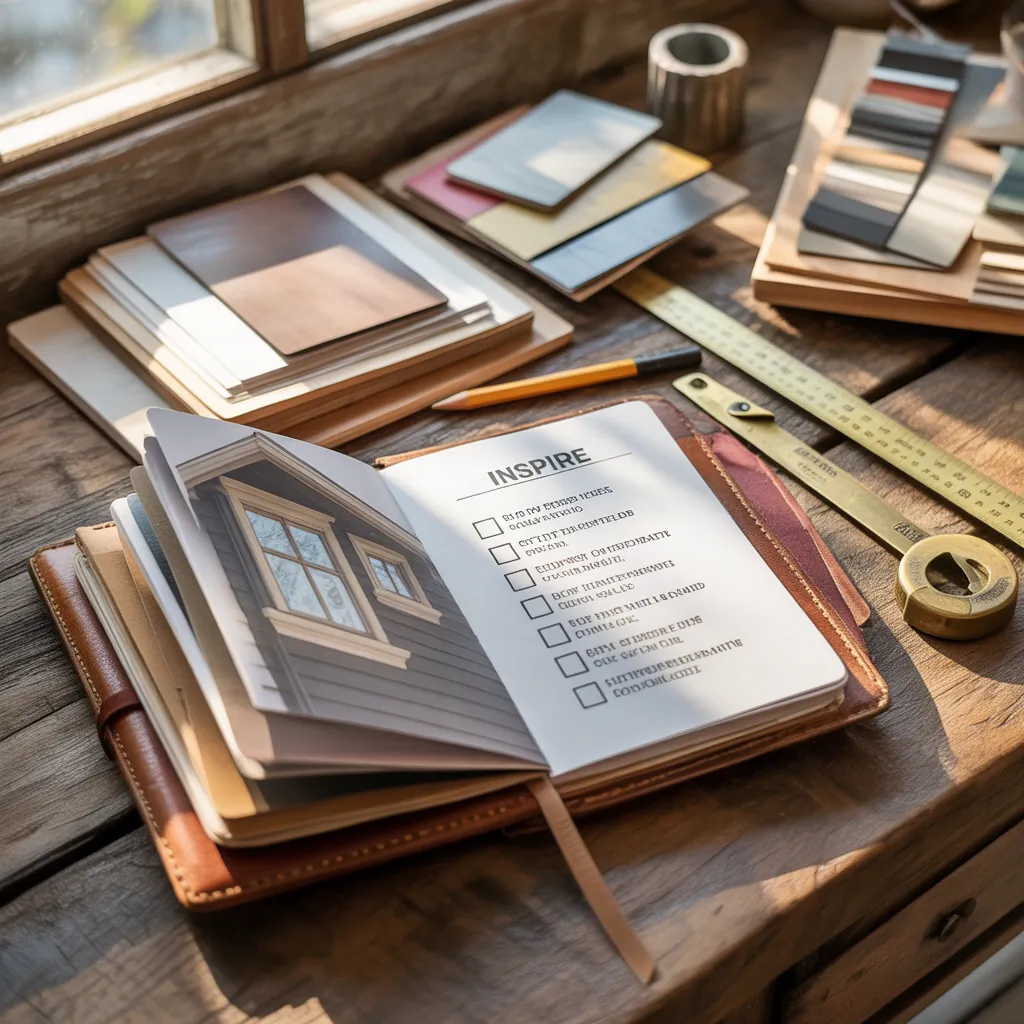
Think of a journal scrapbook as a hybrid between a mood board and a project notebook. It keeps color swatches, paint chips, floor plans, and receipts together alongside photos, journaling, and sketches. This mixed-media approach helps you make decisions faster and keeps memories alive after the work is done.
Benefits at a Glance
- Consolidates design inspiration and practical notes in one place
- Serves as a reference for paint codes, materials, and vendor info
- Creates a personal keepsake of before-and-after moments
- Encourages creativity—great for beginners and seasoned DIYers
Journal Scrapbook Inspiration: Easy Ideas to Get Started
Below are practical, hands-on ideas and layouts you can start today. These are tailored for both memory keeping and project planning, using everyday materials and simple techniques.
1. The Room-by-Room Remodel Journal
- Choose a sturdy notebook or small binder with removable pages for swatches.
- Dedicate one spread (two facing pages) per room: photos, mood list, must-haves.
- Attach paint chips and fabric samples with clear tape or washi strips.
- Add a pocket for receipts, contractor business cards, and small samples.
2. Memory-Keeping Scrapbook Pages
- Start with a photo and write a short caption or memory around it.
- Use layered paper, ephemera, and stamps to add texture.
- Include a timeline or checklist of milestones (e.g., demo day, first coffee in the new kitchen).
Materials, Tools, and Budget-Friendly Alternatives
You don’t need expensive supplies. Here’s a practical toolkit for DIY journal scrapbooking:
- Notebook or traveler’s journal—ring-bound or disc-bound for easy page rearrangement
- Washi tape, double-sided adhesive, glue stick, photo corners
- Scissors, craft knife, cutting mat
- Markers, brush pens, small stamps, and an ink pad
- Scrap paper, free magazine clippings, fabric offcuts, paint chips
Upcycling Tips
Use leftover wallpaper or cabinet samples as page backgrounds. Old calendars make great large-format photos and color blocks. Thrift-store books can be dissected for textured paper and printed ephemera.
Step-by-Step: Create a Simple “Project Progress” Spread
- Pick a layout: left page for photos, right page for notes and timelines.
- Attach a “before” photo with photo corners and add a caption in a neat handwriting style.
- Add a small pocket to the right page for receipts and samples—seal with washi tape.
- Sketch a simple floor plan or layout; label dimensions and materials.
- End with a short reflection: what worked, what you’d change next time.
Design Inspiration: Colors, Fonts, and Layouts
Keep these design rules in mind to make your journal scrapbook both functional and beautiful.
Color Palette Tips
- Use a neutral base (cream or kraft paper) and add two accent colors drawn from a favorite photo.
- Match swatches to paint chips; note manufacturer and color code for easy reference.
Typography & Hand-Lettering
Mix a printed font header (use a sticker or stamp) with handwritten notes. Use a fine-tip pen for lists and a brush pen for headers to create hierarchy and visual interest.
Practical Storage and Display Ideas
After you fill pages, store the journal scrapbook on a shelf with labeled spines or create a small display stack in your workspace. For digital backup, photograph each spread and save images in a folder labeled by project name.
Organizing Multiple Projects
- Use color-coded tabs for different rooms or themes.
- Keep a master index at the front with page numbers for fast retrieval.
Real-World Advice from a DIY Blogger
Start small. Don’t aim for perfection on your first spread—function beats flawless design. Use the journal scrapbook as a working tool: it should be messy, annotated, and real. If you’re planning larger work like kitchen upgrades, keep contractors’ quotes and product warranties in clear plastic sleeves in the same book for easy access. If you want more project ideas and step-by-step tutorials, check out our DIY projects and explore related home design ideas to spark creativity.
Frequently Asked Questions
A5 or traveler’s size is great for portability and desk work; 8.5×11 inches works well if you prefer larger photos and sketches. Choose ring-bound or disc-bound if you want to add/remove pages frequently.
Absolutely. Scan or photograph physical pages and store them in a cloud folder. You can also create hybrid spreads by printing digital mood boards and pasting them into your paper journal.
Use small glassine envelopes or clear plastic sleeves to protect delicate items. Press flowers beforehand and use archival-safe adhesive or photo corners for fabric swatches to prevent damage over time.
Conclusion: Start Your Journal Scrapbook Journey Today
Journal scrapbook inspiration gives you a flexible, creative way to plan home improvements, preserve memories, and stay organized. Start with one spread today—capture a before photo, add a paint chip, and jot down your plan. The act of designing and documenting will keep projects moving and make the finished space feel even more rewarding. Ready to begin? Grab a notebook, collect your favorite scraps, and make your first spread. For more step-by-step tutorials and design tips, explore our DIY projects and home design ideas.
Call to action: Share a photo of your first journal scrapbook spread or leave a comment with your favorite materials—let’s inspire each other to build better homes and lasting memories.