Ever pulled a necklace out of a drawer only to find it hopelessly tangled with three others, or stood for five minutes untangling a chain before you could even leave the house? If cluttered trays and jumbled jewelry are stealing minutes from your morning routine, you’re in the right place. This article is full of practical jewelry DIY ideas for organizing that save time, look beautiful, and make small home upgrades feel satisfying and personal.
Why choose DIY jewelry organizers?
Store-bought organizers can be pricey and generic. Building your own lets you customize size, style, and functionality to fit your space—whether it’s a compact travel case or a dramatic wall display. DIY jewelry organizers often use upcycled materials, cost less, and can be adapted to jewelry types (earrings, necklaces, rings, bracelets). They’re perfect for people who enjoy simple woodworking, sewing, or spray-painting a thrifted find.
Top jewelry DIY ideas for organizing
Below are several tested, easy projects with design inspiration and step-by-step directions for the most useful options.
1. Framed mesh earring display (Easy)
Great for studs and drop earrings—visible, decorative, and simple.
- Materials: picture frame, leftover chicken wire or jewelry mesh, pliers, staple gun, spray paint (optional).
- Steps:
2. Tiered tray and jewelry bowl combo (Quick decor upgrade)
Use a tiered dessert tray for bracelets and a small ceramic bowl for rings. This is an elegant, intuitive catch-all for everyday pieces.
3. Drawer dividers from foam board (Minimalist dresser solution)
Cut foam board to create compartments sized for rings, watches, or brooches. Label each section and line with felt for protection.
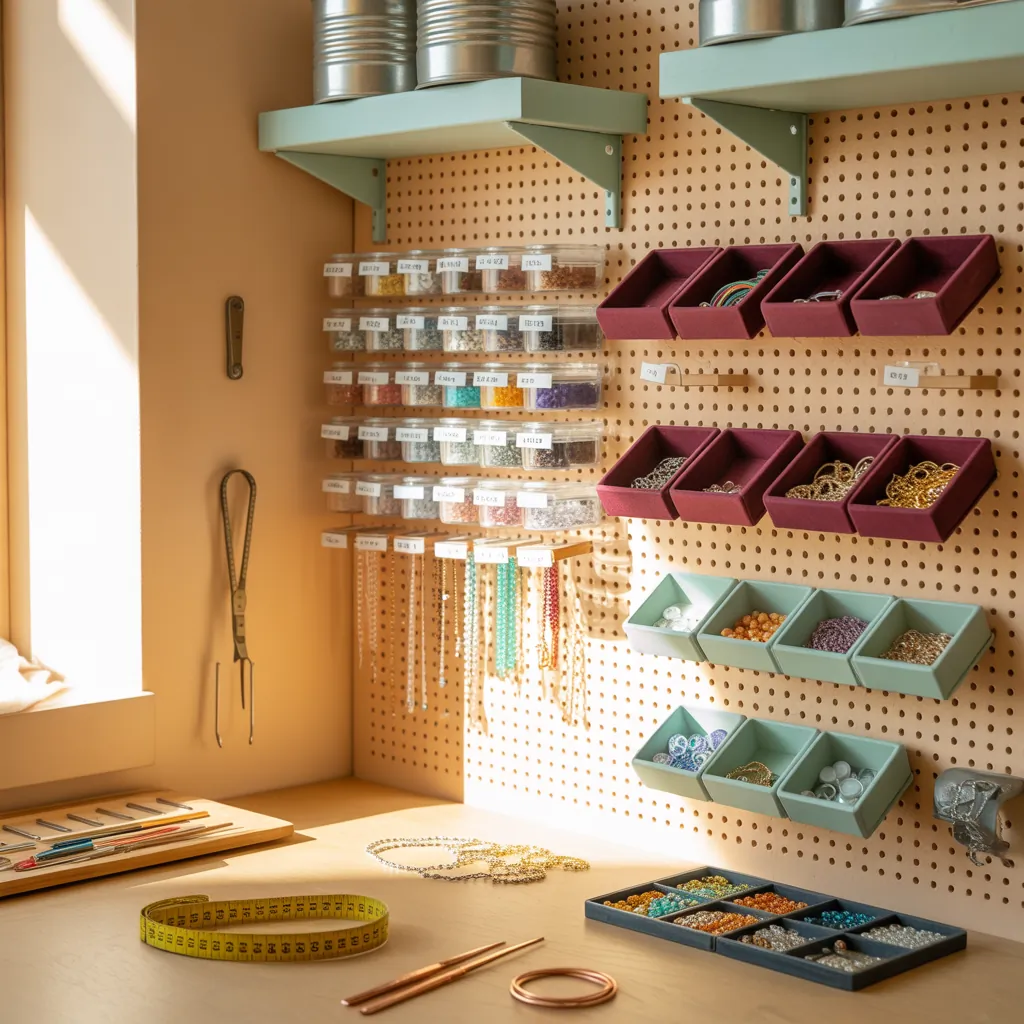
4. Pegboard wall organizer (Customizable and expandable)
Pegboards let you add hooks, small shelves, and bins. It’s ideal for mixing necklaces and bracelets without tangling. Paint the pegboard to match your decor.
5. Repurposed silverware tray + velvet liner (Best for rings)
An old cutlery tray inserted into a shallow drawer makes neat rows. Add a thin velvet or felt liner to protect delicate metals.
6. Mason jar ring and earrings station (Rustic charm)
Glue alternating jars onto a painted wooden plank to create an easy countertop organizer—rings inside jars, earrings hung on lids with holes.
7. Vintage scarf hanger for long necklaces (Space-saving)
Use a scarf hanger or wooden pants hanger with clips to hang long necklaces separately so they never knot.
8. Magnetic strip for brooches and small metal pieces (Innovative)
Mount a magnetic strip inside a cabinet door for brooches and metal hairpins. It’s sleek and keeps small pieces from getting lost.
9. Ice cube tray or pill organizer for costume jewelry (Budget-friendly)
Perfect for sorting small pieces by color, season, or outfit. Stick several trays into a drawer for a low-cost storage grid.
10. Travel jewelry organizer DIY (Portable protection)
- Materials: small zippered pouch, elastic loops, thin foam, snaps or buttons.
- Steps:
Step-by-step project: Wall-mounted wooden necklace board
This project prevents tangles and creates a focal point above your dresser or in a closet.
- Materials: 1×8 pine board (cut to fit), wood stain or paint, small cup hooks, sandpaper, drill, hanging hardware.
- Steps:
Design tip: Add a small shelf below for rings and daily-wear pieces, or paint the backboard in a contrast color for a gallery-like effect.
Design inspiration and styling tips
Think of jewelry storage as part functional furniture, part decor. Here are ways to integrate your organizer into your home design:
- Match finishes: coordinate metal hooks with other room hardware (brass hooks, black frames).
- Color-code by outfit or occasion using small labeled trays for fast selection.
- Group by frequency: everyday pieces on the dresser, special pieces in a locked drawer or closet.
- Use lighting: small LED strip lights or puck lights inside cabinets add a boutique feel and make pieces easier to find.
Practical maintenance and real-world advice
To keep any jewelry organization system working well:
- Put jewelry back after each use—habit beats organization systems.
- Clean and inspect pieces before storing to avoid tarnish or damage.
- Use silica gel packets in closed organizers to reduce humidity.
- For small spaces, mount organizers on closet doors or inside cabinet doors to save surface area.
Frequently Asked Questions
What are the best materials for DIY jewelry organizers?
Wood, cork, metal mesh, foam board, and velvet/felt liners are ideal. They’re affordable, easy to work with, and protect jewelry from scratching.
How do I prevent necklaces from tangling in a drawer?
Use individual compartments, hang necklaces vertically on a pegboard or wall-mounted hooks, or fasten chains with small binder clips before storing. Storing each chain separately is the most foolproof method.
Can I make a travel-sized jewelry organizer at home?
Yes. Use a padded pouch, small zip cases, or repurpose a sunglass case. Add elastic loops sewn into the lining to secure rings and studs, and use small zip pockets for chains.
Conclusion: Start today with one simple project
If tangled necklaces and missing earrings are part of your daily routine, pick one jewelry DIY idea for organizing and commit to a single weekend project. Start small—try the framed mesh earring display or a pegboard—and expand from there. You’ll save time, protect your pieces, and add a personal touch to your space. Ready to transform a drawer or wall into an organized jewelry station? Browse our project ideas and get inspired: check out our internal DIY projects and explore more home design ideas to match your new organizer. Want tips on repurposing kitchen drawers or other small upgrades? See our kitchen upgrades section for clever cross-room solutions.
Try one project this weekend, then come back and share a photo of your finished organizer—your space (and your mornings) will thank you.


