Ever found yourself mid-weekend, painting an accent wall and moving the sofa, and suddenly wondered if your newly refreshed living room could double as a wedding venue? If you’re juggling home improvement projects and wedding planning, you’re in luck — with a few DIY tweaks and smart styling choices you can create stunning, professional-looking images. This guide to indoor wedding photo inspiration walks you through lighting, backdrops, staging, and easy DIY projects so your at-home or small venue wedding photos look magazine-ready.
Indoor Wedding Photo Inspiration: Why indoor works for DIY couples
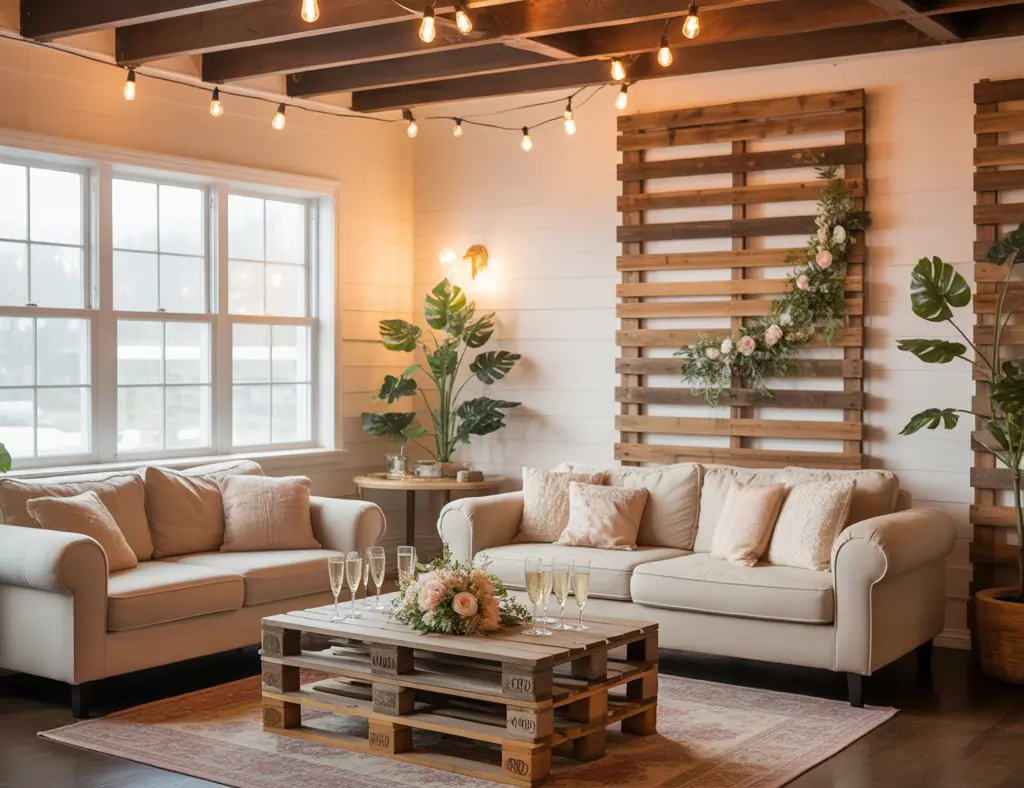
Indoor weddings are intimate, weather-proof, and often more budget-friendly. They also give you control over every visual detail — from the color temperature of the light to the exact placement of a floral moment. Whether you’re planning an elopement in a sunroom, a winter ceremony in a living room, or portraits in a rustic hall, these indoor wedding photo inspiration ideas help you maximize light, texture, and personal touches.
Lighting: The single most important element
Great light turns a humble space into a beautiful backdrop. Natural window light is ideal for soft, flattering portraits, but you can also create gorgeous results with household lamps and a few inexpensive tools.
Practical lighting tips
- Use natural light whenever possible: position the couple near large windows or glass doors. North-facing windows give consistent, soft light.
- Bounce light with a DIY reflector: a large white foam board or a sheet of aluminum foil on cardboard fills in shadows.
- Warm accent lighting: string lights, candles (battery candles for safety), and lamps add depth and cozy ambiance.
- If using flash, diffuse it with a DIY softbox: stretch a white shower curtain or parchment paper over a frame.
Backdrop and decor ideas for indoor wedding photo inspiration
Backdrops define the mood of your photos. Choose textures and colors that complement the couple’s outfits and flowers.
Budget-friendly backdrop ideas
- Fabric drape wall: hang layered fabrics (linen, velvet, chiffon) from a tension rod or curtain wire for an elegant look.
- Paper flower wall: create oversized blooms from crepe paper — lightweight and dramatic.
- Greenery and macramé: use potted plants, eucalyptus garlands, and a macramé hanging for a boho vibe.
- Gallery-style wall: arrange framed photos, mirrors, or sketches for a personalized backdrop.
DIY projects — step-by-step improvement ideas
These DIY projects are curated for weekend builders and decorators who want high impact with minimal cost.
1. Simple fabric drape backdrop (1 afternoon)
- Measure the space and buy a tension rod or curtain wire wide enough to span the area.
- Choose two to three coordinating fabrics (a solid linen base, a sheer layer, and an accent velvet).
- Hang the base fabric first, then loosely drape the shear for softness and the velvet for color. Anchor ends with clear Command hooks if needed.
- Add string lights behind the sheer layer for a soft glow.
2. Paper flower wall (2-3 evenings)
- Cut petal shapes from crepe paper, assemble into flowers using glue and floral wire.
- Attach flowers to a large foam board or fabric-covered plywood using hot glue.
- Mix sizes and colors; add faux greenery for depth.
3. Mason jar centerpieces and aisle decor (1-2 hours)
- Paint jars in muted tones or wrap with twine.
- Add floral foam and arrange small bouquets or single stems.
- Group on wooden slices or hang them from shepherd hooks for an indoor aisle.
Styling, composition, and posing tips for better at-home wedding photos
Even simple styling choices make a big difference in photos. These are practical staging ideas you can implement while you’re doing other home upgrades.
- Choose a cohesive color palette: limit to three main colors to avoid visual clutter.
- Flooring matters: add a statement rug to anchor portraits and add texture.
- Keep backgrounds tidy: declutter shelves and hide cords — a phone camera picks these up easily.
- Use props sparingly: a vintage chair, a bouquet, or a meaningful object creates focal points.
- For posing, aim for movement and connection — walking, gentle forehead touches, and candid laughter photograph better than stiff poses.
Real-world advice and a quick checklist
Planning an indoor shoot while juggling home projects can feel like a lot. Use this checklist to stay organized:
- Scout the space: test lighting at the ceremony time and take test shots with your phone.
- Plan for contingencies: have battery candles and spare bulbs on hand.
- Safety first: secure backdrops, and keep open flames away from fabrics and flowers.
- Coordinate with your photographer: share the mood board and any DIY installations ahead of time.
- Schedule setup time into the day so you’re not rushing between home improvement tasks and photo prep.
Want more project ideas to make your home photo-ready? Check out our DIY projects and home design ideas for easy upgrades — and if you’re sprucing up the kitchen for reception photos, browse our kitchen upgrades for small, high-impact changes.
Frequently Asked Questions
1. Can we get professional-looking indoor wedding photos on a budget?
Yes. Prioritize lighting, a clean backdrop, and simple props. Natural light, DIY reflectors, and carefully chosen fabrics can make a novice set look professional without expensive rentals.
2. What are the best indoor wedding photo backdrop ideas for small spaces?
Use vertical elements to create depth: hanging fabrics, a small arch with greenery, or a paper flower panel. Mirrors can add perceived space, and strategically placed rugs define the shooting area.
3. How do I make sure indoor photos don’t look “flat”?
Layer light sources (window light + warm accent lamps), add texture (rugs, foliage, fabric), and create foreground interest with props. Have the photographer shoot at a wide aperture to blur the background and emphasize the subjects.
Conclusion — Make your space photo-ready with indoor wedding photo inspiration
Transforming your home into a beautiful photo venue is an achievable home improvement project. With thoughtful lighting, creative backdrops, and a few DIY enhancements, your indoor wedding photos will be intimate, stylish, and full of personality. Try one small DIY project this weekend (a drape wall or a mason-jar centerpiece) and test your setup with a few practice shots. Ready to start? Explore our DIY projects and home design ideas to plan your next move — and if you’re updating the kitchen for reception shots, see our kitchen upgrades for quick-impact tips.
Call to action: Want personalized suggestions for your space? Describe the room you’re working with and your wedding vibe, and I’ll recommend specific DIY backdrops and lighting setups to get magazine-quality indoor wedding photos.

