You just cleared out the winter coat pile, wiped down the mudroom bench, and now your walls are begging for a cheerful refresh. A seasonal bulletin board is a fast, low-cost way to bring spring energy into your home — whether you want a functional family message center, a kitchen recipe display, or a floral statement piece. If you’ve been searching for ideas spring bulletin board inspiration, this guide walks you through practical DIY tips, step-by-step instructions, and design ideas you can complete in a weekend.
Why Create a Spring Bulletin Board?
Refreshing a noticeboard or memo board is one of the simplest home updates you can make. It’s visible, useful, and instantly sets a seasonal tone. With a few inexpensive materials, you can craft a customized pinboard that organizes schedules, displays kids’ artwork, holds menus, or simply adds color and texture to a hallway, kitchen, or home office.
Ideas Spring Bulletin Board: Quick Picks for Every Room
Below are spring bulletin board ideas tailored to different spaces and needs. Choose one that suits your lifestyle and budget.
Entryway Message Center (Family Command Center)
- Use a corkboard split into sections for keys, calendars, and incoming mail.
- Add labeled fabric pockets for masks, hand sanitizer, and permission slips.
- Long-tail idea: DIY spring bulletin board ideas for busy families.
Kitchen Recipe & Menu Board
- Create a magnetic board with a thin sheet of metal and paint it a pastel hue to match spring linens.
- Clip weekly menus and grocery lists with decorative clothespins or magnet clips.
- Tip: incorporate a chalkboard strip for quick notes and meal ideas.
Home Office Inspiration Board
- Mix cork and fabric panels to pin project timelines, mood photos, and inspirational quotes.
- Use washi tape to organize sections by priority or client.
- Long-tail idea: seasonal spring mood board for home office productivity.
Kids’ Spring Art Display
- Install a bulletin rail or wire with clips so artwork can rotate easily.
- Paint a frame in cheerful colors and swap art as new crafts come home from school.
Materials and Tools You’ll Need
Most spring bulletin boards are assembled with simple, affordable supplies. Below is a basic list you can customize based on the design you choose.
- Corkboard, foam board, or metal sheet (for magnetic boards)
- Fabric or decorative paper for covering
- Staple gun or spray adhesive
- Frame (pre-made or repurposed picture frame)
- Push pins, push tacks, or decorative clips
- Paints, washi tape, ribbons, or faux florals for embellishment
- Hanging hardware (D-rings, picture wire, or adhesive hooks)
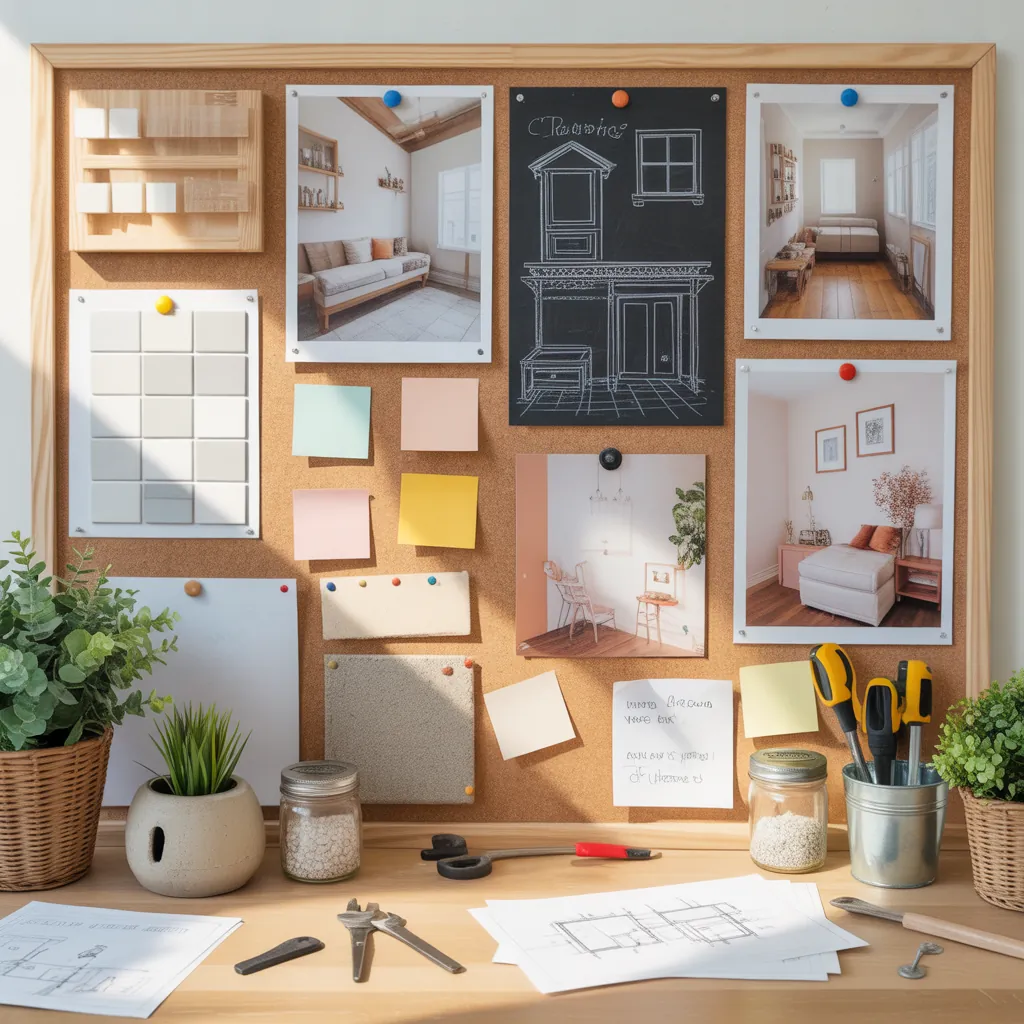
Step-by-Step: Make a Floral Fabric Bulletin Board
This classic DIY is versatile and perfect for spring. It works as a decorative noticeboard or a functional family hub.
- Measure the area where you’ll hang the board and cut the cork or foam board to size.
- Cut fabric with an extra 2–3 inches on each side to wrap around the board.
- Lay the fabric face down, center the board on top, and pull the fabric taut. Use a staple gun to secure fabric to the back, folding corners neatly.
- Optional: add a thin layer of batting between fabric and board for a padded look.
- Insert the board into a frame or attach decorative trim with hot glue.
- Decorate with faux spring flowers tucked into the frame corners or a ribbon grid (crisscross ribbon across the front and secure at the back) for a French-style memo board.
- Install appropriate hanging hardware and mount the board at eye level.
Design Inspiration and Styling Tips
Keep these practical ideas in mind when styling your spring bulletin board to ensure it’s both pretty and practical.
- Color palette: choose soft pastels or fresh greens to evoke spring. A bold accent (salmon, turquoise) makes notices pop.
- Texture: mix cork, linen, and wooden frames for tactile interest.
- Function-first: allocate zones for calendars, notes, and kid artwork so your board stays organized.
- Seasonal swaps: update one or two elements each season—switch fabrics, replace floral accents, or swap magnets—to refresh without rebuilding.
- Budget-friendly: recycle an old picture frame, thrifted fabric, or a leftover foam board for a high-impact project under $20.
Maintenance and Longevity
To keep your spring bulletin board looking fresh all season:
- Rotate pinned items weekly to prevent marks and clutter.
- Spot clean fabric boards with a lint roller or gentle vacuum brush.
- Replace worn pins and refresh ribbon grids annually.
Frequently Asked Questions
Cork and foam board are affordable and easy to use. For a magnetic option, use a thin sheet of metal backed with plywood. Cover boards with cotton or linen fabric for a breathable, cleanable surface. Choose materials based on function—cork for pins, metal for magnets, fabric for a softer look.
Use wall anchors or screws that match your wall type (drywall anchors, masonry anchors for brick). For boards over 10 pounds, use two D-rings and hang on screws spaced to distribute weight. If you’re unsure, a professional picture-hanging kit or a stud finder will help secure heavier pieces.
Outdoor use requires moisture-resistant materials. Choose sealed cork or a marine plywood backing, cover with outdoor fabric, and use rust-proof pins and hangers. Keep the board in a covered area to minimize exposure to rain and sun fading.
Conclusion: Refresh Your Home with Ideas Spring Bulletin Board
Spring is the perfect time to add a fresh, functional focal point to your home. Whether you go for a cheerful fabric board, a magnetic kitchen menu, or a kid-friendly art display, these ideas spring bulletin board projects are budget-friendly and satisfying to build. Pick one design, gather simple materials, and turn a blank wall into an organized seasonal statement.
Ready to start a project? Check our DIY projects page for more step-by-step guides or explore kitchen upgrades and home design ideas for seasonal touches that extend beyond your bulletin board. Share your finished board photos and tips — we’d love to see what you create!