Have you ever stood in front of a plain doorway and imagined a warm, textured frame that makes the whole room feel like a cozy cottage? Maybe you rescued a reclaimed barn board, or you want to turn a builder-grade opening into a focal point—this article shows practical, budget-friendly ways to bring those ideas rustic door frame visions to life. Whether you’re a weekend DIYer or tackling a full renovation, these tips and step-by-step ideas will help you transform any doorway into a rustic statement piece.
Why choose a rustic door frame?
A rustic door frame adds character, depth, and a handcrafted feel to any home. It pairs beautifully with farmhouse interiors, industrial lofts, and Scandinavian hygge spaces. Beyond aesthetics, a well-built rustic trim can hide uneven walls, protect the door jamb, and increase resale appeal when done thoughtfully. Use reclaimed wood, distressed paint, or even metal accents for varied looks that match your home’s personality.
Materials, tools, and prep: what you’ll need
Before starting, gather materials and tools so your project runs smoothly.
- Materials: reclaimed wood boards, 1×4 or 1×6 pine, cedar or oak trim, wood glue, finish nails, wood filler, sandpaper, stain or paint, clear polyurethane or wax.
- Tools: miter saw or hand saw, measuring tape, level, nail gun or hammer, chisels, router (for rabbets), stud finder, caulking gun, gloves, eye protection.
- Prep tips: measure the opening carefully (height, width, reveal), locate studs, and decide whether you’ll build the frame over existing trim or remove it first.
Rustic door frame ideas to try
Here are several trending looks that work in most homes—each with a quick description and recommended materials.
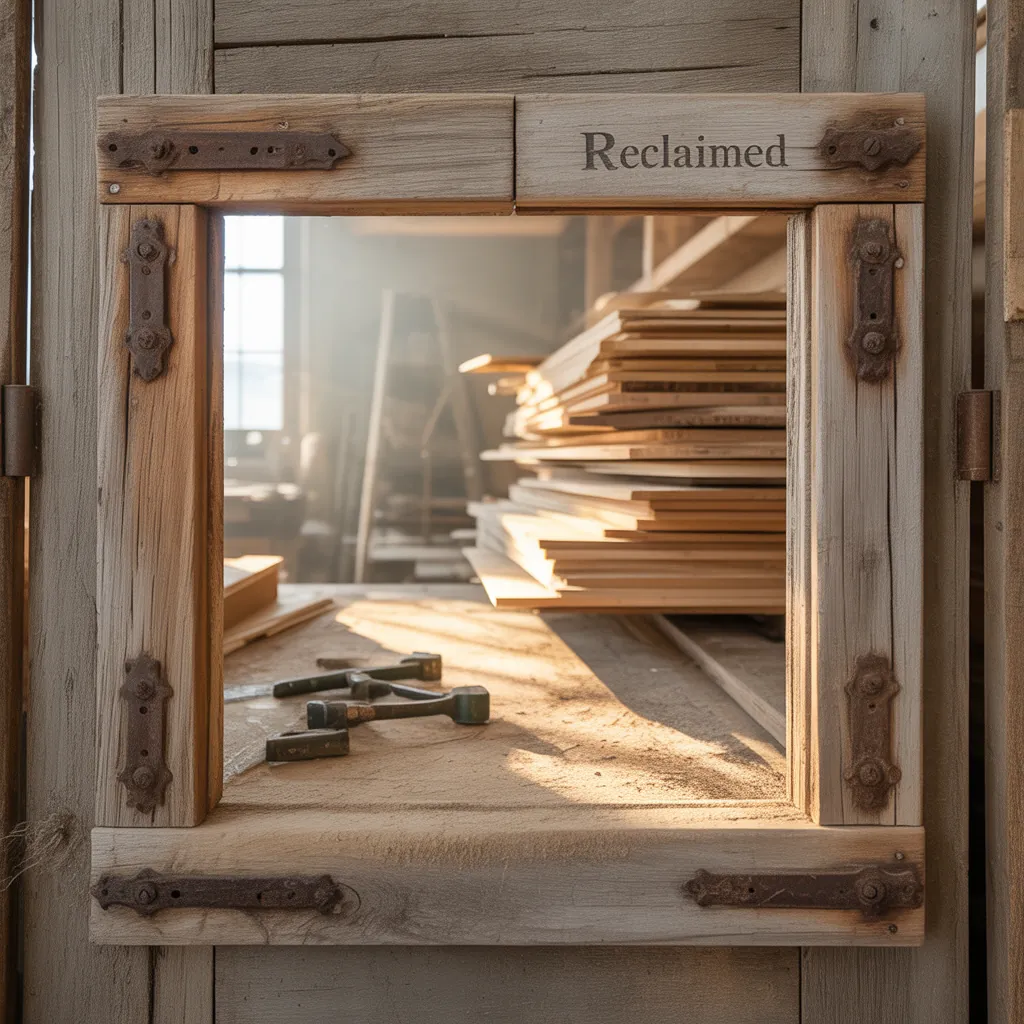
- Reclaimed barn wood frame: Use weathered boards for instant patina. Best for wide, chunky frames and accent doors.
- Simple distressed pine trim: Paint, sand back corners, and stain over the paint for an aged finish.
- Rough-hewn beam jamb: Attach a milled beam above and alongside the opening for a heavy-duty farmhouse effect.
- Mixed materials: Pair wood frame with black metal corner plates or strap hinges for an industrial-rustic look.
- Painted whitewashed look: Whitewash softens heavy wood while keeping rustic texture visible—works well in coastal farmhouse kitchens and hallways.
Step-by-step: Build a basic rustic door frame (DIY tutorial)
Step 1 — Measure and plan (30–45 minutes)
Measure the doorway inside-to-inside and decide the width of your casing (e.g., 3″ to 6″). Sketch the profile: are you stacking boards for a chunky look, or using single wide planks?
Step 2 — Cut and dry-fit (1 hour)
Cut boards to length on a miter saw. Dry-fit around the opening to check joins and reveal. If using a rabbet (notched edge) to sit against the door jamb, route it now.
Step 3 — Assemble and attach (1–2 hours)
Glue and nail the boards together if stacking. Use a level to keep everything plumb. Fasten through the trim into studs or jamb with finish nails or screws—use shims behind the jamb for an even fit.
Step 4 — Finish and distress (1–2 hours + drying)
Sand any rough spots. Stain or paint in your chosen finish. For distressed styling, apply base paint, sand edges, then coat with a stain or glaze to highlight grain. Seal with polyurethane or wax for durability.
Step 5 — Caulk and final touches (30 minutes)
Fill nail holes with wood filler, caulk the seams where wood meets wall for a seamless look, and install any metal accents or hooks.
Design inspiration & styling tips
Small choices make big differences:
- Match the stain intensity to nearby floors and furniture for cohesion.
- Use wider planks for a bold statement on main doors and narrow ones for interior openings.
- Combine vertical and horizontal boards to frame an entry in an architectural way.
- Add trim profiles or corbels for a vintage vibe. A simple crown molding at the top can elevate the look without losing rustic charm.
- If working in the kitchen, coordinate your rustic door frames with cabinetry—see our kitchen upgrades ideas for more tips.
Budget-friendly options
Not all rustic door frame projects require reclaimed barn wood. For a wallet-friendly approach:
- Use pine planks bought new and distress them with a hammer and chain for texture.
- Whitewash or stain softwood instead of expensive hardwoods.
- Buy pre-primed casing and create a faux layered look by gluing extra trim pieces.
Common mistakes to avoid
- Skipping accurate measurements—every door jamb is slightly different.
- Not sealing the wood—rustic doesn’t mean unfinished; humidity and fingerprints will show if unsealed.
- Overdoing distressing—subtlety often reads more authentic than heavy, fake wear.
- Ignoring structural clearance—ensure the door swings freely and aligns with latch hardware.
Frequently Asked Questions
- Can I make a rustic door frame without removing the old trim?
- Yes. You can build a new frame over existing trim if the old trim is flat and not too bulky. Removing old trim gives a cleaner result but adding over it is faster and less dusty.
- What type of wood is best for a rustic frame?
- Reclaimed oak, pine, and cedar are popular. Pine is budget-friendly and easy to distress; oak gives a rich grain, and cedar resists moisture if installing near bathrooms or exteriors.
- How do I protect a rustic frame from daily wear?
- Seal with a durable finish: two-part polyurethane for high-traffic areas or a penetrating oil/wax for a softer sheen. Reapply as needed after heavy use.
Conclusion
Transforming a doorway with ideas rustic door frame finishes is one of the most impactful and affordable home upgrades you can do. From reclaimed wood frames to painted, distressed trim, there’s a style and budget for every homeowner. Ready to start? Choose your design, gather materials, and try one of the step-by-step methods above—and if you want more project ideas, check out our DIY projects and home design ideas pages for inspiration. Share a photo of your finished frame or ask a question below—let’s build something beautiful together!