Ever prepped for a party only to realize your photo corner looks like an afterthought? Picture this: you’ve spent hours on invitations, snacks, and playlist, but people are taking selfies on the floor because there’s no attractive, functional surface for props and prints. If that scenario hits close to home, a well-designed photo booth table can be a game changer. In this post you’ll find practical, stylish, and beginner-friendly ideas photo booth table owners and DIYers can actually build and style between sips of coffee.
Why a Photo Booth Table Transforms Gatherings
A dedicated photo booth table does more than hold props — it organizes the moment. It gives guests a clear spot to accessorize, displays instant prints or a guestbook, and creates a focal point for photos. Whether you’re planning a birthday, wedding reception, or just a weekend get-together, a purpose-built table elevates the photo experience and makes cleanup easier.
Best ideas photo booth table designs
Below are versatile design ideas — from rustic charm to modern minimalism — that work for indoor and outdoor events. Use these as inspiration for your next DIY projects or as quick weekend builds.
Rustic Farmhouse Photo Booth Table
- Materials: reclaimed wood top, hairpin legs or wooden trestles, chalkboard sign.
- Design tips: rough edges, a mason jar for florals, burlap runner, and wooden crates for props.
- Why it works: warm textures make props pop and blend easily with barn or backyard venues.
Modern Minimalist Photo Table
- Materials: sleek laminate or painted MDF top, metal legs, acrylic trays for props.
- Design tips: monochrome palette, neon sign backdrop, clean labels for prop categories.
- Why it works: perfect for corporate events and contemporary home parties where clutter distracts from the photo.
Vintage Glam & Themed Photo Booth Table
- Materials: mirrored top or glossy finish, velvet table runner, ornate frames for signs.
- Design tips: curated props (feather boas, Swarovski-style glasses), and a decorative instant photo display stand.
- Why it works: ideal for weddings, anniversaries, or 1920s-themed celebrations.
Upcycled & Budget-Friendly Photo Booth Table
- Materials: repurposed dresser or door slab, inexpensive paint, thrift-store frames.
- Design tips: add a runner and label jars with handwritten tags to keep costs low.
- Why it works: sustainable and unique — each piece tells a story in photos.
Kids’ Party Photo Props Table
- Materials: small child-height table, colorful bins, washable chalkboard labels.
- Design tips: sort props by theme (superheroes, pirates) and include a play camera for roleplay.
- Why it works: lightweight, safe, and encourages imaginative play for adorable snapshots.
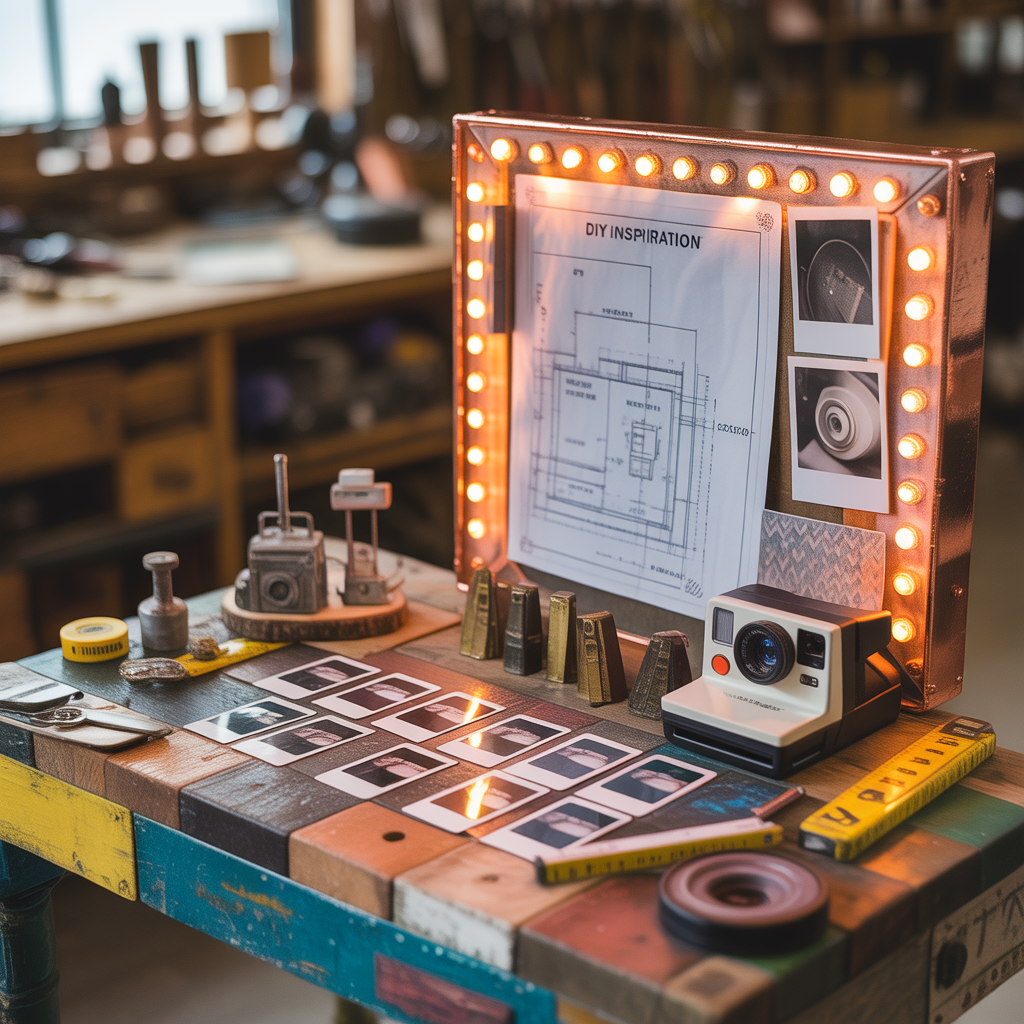
Step-by-step: How to build a simple photo booth table
Follow this straightforward guide to build a sturdy, attractive photo booth table in a weekend.
Materials & tools
- 1x Plywood or pre-cut tabletop (24″–48″ wide depending on space)
- 4 legs (hairpin, T-leg, or wooden legs)
- Screws, wood glue, sandpaper, primer and paint or stain
- Drill, screwdriver, measuring tape, level
Build steps
- Measure your space and choose the tabletop size. A 36″ wide table is a versatile starting point.
- Cut plywood to size (or have it cut at the store). Sand edges smooth.
- Attach legs with brackets or screws and wood glue. Check level and tighten fasteners.
- Prime and paint or stain the table. Apply two coats for durability, allowing dry time between coats.
- Style: add trays, jars, and labeled boxes for props. Place a small sign explaining how to use the props or where to leave prints.
Styling and prop organization tips
Good styling keeps the table functional and photogenic. Use these practical organization ideas:
- Group props by function: headwear, glasses, handheld signs — use small baskets or acrylic trays.
- Label everything with chalkboard tags or printed cards so guests can find what they want quickly.
- Designate a “photo drop” area for instant prints and a guestbook to create keepsakes from the event.
- Include a small repair kit (double-sided tape, mini stapler) for quick fixes to props during the party.
Budget-friendly materials and alternatives
Not every great photo booth table needs expensive materials. Consider these cost-saving alternatives:
- Use an old coffee table or repainted dresser instead of building from scratch.
- Replace glass vases with painted jars or recycled cans wrapped in decorative paper.
- Buy basic acrylic trays in bulk for prop sorting — inexpensive and reusable.
Frequently Asked Questions
A practical size is 36″ wide by 18–24″ deep. This provides enough surface for props, an instant-photo station, and decorative elements without taking up too much floor space.
Yes. Use weather-resistant materials like treated wood, powder-coated metal legs, or place the table under a tent. Secure lightweight props to prevent windblown chaos.
Store props in labeled plastic bins to avoid damage and make setup faster. Keep fragile items wrapped and group items by theme for easy retrieval.
Conclusion — Make your next event memorable with a custom table
Whether you pick one of these ideas photo booth table concepts or customize your own, a well-planned table makes photos easier, prettier, and more shareable. Start small: repurpose an existing table or try the simple weekend build above. If you loved these design and build tips, explore more ideas on our home design ideas and kitchen upgrades pages for complementary projects that boost both form and function. Ready to create your own photo booth table? Grab your tools, pick a style, and tag your party photos to show off what you made!