Ever started decorating for winter and realized your plain store-bought ornaments just aren’t cutting it? Maybe you want a cozy mantle display, a whimsical window scene, or kid-friendly crafts for a snowy afternoon. Learning ideas on how to cut snowflakes can turn one simple piece of paper into dozens of unique decorations — and it’s one of the most satisfying, budget-friendly home improvement craft projects you can do.
Why cut your own snowflakes? The benefits for home design and DIY decor
Hand-cut snowflakes add a personal touch, let you customize scale and style, and can match any color palette or theme. Whether you’re working with paper, felt, foam, or wood, snowflake crafts are versatile: use them as window hangings, table confetti, layered wall art, or even stencils for painted murals. Plus, cutting snowflakes is a great way to practice precision cutting, pattern design, and basic symmetry — skills that help in other DIY projects around the house.
Essential tools and materials
- Paper: printer paper, origami paper, cardstock, or doilies
- Cutting tools: sharp scissors, craft knife (X-Acto), or a cutting machine like a Cricut
- Templates and stencils: printed snowflake patterns or hand-drawn designs
- Additional supplies: ruler, pencil, cutting mat, glue, string/twine, spray paint, glitter, felt, foam sheets, thin plywood for wooden snowflakes
- Safety gear: finger guard or thimble for kids using scissors
Step-by-step: Basic paper snowflake cutting method
1. Prepare your square
Start with a square sheet. If using rectangular printer paper, fold one corner diagonally to meet the opposite edge and trim off the excess strip.
2. Fold for symmetry
Fold the square in half diagonally to form a triangle. Fold that triangle in half again to make a smaller triangle. For six-point snowflakes (classic look), fold into thirds instead of halves: fold one angle over to divide into roughly three equal sections, then fold the other angle over it. This requires a little practice to get even thirds.
3. Draw and cut
Lightly sketch a pattern along the folded edge (avoid drawing on the center point where many cuts meet). Cut shapes into the edges — triangles, teardrops, diamonds — and remove those pieces. Small cuts near the center create delicate designs; larger cuts give a bold, graphic look. Unfold to reveal your snowflake.
Advanced cutting techniques and material variations
Precision cutting for intricate snowflakes
Use a craft knife and cutting mat for very detailed patterns. Transfer a printed template onto cardstock, then carefully cut along the lines. Keep your blade sharp to avoid tearing. This method is excellent for ornaments, holiday cards, or laminated designs that will last year after year.
Fabric, felt, and foam snowflakes
Felt and foam are forgiving materials for kids and create durable decorations. Use a rotary cutter or sharp scissors. For 3D snowflakes, cut identical shapes and glue them together at the center, staggering the arms to build volume.
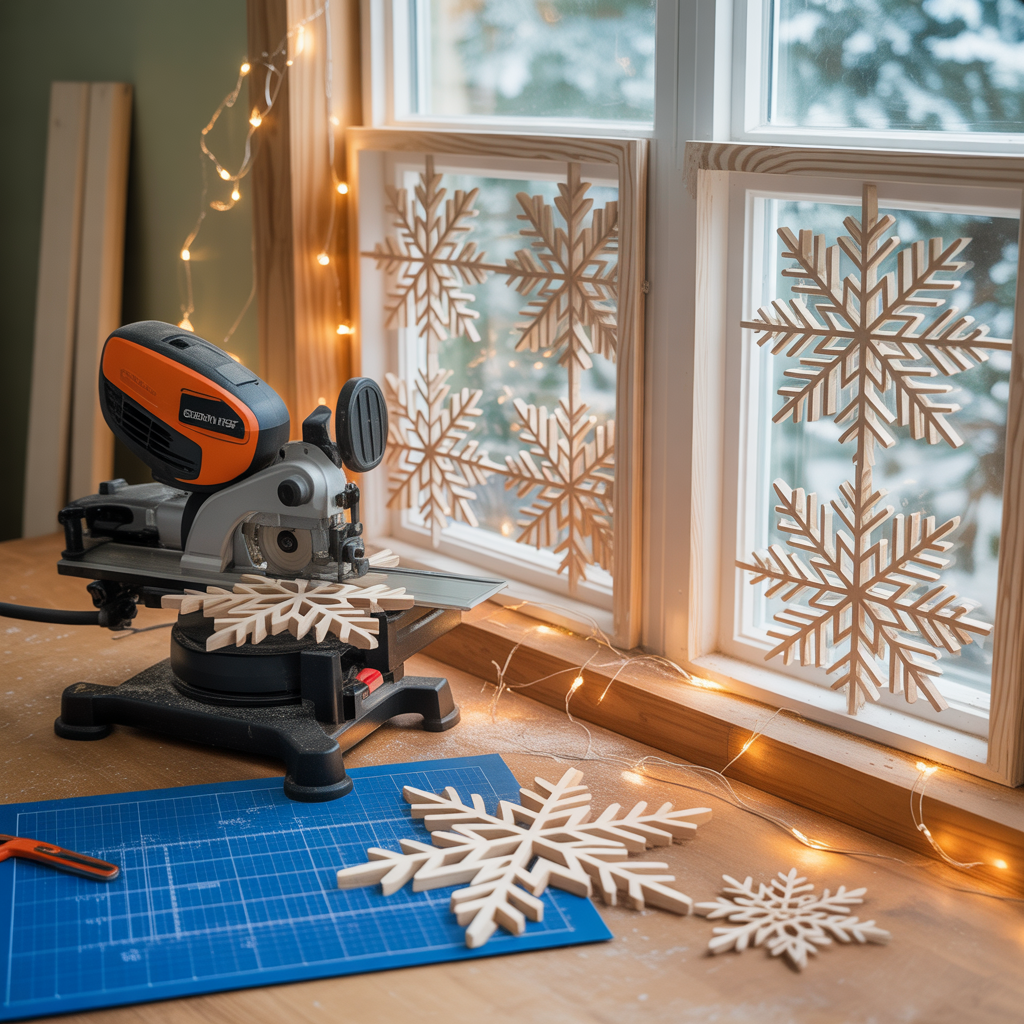
Wooden snowflake ideas
For a rustic look, trace a paper snowflake onto thin plywood or balsa wood and cut with a scroll saw or coping saw. Sand edges smooth and finish with white paint or wood stain. These work well as heavy-duty outdoor decorations or large mantel pieces.
Design inspiration: where to use your snowflakes at home
- Window displays: tape or hang snowflakes at varying heights to catch light and create depth.
- Garlands and mobiles: string multiple snowflakes on twine for a mantel garland or a hanging mobile over a dining table.
- Layered wall art: mount several sizes on a contrasting background for a striking seasonal focal point.
- Table styling: scatter small paper snowflakes as confetti or use larger ones as placemats for a winter dinner.
- Ornaments and gift tags: add names and hang from wrapped presents for personalized touches.
Practical tips to improve your cutting and designs
- Practice on scrap paper before committing to expensive materials.
- Use templates for consistent results, especially if making a large batch.
- For indoor longevity, laminate delicate paper snowflakes or mount them onto cardstock.
- To protect outdoor snowflakes, seal painted wood and foam with waterproof spray.
- If working with kids, pre-cut patterns or use blunt-tip scissors and supervise closely.
- Experiment with color gradients and metallic papers for festive shimmer.
Ideas on how to cut snowflakes: pattern examples and templates
Begin with simple negative-space cuts like heart-shaped notches and layered triangles. Build complexity by introducing radial motifs — dots, crescents, branching arms — and connecting them with small bridges. If you want uniformity, print a few printable snowflake templates and transfer them to your material of choice. For a modern twist, try geometric or hex-grid patterns instead of traditional lacy designs.
Finishing touches and display hacks
Mount snowflakes on double-sided tape or fishing line for a floating appearance. Add LED string lights behind layered snowflakes to create a glowing window feature. For a cohesive room design, color-match your snowflakes to throw pillows, wreaths, or other seasonal decor pieces. Combine hand-cut snowflakes with store-bought ornaments to save time while keeping a custom look.
Frequently Asked Questions
1. What kind of paper is best for cutting snowflakes?
Lightweight paper such as printer paper or origami paper is easiest for intricate cuts. Cardstock works well for sturdier snowflakes and ornaments. For delicate, lacy designs, thinner paper yields better results.
2. How do I make consistent snowflakes for a large display?
Use a printed template or trace a master snowflake onto multiple sheets. Consider a cutting machine (e.g., Cricut) for high-volume, precise results. Group snowflakes by size and material to create balance in large installations.
3. Can snowflakes be used outdoors?
Yes, but choose durable materials like painted wood, sealed foam, or laminated cardstock, and use waterproof adhesives and sealants. Secure hangings against wind and avoid prolonged exposure to moisture.
Conclusion: start cutting and elevate your winter decor
Whether you’re experimenting with simple paper folds or creating elaborate wooden designs, these ideas on how to cut snowflakes will help you bring seasonal charm to every corner of your home. Start with a small batch to refine your technique, then scale up to garlands, window displays, or a centerpiece. Ready to try a snowflake project? Check out other DIY projects for more craft techniques, browse winter-inspired home design ideas for display tips, or pair your snowflake craft with a quick kitchen upgrades session to freshen holiday entertaining spaces.
Share your favorite snowflake designs or ask for template help in the comments — and if you liked this guide, try one of our other DIY projects to keep the inspiration flowing!