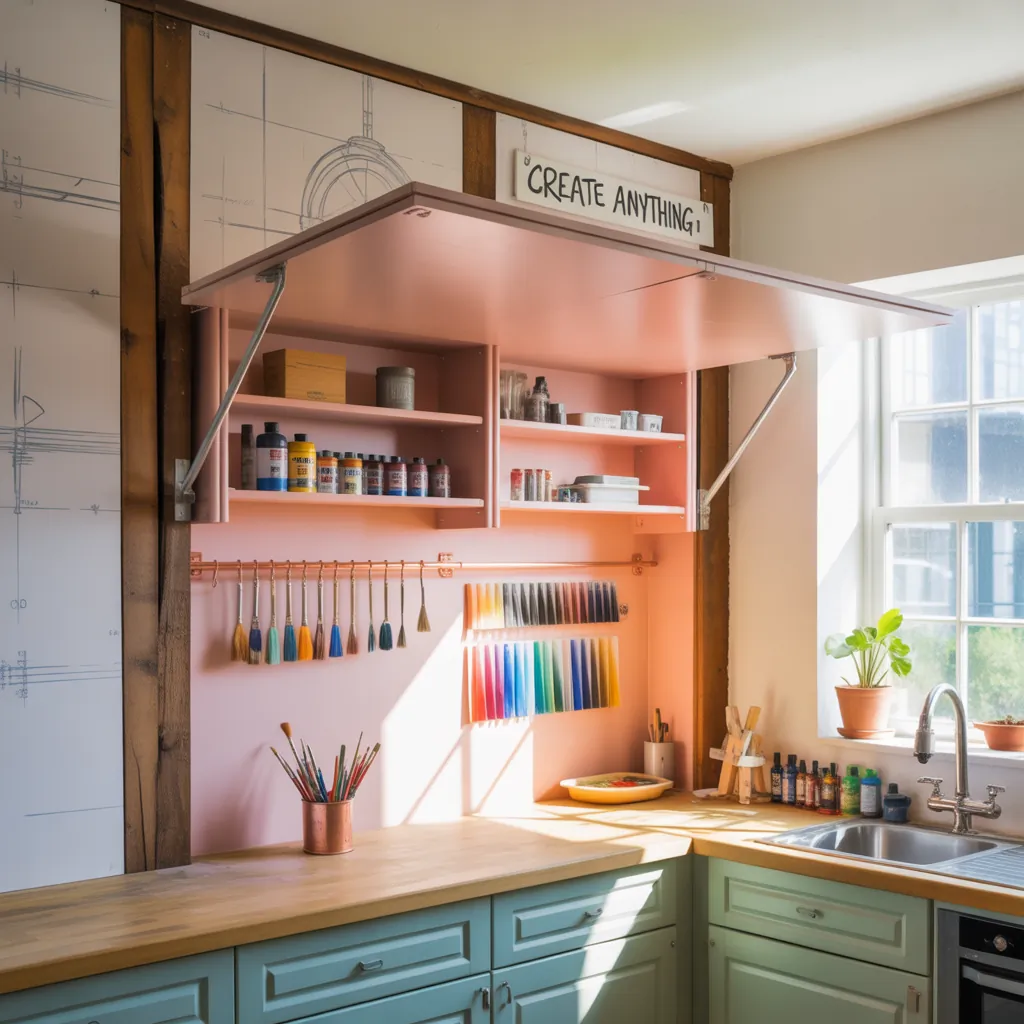
You’re standing in your cramped kitchen, wondering how to bring light, flow, and social life into the room without a full remodel. Maybe you’ve eyed the wall that separates the kitchen and living room and thought, “What if I cut a hole here?” If that sounds familiar, you’re in the right place. This guide covers fresh ideas kitchen wall opening projects, smart DIY tips, and real-world steps so you can create a useful pass-through, breakfast bar, or framed opening that fits your home and skill level.
Why consider a kitchen wall opening?
Opening a wall between the kitchen and adjoining room is one of the fastest ways to modernize a home. It increases natural light, improves traffic flow, and creates conversation-friendly spaces. Whether you want a full-width pass-through or a small serving hatch, these changes can feel like a major kitchen upgrade for a fraction of the cost of a full remodel.
Quick planning checklist before you start
- Identify if the wall is load-bearing — consult a structural engineer or contractor if unsure.
- Check for electrical, plumbing, or HVAC inside the wall.
- Get required permits from your local building department.
- Decide on the finish: open framed pass-through, shelf ledge, or built-in counter seating.
- Budget for materials and unexpected repairs (usually 10–20% contingency).
Design inspiration: ideas kitchen wall opening (creative and practical)
Below are tested design directions that work well in many homes. Use them as inspiration and adapt sizes, materials, and finishes to your style.
1. Classic pass-through with a shelf
Carve a rectangular opening at counter height and install a durable shelf. This creates a serving hatch for meals, drinks, and communication between rooms. Use butcher block, quartz, or reclaimed wood for warmth.
2. Breakfast bar with stools
Extend the kitchen counter through the opening to form a casual eating spot. Add pendants above and overhang the countertop 10–12 inches for stool legroom.
3. Framed picture-window opening
Create a wide, visually framed cut-out with trim or a decorative header to feel like a window between rooms. Paint the trim in a contrasting color to make the opening a focal point.
4. Open shelving niche
Keep the lower half wall and remove the top to create a niche for floating shelves. Use it to display dishes, cookbooks, or decorative items while maintaining partial separation.
5. Pocket door or sliding hatch
Install a sliding or pocket hatch for noise control and privacy when you need it. A barn-style sliding panel looks great and allows you to close off the kitchen as needed.
Step-by-step DIY guide to opening a non-load-bearing wall
- Confirm the wall type: Use a stud finder and look for a double top plate or consult a pro to confirm it’s non-load-bearing.
- Turn off utilities: Shut off power to the area and check for wiring or pipes in the wall.
- Mark the opening: Measure and mark the desired opening on both sides with a level and pencil.
- Protect the space: Lay drop cloths, set up plastic sheeting, and remove nearby furniture.
- Cut drywall: Score the drywall and remove it using a utility knife and pry bar to expose studs.
- Remove studs: Cut and remove the selected studs. If any electrical runs are present, reroute or cap them per code.
- Install header (if needed): For openings wider than a stud bay or if the wall might carry partial loads, install a header as recommended by an engineer.
- Finish framing: Add king and jack studs or framing for a clean edge. Install blocking for shelves or counter supports.
- Patch and finish: Hang drywall, tape, mud, sand, prime, and paint. Add trim, countertop extension, or shelving.
- Reinstall fixtures: Reconnect electrical or lighting handled by a licensed electrician if needed, and add decorative finishes.
Practical DIY tips and tools you’ll need
- Tools: reciprocating saw, circular saw, stud finder, level, pry bar, drill, utility knife, and sander.
- Materials: 2x4s, header lumber (when required), drywall, joint compound, screws, trim, and countertop materials.
- Safety: wear eye protection, gloves, and a dust mask. Know where utilities are located before cutting.
- Time: a straightforward non-load-bearing opening can take a weekend for experienced DIYers; allow longer if you’re new to framing and drywall.
- Budget: expect $200–$2,000 depending on size, materials, and whether you hire pros for electrical or structural work.
Style and finish ideas to match your home
Match the new opening to your home’s aesthetic. For farmhouse vibes, use reclaimed wood trim and a chunky butcher-block shelf. For modern minimalism, smooth painted drywall, a thin metal trim, and integrated LED lighting create a clean look. Consider tile back splash edges, floating shelves with hidden brackets, or a built-in wine rack facing the living room.
When to hire a pro
If the wall is load-bearing, hides major electrical or plumbing, or your project requires structural headers and permits, hire a licensed contractor and structural engineer. Professionals will ensure safety and compliance, especially when altering beams or load paths.
Frequently Asked Questions
Is it safe to open a kitchen wall myself?
Yes, if the wall is non-load-bearing and there are no hidden utilities. Use a stud finder and confirm there are no structural elements or major electrical/plumbing. When in doubt, consult a structural engineer. Safety gear and permits are essential.
How much does a typical kitchen wall opening cost?
Cost varies widely: a basic DIY pass-through with minimal finishing can be under $500. More complex openings with headers, custom counters, and pro labor commonly range from $1,500 to $6,000 depending on scope and finishes.
Do I need a building permit to open a wall?
Many jurisdictions require permits for structural changes and alterations to walls that contain electrical or plumbing. Check with your local building department before starting. Permits help ensure work meets safety codes.
Design resources and next steps
Ready to plan your project? Gather photos of the wall, measure dimensions, and sketch a few layout ideas. Browse related content on our DIY projects and kitchen upgrades pages for detailed tutorials and inspiration. For overall space ideas, our home design ideas section has styling tips that pair well with a new opening.
Conclusion — take the plunge with confidence
Opening a wall is one of the most transformative home improvements you can do without a full remodel. With the right plan — confirm load-bearing status, protect utilities, and pick a finish that fits your style — your ideas kitchen wall opening project can add light, function, and value to your home. Want a personalized plan or step-by-step checklist for your space? Start by measuring the wall and bookmarking this guide, then tackle the prep work this weekend — your brighter, more open kitchen is closer than you think.
Call to action: If you’re ready to get started, sketch the wall you want to change and check our DIY projects page for tool lists and templates, or book a consultation with a local contractor to confirm structural needs.


