Have you ever stood in your living room, a paint roller in one hand and a cup of coffee in the other, wondering how to break away from the cookie-cutter accent wall? Maybe you want a dreamy photography backdrop, a conversation-starting dining room wall, or a whimsical office background that sparks creativity. If that sounds familiar, these ideas for surrealism background designs will give you practical, DIY-friendly ways to bring dreamlike, avant-garde energy into your home.
Why choose a surrealism background for your home?
Surreal backgrounds—think dreamlike scenes, unexpected juxtapositions, and playful scale—bring personality and artistic flair to ordinary rooms. A surrealist wall can double as an art piece, a backdrop for photos, and a mood setter. It’s a smart option for homeowners who want bold design without committing to expensive renovations. Below you’ll find techniques ranging from simple removable backdrops to advanced painted murals.
Top ideas for surrealism background you can DIY
Here are ten practical, creative ideas to get started. Each idea includes quick tips, materials, and the level of effort required so you can choose what fits your schedule and skill set.
- Dreamscape mural (painted) — Create a mural with oversized moons, floating islands, or melting clocks. Tools: acrylic paints, rollers, brushes, painter’s tape. Time: 2–4 days. Skill: intermediate.
- Removable wallpaper with surreal prints — Use peel-and-stick wallpaper featuring strange landscapes or collage art. Tools: smoothing tool, level. Time: 2–4 hours. Skill: easy.
- Layered collage wall — Combine vintage photos, textured paper, and painted shapes for a tactile, surreal backdrop. Tools: archival adhesive, protective sealer. Time: 1–3 days. Skill: moderate.
- Projection mapping backdrop — Use a projector to cycle dreamlike video loops or static surreal images for a flexible, changeable background. Tools: projector, screen or matte wall. Time: 1–2 hours. Skill: easy–moderate.
- Trompe-l’œil furniture extension — Paint furniture shadows or extra legs to create optical illusions that blend with the wall. Tools: artist brushes, charcoal for sketching. Time: 1–2 days. Skill: advanced.
- 3D mixed-media installation — Add sculptural elements like floating frames or suspended objects for depth and intrigue. Tools: lightweight armature materials, secure mounting. Time: 2–5 days. Skill: moderate–advanced.
- Gradient skies and floating shapes — Use color blending techniques to paint atmospheric gradients with geometric cutouts. Tools: sponge brushes, spray paints optional. Time: 1–2 days. Skill: easy–moderate.
- Mirrored fragments or metallic paint — Introduce reflective pieces or metallic finishes to create otherworldly light plays. Tools: adhesive mirror tiles, metallic glaze. Time: 1–2 days. Skill: moderate.
- Photo backdrop for creatives — Make a removable, lightweight board with surreal graphics for photography or video calls. Tools: foam board, printed vinyl, grommets. Time: 2–6 hours. Skill: easy.
- Interactive chalkboard surrealism — Paint a chalkboard wall and draw evolving surreal scenes that change with the seasons. Tools: chalkboard paint, chalk. Time: 1 day. Skill: easy.
DIY Project: Painted Dreamscape Mural (Step-by-step)
This painted mural is perfect for a bedroom or study. It’s budget-friendly and customizable.
- Plan the design: Sketch ideas on paper. Pick one focal element (e.g., floating island) and supporting motifs (clouds, stars).
- Prep the wall: Clean, sand, and prime. Use painter’s tape to protect trims and ceilings.
- Block in shapes: Use large rollers to paint background gradients (dawn, dusk, or teal-to-purple skies).
- Add details: Paint the main surreal elements with smaller brushes. Work from large to small shapes.
- Refine and seal: Add highlights, shadows, and texture. Finish with a matte or satin sealer for protection.
Tip: Practice complex shapes on cardboard first. Use a projector to trace detailed designs if freehand is intimidating.
Quick setup: Removable surrealism wallpaper
For renters or anyone who loves flexibility, peel-and-stick wallpaper with surreal prints is ideal. Measure carefully, buy 10% extra, and smooth from the center outward to avoid bubbles. This method is great for accent walls, photography backdrops, or temporary installations for events and photoshoots.
Design inspiration and color palettes
Surrealism thrives on contrast—soft organic forms against sharp geometry, muted pastels with neon accents, or monochrome with metallic highlights. Consider these palettes:
- Pastel dream: blush pink, dove gray, mint, and soft gold accents.
- Cosmic dusk: deep indigo, magenta, teal, and silver.
- Monochrome surreal: charcoal, warm white, and mirrored surfaces.
Lighting matters: soft directional lights, uplights behind floating shelves, or LED strips can dramatically enhance surreal effects. For photo use, diffuse natural light or softbox lighting helps maintain the dreamlike quality for portraits.
Practical tips, budgets, and timelines
Estimate costs and time before you start:
- Painted mural: $50–$400 depending on paint quality and size; 2–4 days.
- Peel-and-stick wallpaper: $60–$300; install in a few hours.
- Projection setup: $200+ for a decent projector; install in one afternoon.
- Mixed-media or sculptural elements: $30–$500 depending on materials; 2–5 days.
Safety tip: Use proper anchors for any heavy 3D pieces and wear a mask when sanding or spraying finishes.
Where to use surreal backgrounds in your home
Great spots for surrealism backgrounds include:
- Accent wall in the living room or bedroom
- Home office or studio for creative energy
- Dining room to spark conversation
- Photo wall for portraits and social media content
- Small alcoves or entryways to make a bold first impression
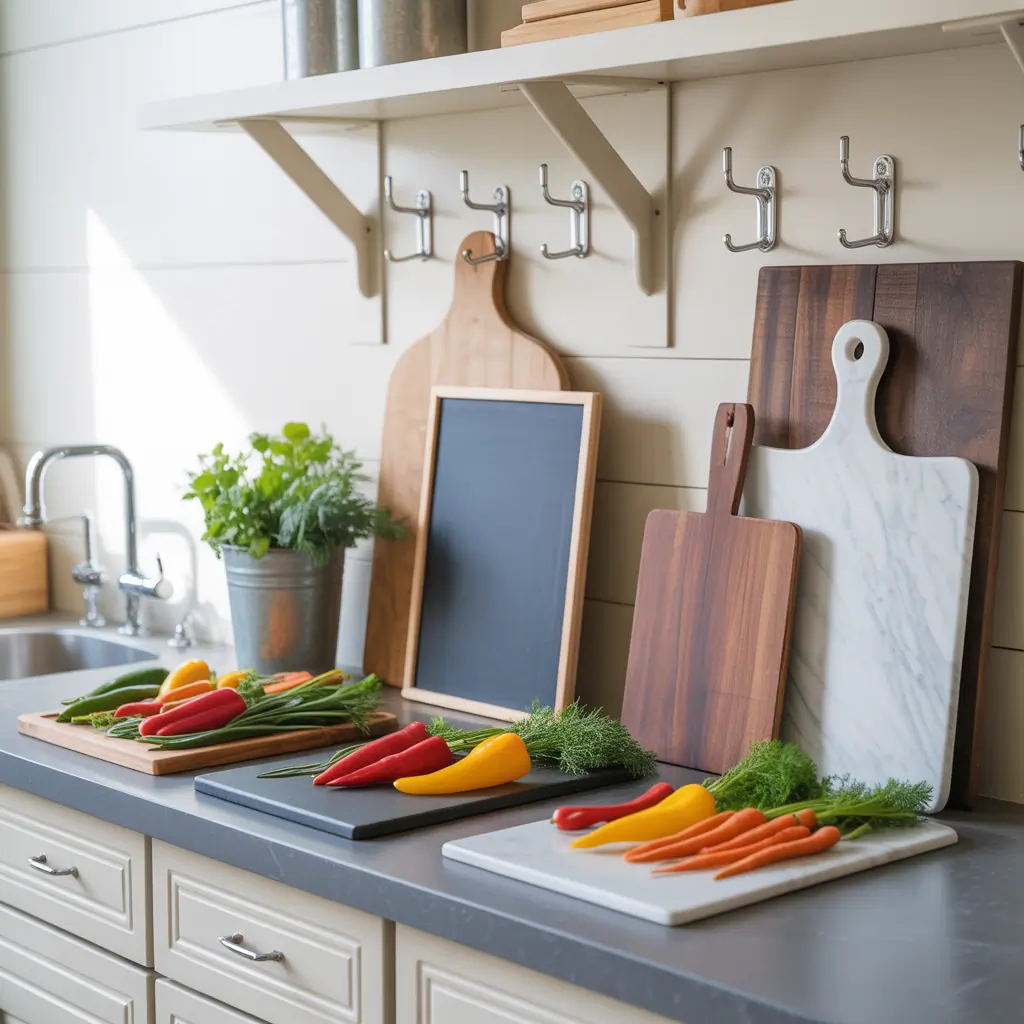
Want to pair surreal elements with functional upgrades? Consider an accent mural behind open shelving in your kitchen or a dreamscape above a breakfast nook—ideas that blend art with useful space planning (see our kitchen upgrades and home design ideas pages for more inspiration).
Frequently Asked Questions
1. Is a surrealism background suitable for small rooms?
Yes. Use lighter, softer color gradients and smaller scale motifs to avoid overwhelming the room. A single small accent wall or a removable backdrop keeps the effect contained and manageable.
2. How do I remove a painted surreal mural without damaging the wall?
Removing paint requires sanding and priming. For rented spaces, consider using peel-and-stick wallpaper or a large framed panel you can hang and remove easily. If you must remove paint, consult a professional or test a small area first.
3. Can I create a surrealism background on a budget?
Absolutely. Start with thrifted frames, cut paper collage, or stenciled silhouettes. Use inexpensive acrylic paints and focus on color and composition rather than intricate detail. Projection and removable wallpaper are also cost-effective ways to achieve high-impact results.
Conclusion — start your surreal transformation today
Whether you’re repainting an entire wall or mounting a removable backdrop, these ideas for surrealism background will help you create a space that feels imaginative and personal. Pick one project to try this weekend—maybe a small painted dreamscape or a peel-and-stick surreal wallpaper—and see how artful backgrounds change the way you feel in your home. If you’re looking for step-by-step projects, check more of our DIY projects and try pairing surreal accents with functional upgrades in your space.
Ready to experiment? Share what you plan to try or ask for a custom step-by-step plan—let’s make your walls dreamworthy.