Have you ever stood in your living room holding a paint chip, wondering how to transform that plain wall into something that actually sparks conversation? Maybe you want a bedroom that feels like a dream, or a feature wall in the dining area that reads like a piece of art. If that sounds familiar, these ideas for surrealism background designs will give you practical DIY steps, creative inspiration, and real-world advice to turn ordinary walls into imaginative, dreamlike spaces.
Why choose a surrealism background for your home?
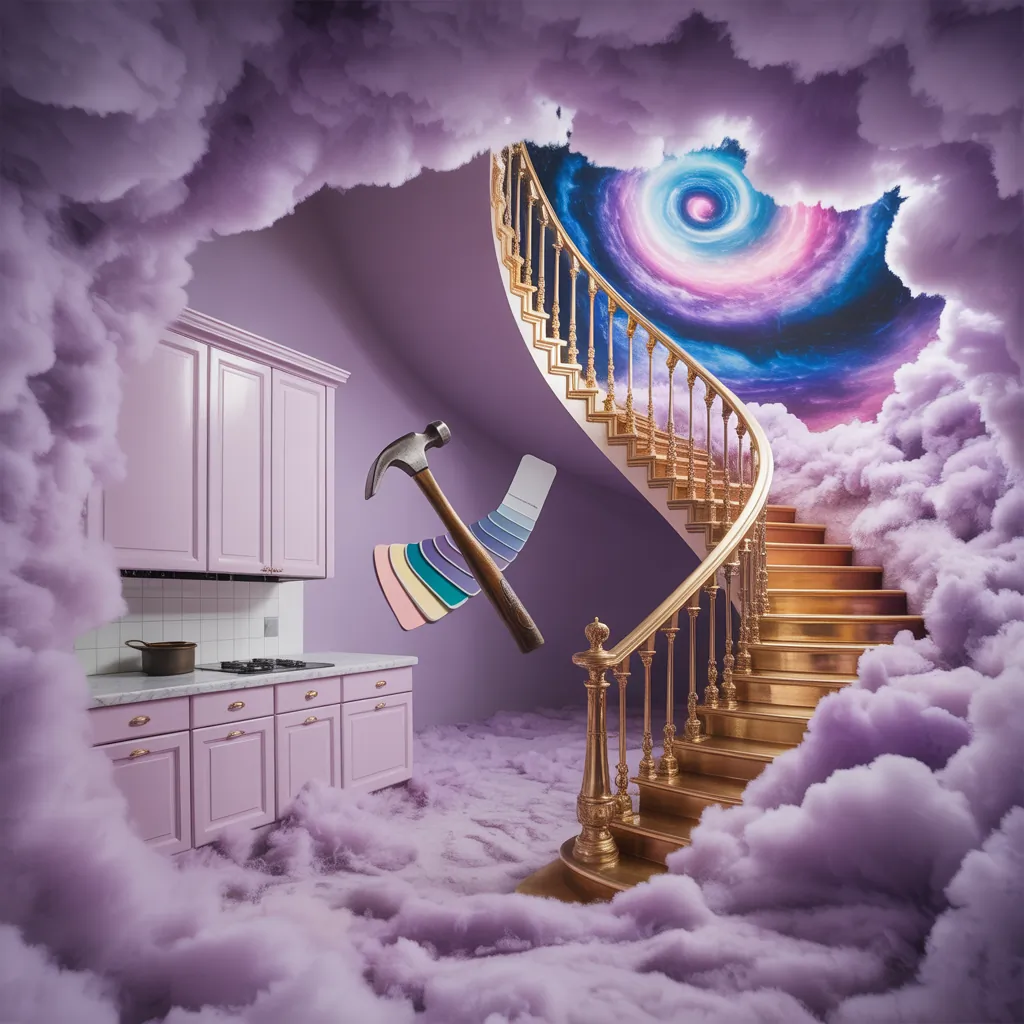
Surrealism as a design choice brings unexpected juxtapositions, playful scale, and dreamlike elements that can make a room feel whimsical and sophisticated at once. A surrealist background can be subtle — a soft, floating cloud motif behind a bed — or bold — an oversized, melting clock mural in a study. It’s a great option for anyone who wants to add personality without committing to permanent architectural changes.
Surrealism background ideas that work in any room
Below are approachable ideas and long-tail design concepts like surrealist background ideas for walls, DIY surrealism murals, and dreamlike wallpaper patterns. Each idea includes practical application tips so you can pick what fits your skills and space.
1. Soft-gradient dreamscape
Create a gradient backdrop that feels like dawn or dusk: blend two to three colors using a large roller and a soft sponge. This provides a dreamy, cinematic base to layer silhouettes of floating objects, birds, or abstract shapes.
2. Floating furniture illusions
Paint a base color, then add shadows and highlights to create the illusion of a floating chair or shelf. Use a reference photo and a projector to trace shapes if precision helps. This technique plays with scale and perception for a whimsical focal point.
3. Collage and decoupage landscapes
Use magazine clippings, printed art, and textured papers to build a surreal collage background. Seal with clear matte varnish for durability. This method is perfect for renters because it’s removable and can be layered over a neutral base.
4. Peel-and-stick surreal wallpaper
Opt for custom peel-and-stick murals with dreamlike motifs — think oversized moons, floating stairs, or repeating eyes. These are ideal for renters and DIYers who want a bold transformation with minimal tools.
5. 3D elements and mixed media
Add foam shapes, lightweight plaster reliefs, or mirrored fragments to a painted background. Attach elements with construction adhesive and paint them as part of the scene to create depth and unexpected texture.
Step-by-step DIY: create a dreamlike wall mural
Follow this simple project for a surrealist mural that combines a gradient sky with a floating object. Recommended for intermediate DIYers.
- Plan and sketch: Decide on the focal element (floating door, oversized animal, surreal staircase). Sketch the layout at scale on paper or use a digital mock-up.
- Prep the wall: Clean, sand lightly, and apply primer. Smooth walls give the best finish for gradients and detailed painting.
- Paint the base gradient: Use latex paint thinned slightly with water for smooth blending. Work from top to bottom, blending with a damp sponge or soft roller. Let dry completely.
- Project or grid: Transfer your sketch using a projector or a grid method. This keeps proportions accurate for surreal elements.
- Block in shapes: Paint large shapes first using acrylic or latex. Use painter’s tape for crisp geometric edges.
- Layer details and shadows: Add highlights and shadows to create depth. For floating objects, paint a soft shadow beneath them to sell the illusion.
- Seal and protect: Finish with a matte or satin polycrylic if the wall will see wear, especially in high-traffic rooms.
Materials, tools, and budget-friendly tips
Keep your toolbox efficient and cost-conscious. Here are essentials and wallet-friendly suggestions:
- Primer and quality latex paints — use sample pots for testing colors.
- Projector (optional) for tracing complex shapes — smart phone projectors work for small murals.
- Rollers, foam brushes, and a set of synthetic brushes for detail work.
- Painters tape, drop cloths, sandpaper, and spackle for prepping walls.
- Peel-and-stick sheets or wallpaper paste for a non-permanent option.
Tip: Mix a base white with small amounts of color to create harmonious shades; this helps your mural feel cohesive with existing furniture and textiles.
Lighting, placement, and finishing touches
Lighting makes or breaks a surreal background. Soft, directional uplighting or wall washers will emphasize texture and dimensional elements. For small spaces, keep the surreal scene limited to a single focal wall to avoid overwhelming the room. Add complementary decor like minimalist furniture, statement rugs, or reflective metallic accents to enhance the dreamlike effect.
Small spaces and renter-friendly alternatives
Not ready to paint a wall? Try these quick swaps:
- Large removable wallpaper panels with surreal motifs.
- Fabric hangings printed with dreamy art hung on a tension rod.
- Gallery wall of surreal prints and mismatched frames to simulate a themed background.
Frequently Asked Questions
Time varies by complexity. A simple gradient with a single floating object can take 1–3 days (including drying times). More detailed murals with mixed media may take a week or more. Plan for primer, paint drying, and any finishing coats.
Yes — choose moisture-resistant paints and sealants. Consider ceramic tile vinyl murals or water-resistant peel-and-stick options to avoid long-term issues with humidity.
Use painter’s tape for geometric edges, a small synthetic brush for crisp lines, and practice layering glazes for depth. A projector helps transfer complex designs accurately, reducing touch-ups later.
Conclusion: bring surreal magic to your walls
Whether you try one of these ideas for surrealism background as a weekend DIY or commission a feature wall, the key is to balance bold imagination with practical execution. Start with a small wall, test colors and techniques, and build from there. Ready to try a dreamy transformation? Browse our DIY projects for step-by-step tutorials, or explore home design ideas for more inspiration — and if your kitchen needs updating, check our kitchen upgrades section for complementary finishes. Share your progress and don’t be afraid to experiment — surrealism rewards playful risks.
Call to action: Pick one idea today, gather your materials, and start with a small test panel. Then share your finished wall photos and inspire other DIYers to dream bigger.