Ever stood in your bathroom, towel wrapped around you, and thought: “This shower floor is begging for a makeover”? Whether you’re refreshing a dated look, fixing a slippery surface, or tackling your first major DIY bathroom project, choosing the right tile can transform both function and style. This article walks you through practical, stylish ideas for shower floor tile and gives step-by-step DIY tips so you can feel confident improving your own space.
Why the shower floor matters: safety, style, and longevity
The shower floor takes the most wear and tear in a bathroom. It needs to be waterproof, slip-resistant, and easy to clean while complementing the wall tile and overall design. Picking the right material (porcelain, ceramic, natural stone, or mosaic) and the right pattern (hexagon, penny, herringbone) affects drainage, maintenance, and the perceived size of the shower.
Top ideas for shower floor tile: patterns, materials, and finishes
Below are tried-and-true and trendy options you can adapt to small or large showers. Each idea includes real-world pros and cons and quick DIY feasibility notes.
1. Classic penny round mosaic
Why it works: Small round tiles with lots of grout lines create natural traction, ideal for slip resistance. They offer vintage charm and are forgiving on slopes.
- Material: Ceramic or porcelain penny tiles
- DIY tip: Sheet-mounted tiles speed installation—use smaller spacers to keep grout lines even.
- Maintenance: Grout needs sealing periodically to prevent staining.
2. Large-format porcelain tiles with textured finish
Why it works: Fewer grout lines create a modern, seamless look. Choose a textured or matte finish to maintain traction.
- Material: Porcelain (low porosity, durable)
- DIY tip: Larger tiles require a perfectly flat substrate and a wet saw for cuts.
- Real-world note: Better for experienced DIYers or pros due to slope precision requirements.
3. Hexagon or honeycomb tiles
Why it works: Geometric shapes add interest and work well in transitional or modern designs. Smaller hex tiles offer traction; larger ones create a cleaner look.
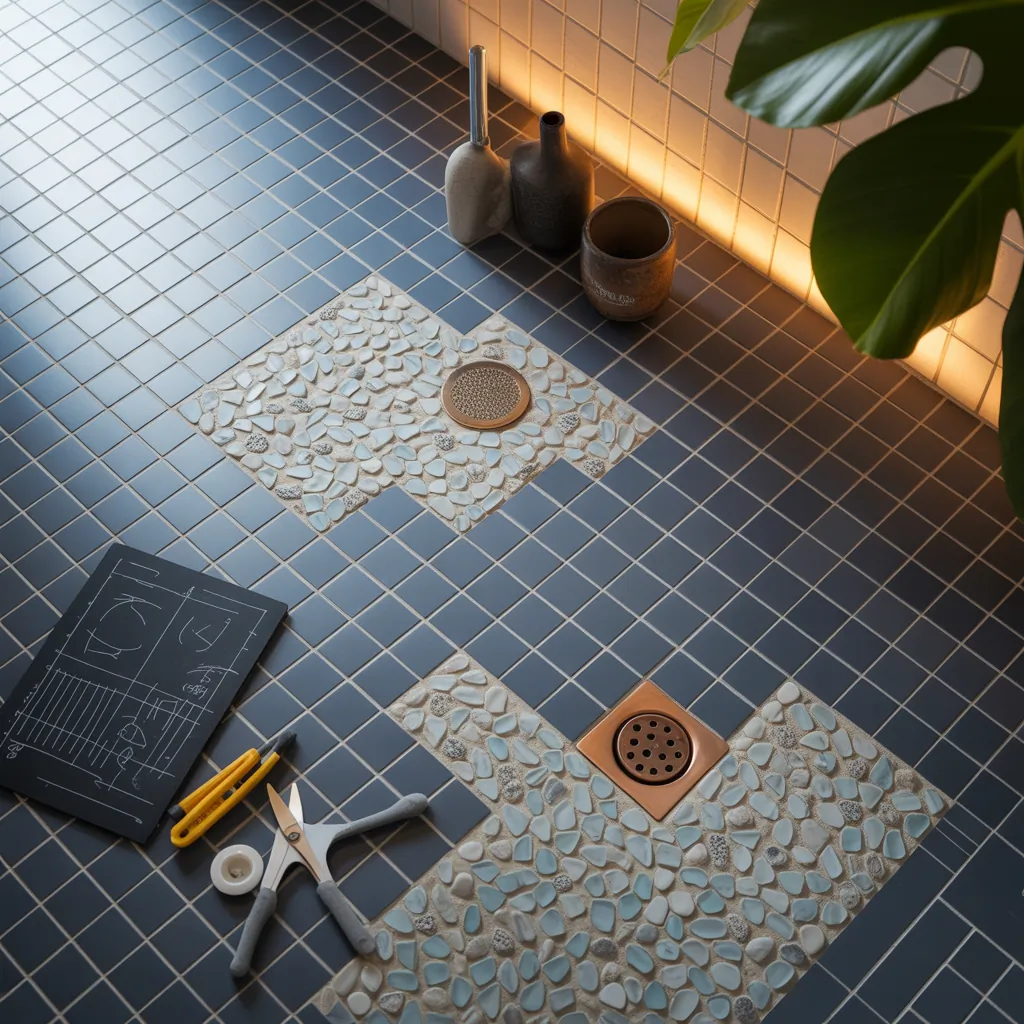
4. Pebble stone or river-rock floor
Why it works: Natural texture gives spa-like feel and great slip resistance. Great for curbless and wet-room styles.
- DIY tip: Use a mesh-backed sheet and flexible grout to accommodate natural stone variability.
- Maintenance: Seal stones and grout regularly to prevent mold and discoloration.
5. Patterned encaustic-look or cement-look tiles
Why it works: Bold patterns can make a small shower feel intentional and stylish. Choose muted colors for longevity.
- Design tip: Balance busy floor patterns with simple, neutral wall tiles.
- DIY note: Use porcelain printed tiles for lower maintenance than true encaustic cement.
6. Subway tile laid in herringbone on the floor
Why it works: A scaled-down version of a classic wall treatment gives texture and movement underfoot. Smaller tiles mean more grout—better traction.
Practical DIY steps to replace or install shower floor tile
These general steps apply whether you’re swapping penny tile into an existing pan, installing a curbless shower, or retiling a wet-room floor. Always follow local building codes and manufacturer instructions.
Step-by-step guide
- Plan & measure: Calculate tile layout, waste (usually 10–15%), and slope requirements (standard 1/4″ per foot towards drain).
- Remove old finish: Strip tile and thinset down to the pan or substrate. Inspect the shower pan for damage.
- Waterproofing: Install or repair waterproof membranes (e.g., liquid waterproofing or sheet membranes) on the pan and up the walls at least 6–8″. Proper waterproofing prevents leaks and mold.
- Set the slope: For mortar beds, use a pre-sloped shower pan or form a mortar slope. For pre-formed pans, ensure it’s level and correctly seated.
- Apply thinset and lay tile: Use the correct thinset for your tile type. Work from the drain outward for mosaic sheets; use spacers and check level frequently.
- Grout & seal: Use grout appropriate for wet areas—epoxy grout offers stain resistance. Seal grout and any natural stone to protect from moisture.
- Test: Allow full cure times, then test with a controlled water run to check drain flow and any leaks.
Design inspiration: color palettes and combinations
Choose a palette that complements your bathroom fixtures and lighting. Popular combinations:
- Warm neutrals: beige porcelain floor with white subway walls for a timeless look.
- Bold contrast: black hex floor with white grout and pale walls for a vintage-modern mix.
- Monochrome spa: gray slate-look tiles with matte finishes for a serene, contemporary bath.
- Natural spa: pebble floor with wood-look porcelain walls for an earthy, organic feel.
Real-world tips: what pros wish DIYers knew
- Prioritize waterproofing over aesthetics—cosmetic fixes won’t stop leaks.
- Slip resistance trumps trend for safety—look for tiles rated for wet area use (COF rating).
- Match grout to the overall tone—contrasting grout can date a design unless intentional.
- Consider future maintenance—smaller grout joints require more cleaning; epoxy grout lasts longer but is harder to repair.
- Budget for unexpected surprises—plan 10–20% extra for tiles and 10–15% contingency for labor or materials.
Budget breakdown: economical to high-end
Expect a wide price range depending on material and installation. DIY penny tile or ceramic mosaics can be affordable, while natural stone and custom patterns increase cost. Factor in waterproofing membranes, thinset, grout, and tools like a wet saw when estimating total project cost.
Frequently Asked Questions
Look for tiles with a textured surface or a high coefficient of friction (COF) rating designed for wet areas. Smaller tiles with more grout lines (like penny rounds or mosaics) naturally increase traction. Avoid highly polished finishes on floors.
Generally not recommended unless the existing pan is designed for a tile overlay. Most preformed pans are not suitable for tile directly on top. Proper installation usually requires removing the old finish, ensuring correct slope, and installing waterproofing before tiling.
Epoxy grout is the most water- and stain-resistant option and is excellent for wet areas, but it’s harder to work with. Cement-based grout is easier to install and repair but should be sealed and maintained regularly.
Conclusion: pick a look, plan the work, and get tiling
Choosing the right ideas for shower floor tile can elevate your bathroom’s safety and style. From penny round mosaics to textured porcelain, there’s a solution for every budget and skill level. Start with a clear plan—measure, select materials rated for wet areas, invest in waterproofing, and follow the step-by-step installation tips above. Ready to try a DIY shower tile upgrade? Check out our other DIY projects for tool lists and walkthroughs, or browse more home design ideas to finalize your palette and pattern. If you want kitchen inspiration next, see our kitchen upgrades section.
If you’d like, tell me about your shower size and style preferences and I’ll suggest 2–3 tailored tile options and a simple plan to get started.