Have you ever stepped into your shed, squinted up at the bare rafters or sagging insulation, and thought, “This ceiling could use some love”? Whether your shed is a tool hub, a weekend workshop, or a cozy studio, the right ceiling can transform the space. In this article we’ll explore smart, stylish ideas for shed ceilings that any DIYer can tackle — from budget-friendly makeovers to insulated, finished ceilings that extend your shed’s usability year-round.
Why the right shed ceiling matters
Most homeowners think about walls and floors, but the ceiling affects temperature control, lighting, acoustics, and even storage. Upgrading the shed ceiling improves energy efficiency, prevents moisture problems, and gives your workspace a finished look. Plus, it’s a chance to add loft storage, hide wiring, or create a design focal point.
Top ideas for shed ceilings
Below are practical shed ceiling ideas with design inspiration, long-tail keywords like DIY shed ceiling installation and budget shed ceiling makeover, and real-world tips you can apply today.
1. Paint and seal the existing ceiling
Best for: Quick, low-cost refreshes. If your rafters or plywood are sound, a fresh coat of paint brightens the space and improves light distribution.
- DIY tip: Use a primer designed for wood or OSB, then finish with a bright, semi-gloss white to reflect light.
- Step: Clean surface → fill gaps → sand rough spots → prime → paint two coats.
2. Plywood or tongue-and-groove boards
Best for: A clean, finished ceiling without drywall. Plywood is budget-friendly; tongue-and-groove pine gives a warm, cottage look.
- DIY tip: Install 1/2″ or 3/4″ plywood perpendicular to joists. Use construction adhesive + screws to reduce squeaks.
- Design idea: Stain tongue-and-groove for rustic charm or whitewash for a modern farmhouse vibe.
3. Beadboard or shiplap panels
Best for: A classic, textured ceiling that hides imperfections. Beadboard works well in sheds used as studios or retail-style pop-ups.
- DIY tip: Use nailed panels and finish nails; caulk seams for a polished look.
4. Drywall ceiling for a finished interior
Best for: Workshops or offices where insulation and a smooth finish are priorities. Drywall offers a sleek look and sound-dampening when combined with insulation.
- Real-world advice: Hire help if you’re unfamiliar with taping and mudding. Use moisture-resistant drywall if the shed isn’t climate-controlled.
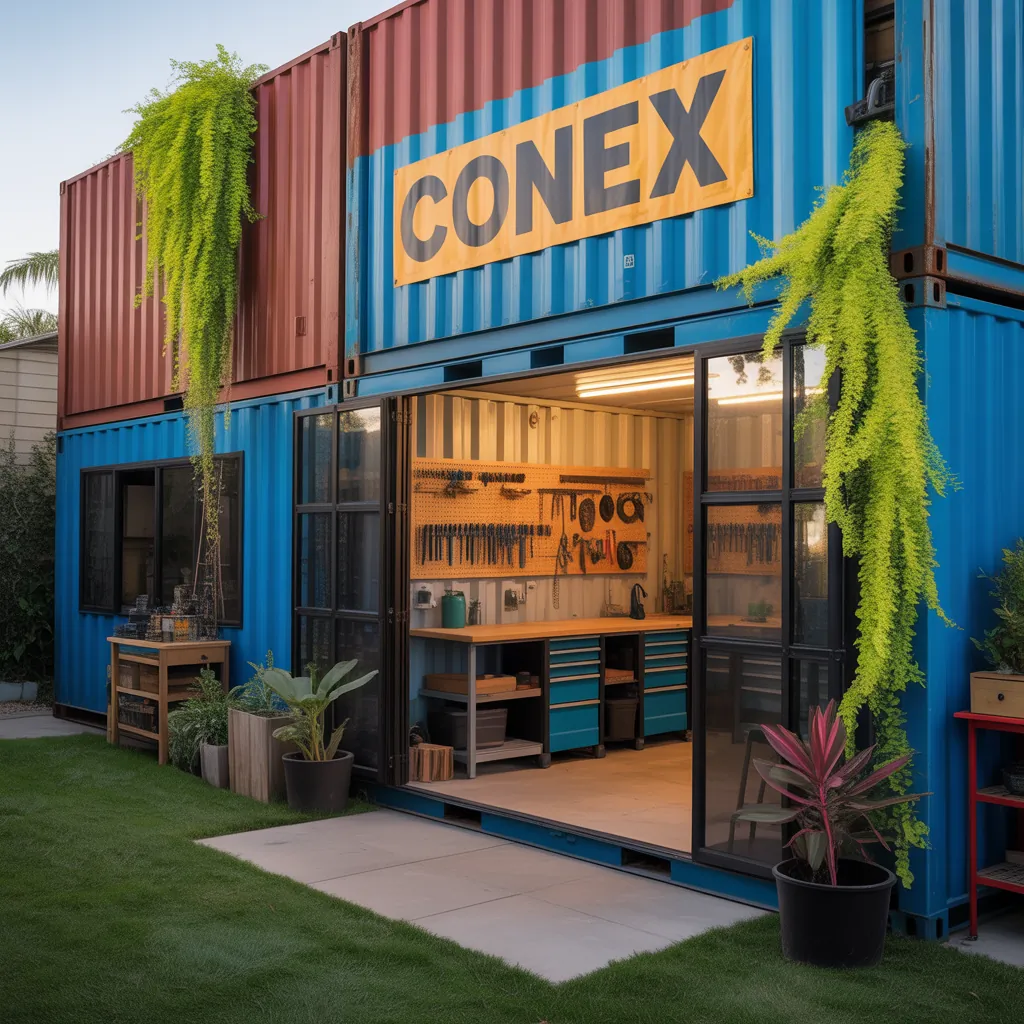
5. Exposed rafters with hanging lights
Best for: Industrial or modern shed designs. Exposed rafters create an airy feel and make it easy to add task lighting or hang plants.
- DIY tip: Paint rafters dark for contrast or white to brighten. Use cable trays or conduit for neat wiring.
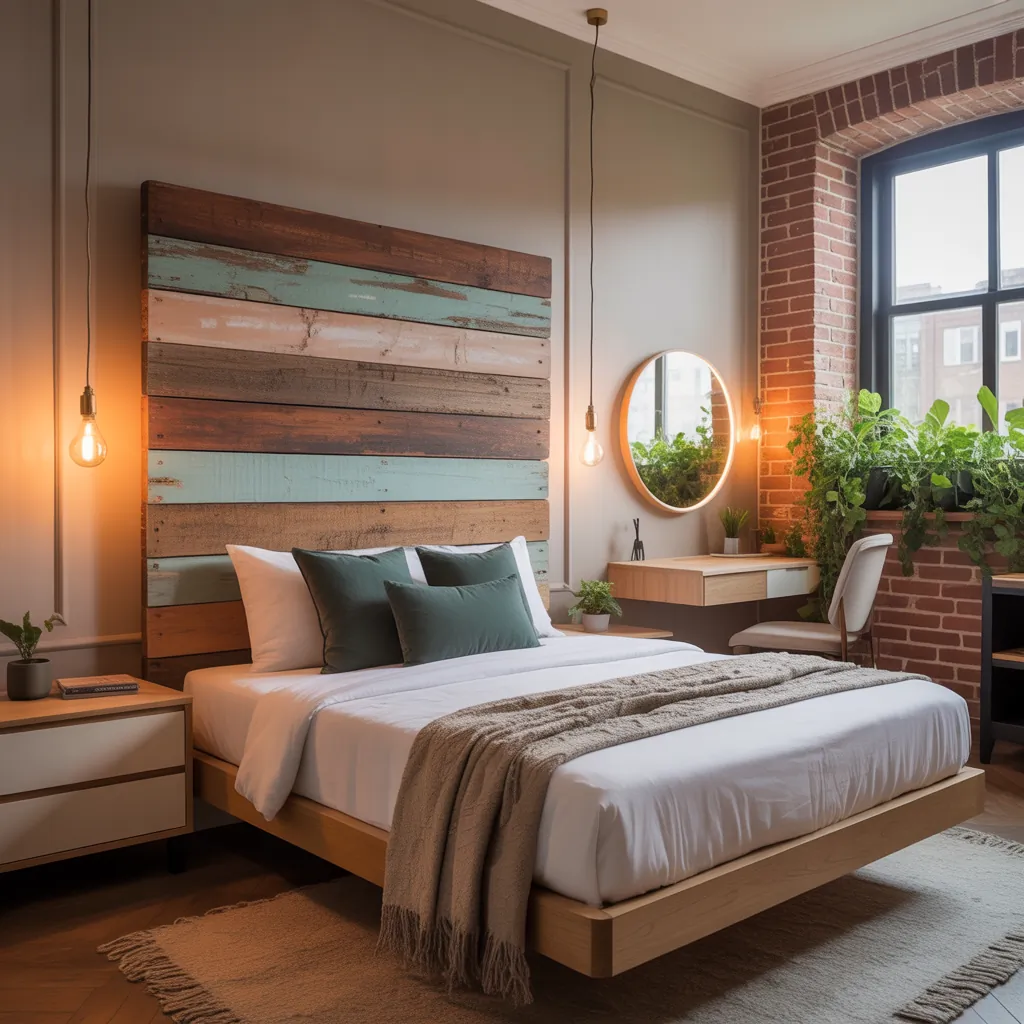
6. Reclaimed wood planks
Best for: Rustic, character-driven ceilings. Reclaimed pallet wood or barn boards add texture and history.
- Tip: Inspect and de-nail planks, then sand and seal. Attach over furring strips for airflow and to hide uneven joists.
7. PVC or vinyl beadboard for moisture-prone sheds
Best for: Garden sheds, potting rooms, or any space with high humidity. PVC resists mold and is easy to clean.
- DIY tip: Lightweight panels are simple to snap into place on furring strips; trim with PVC molding.
8. Drop ceiling (suspended ceiling tiles)
Best for: Concealing wiring, ductwork, or insulation while keeping easy access. Drop ceilings work if you have 4–6 inches of headroom to spare.
- Real-world advice: Choose acoustic tiles to reduce echo if using the shed as a music room or studio.
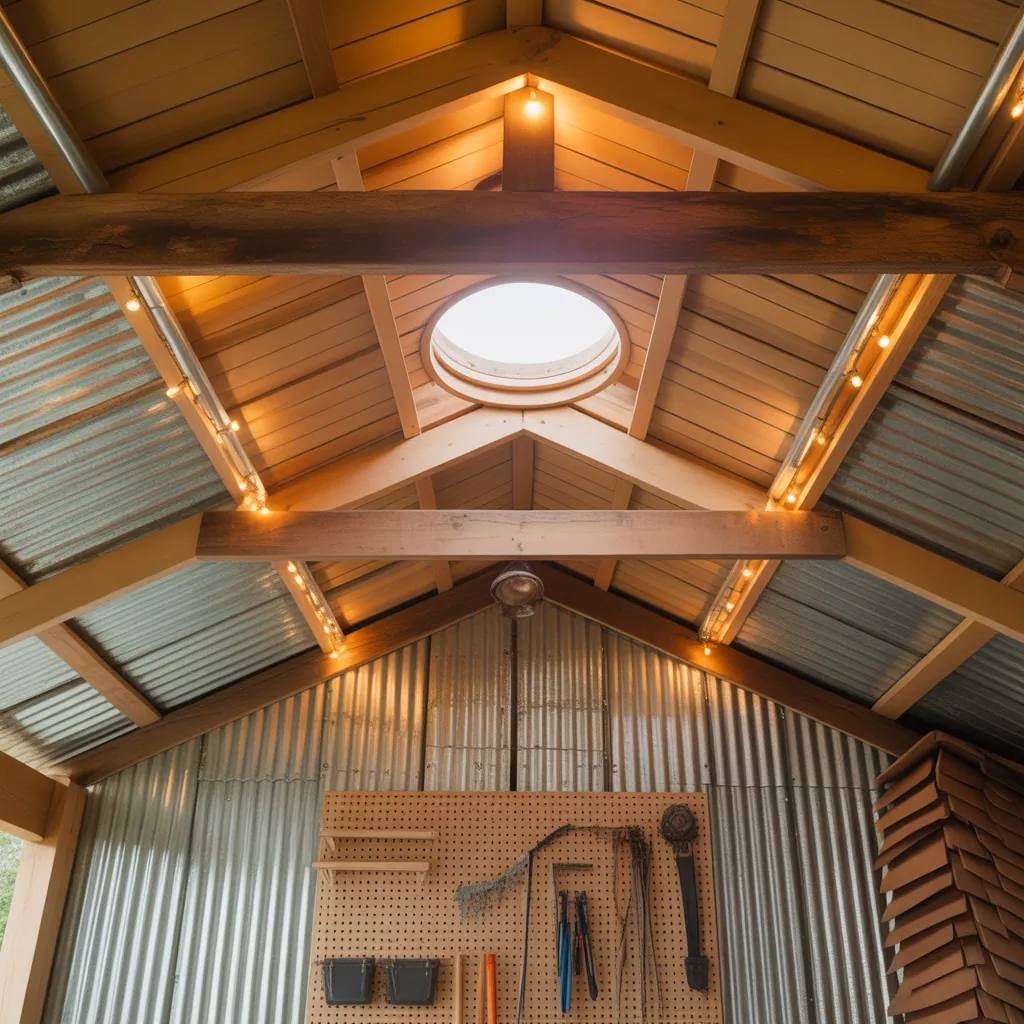
9. Skylights or roof windows
Best for: Natural light and a bright workspace. A well-placed skylight can reduce the need for daytime electric lighting and make the space feel larger.
- Tip: Ensure proper flashing and consider a fixed or ventilating skylight. Position for morning or afternoon light depending on use.
10. Loft-storage ceiling with pull-down ladder
Best for: Maximizing vertical space. Build a small loft above the ceiling for seasonal storage or material stash.
- DIY tip: Use engineered joists or sister existing rafters to support floor loads. Always follow load-bearing guidelines.
Insulation, ventilation, and moisture control
A successful shed ceiling upgrade often starts with insulation and ventilation. Without proper control, you’ll face condensation, mold, and temperature extremes.
- Insulation options: fiberglass batt, spray foam, rigid foam board. For many sheds, insulated panels or spray foam are best for tightness and R-value.
- Vapor barrier: In colder climates, install a vapor barrier on the warm side before finishing with drywall or wood.
- Ventilation: Add ridge vents, soffit vents, or a small exhaust fan to reduce humidity and prevent trapped moisture.
Lighting and storage solutions for your ceiling
Think beyond finishes — integrate lighting and storage:
- LED strip lights mounted between rafters for even illumination.
- Pendant lights above workbenches for focused tasks.
- Overhead hooks or rails attached to joists for bikes, ladders, or seasonal gear.
Step-by-step: Install a basic plywood shed ceiling
Tools and materials: plywood sheets, construction adhesive, screws, stud finder, circular saw, caulk, primer, paint.
- Measure shed and cut plywood to fit, leaving a 1/8″ gap for expansion.
- Locate and mark joists with a stud finder.
- Apply construction adhesive along joists to reduce noise.
- Lift plywood into place and secure with screws every 8–12 inches into joists.
- Fill screw holes, sand, prime, and paint for a finished look.
- Install lighting and add trim to hide gaps if desired.
Materials and budget considerations
Choose materials based on use, climate, and budget. For a budget shed ceiling makeover, paint or plywood will be cheapest. For a long-term, insulated finish, factor in insulation, drywall, and labor. Reclaimed materials save money but require prep time.
Frequently Asked Questions
Painted rafters or screwed-down plywood are the simplest. They require basic tools and little finishing work, making them ideal for a first-time DIY shed ceiling project.
Use fiberglass batts or rigid foam boards between rafters. For better air sealing, consider insulating with spray foam, though that is more costly. Always pair insulation with a vapor barrier if your climate requires it, and ensure proper ventilation.
Yes. For simple projects, use battery-operated or plug-in LED fixtures. For hardwired lighting, follow local electrical codes and consider hiring a licensed electrician to run wiring, install switches, and add outlets safely.
Conclusion
Upgrading your ceiling is one of the highest-impact ideas for shed ceilings — it improves comfort, functionality, and style. Start with a clear plan: choose materials that match your budget and climate, address insulation and ventilation, and pick a finish that fits your shed’s purpose. Ready to get started? Browse our DIY projects for step-by-step guides, find inspiration in our home design ideas, or see how small upgrades can complement larger kitchen upgrades in your overall home improvement plan. Share your project photos or questions below — we’d love to help you bring your shed ceiling to life!