Have you ever stood in your kitchen, sipping coffee and wishing that the blank strip between your countertop and cabinets told a warmer story? Maybe the paint chips, the bland tile, or the stainless-steel monotony feels out of place with the farmhouse table or vintage light fixture you love. If so, you’re not alone — and these ideas for rustic backsplash are built for homeowners who want texture, warmth, and character without hiring a pro.
Why choose a rustic backsplash?
Rustic backsplashes add personality and tactile interest: reclaimed wood can bring in warmth, distressed tile gives vintage charm, and stone veneer offers earthy durability. Whether you want a budget-friendly DIY rustic kitchen backsplash or a higher-end natural stone look, there’s a solution that fits your style and skill level.
10 rustic backsplash ideas that you can DIY
Below are practical design inspiration ideas, with tips on tools, materials, time, and difficulty so you can pick the right project for your home renovation or weekend refresh.
1. Reclaimed wood plank backsplash
Why it works: Warmth and texture with instant farmhouse appeal.
- Materials: Reclaimed wood planks (or new planks distressed), polyurethane or oil-based sealer, construction adhesive, finishing nails.
- Tools: Stud finder, level, miter saw, nail gun, sander.
- Steps: 1) Remove old backsplash and prep wall. 2) Locate studs and mark. 3) Cut planks to fit and dry-fit. 4) Attach with construction adhesive and finish nails into studs. 5) Sand edges and seal with a moisture-resistant sealer.
- Tip: Use kiln-dried reclaimed wood to minimize warping in humid kitchen environments.
2. Distressed subway tile with charcoal grout
Why it works: Classic shape with a rustic, aged finish.
- Materials: 3″x6″ subway tiles (handcrafted or “worn” style), thinset mortar, charcoal grout, tile sealer.
- Tools: Notched trowel, tile spacers, tile cutter, grout float.
- Steps: 1) Apply thinset to backerboard. 2) Set tiles with slight variations in spacing for authentic character. 3) Grout with dark charcoal and wipe clean. 4) Seal grout after curing.
- Tip: Slightly uneven placement mimics reclaimed tile and hides everyday stains.
3. Tin ceiling panels or faux-metal panels
Why it works: Vintage glam meets rustic industrial.
- Materials: Tin or faux-tin panels, screws, paint (optional for patina), sealant.
- Tools: Drill, snips, level.
- Steps: 1) Cut panels to size. 2) Paint or distress if desired. 3) Attach directly to backerboard or drywall with screws. 4) Seal edges to prevent moisture infiltration.
- Tip: Use a clear topcoat to protect the finish and make cleaning easier behind the stove.
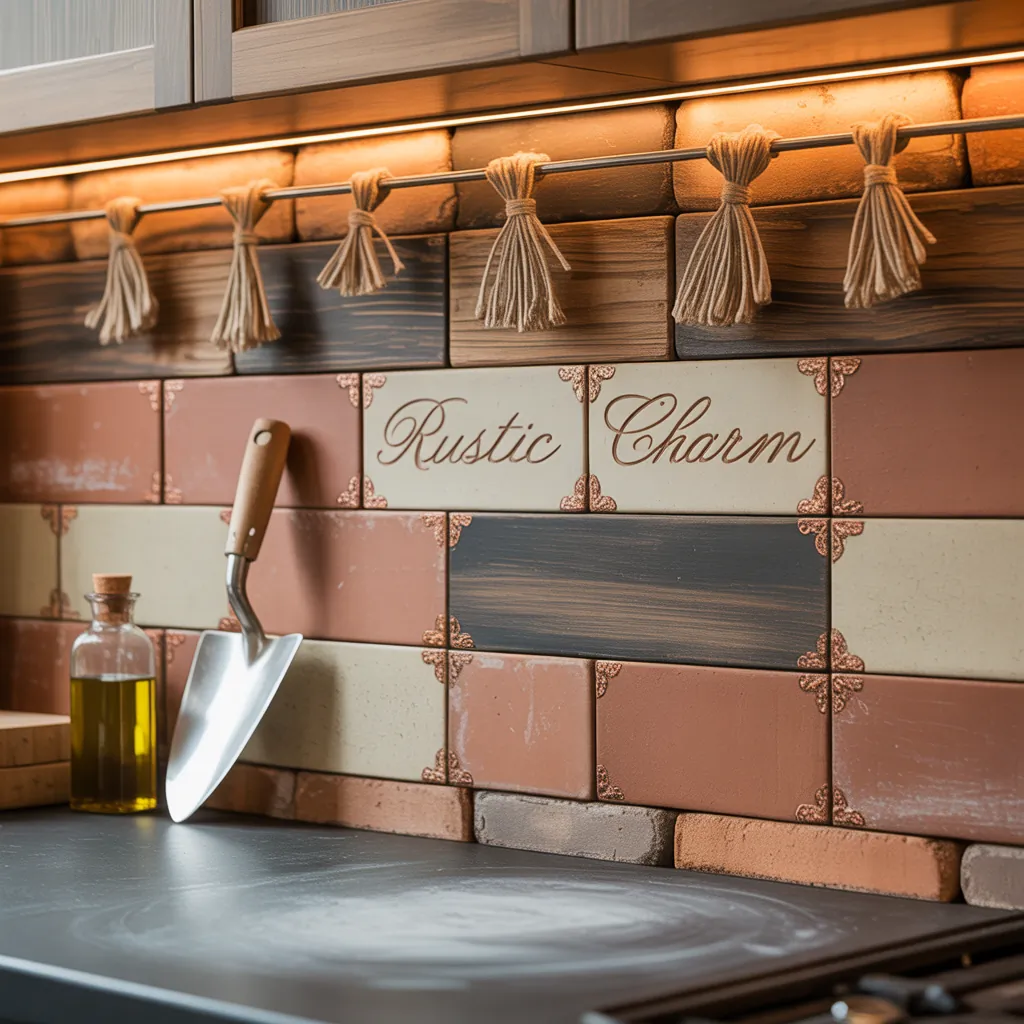
4. Brick or brick veneer backsplash
Why it works: Instant rustic charm with texture and warmth.
- Materials: Brick veneer or thin brick, mortar, sealant.
- Tools: Trowel, mortar mixer, sponge, level.
- Steps: 1) Prepare wall and locate outlets. 2) Apply mortar and set thin bricks like tiles. 3) Grout and clean excess mortar. 4) Seal to protect from grease.
- Tip: Choose lighter mortar color to create contrast and highlight the rugged look.
5. Stone or stacked stone veneer
Why it works: Natural, tactile, and ideal for focal walls around a range hood.
- Materials: Stone veneer panels, thinset, grout (if needed), sealer.
- Tools: Wet saw, notched trowel, safety gear.
- Steps: 1) Backerboard recommended for weight support. 2) Mortar application and place panels. 3) Fill joints and clean. 4) Seal for stain resistance.
- Tip: Reserve stone veneer for lower-traffic areas or behind the stove hood to avoid grease buildup in textured crevices.
ideas for rustic backsplash: planning, prepping, and maintenance
Choosing the right rustic backsplash means thinking beyond aesthetics. Here are practical considerations and real-world advice to avoid costly mistakes.
Evaluate moisture and heat exposure
Near the cooktop you’ll want materials that tolerate grease and steam. Stone, tile, metal, and properly sealed wood work well. Avoid untreated lumber directly behind an active stove.
Prep properly for long-lasting results
- Surface prep: Remove old adhesive, paint loose sections, and install cement backerboard where needed.
- Adhesives and screws: Use heat- and moisture-rated adhesives and fasteners to prevent detachment over time.
- Sealants: Apply grout sealer or wood sealant to resist stains, then clear coat if using wood.
Budget and timeline tips
Simple peel-and-stick or painted faux finishes can be weekend projects under $200. Reclaimed wood or brick veneer may take a weekend to a few days and cost $300–$1,500 depending on materials and surface area.
DIY tips for a successful rustic backsplash installation
- Always measure twice: order extra material (10–15%) for cuts and mistakes.
- Test-clean a scrap: before sealing, ensure your cleaning method removes grease without harming the finish.
- Start behind the stove hood or a central point: focal areas get the most attention and define alignment.
- Use a mock-up: lay out planks or tiles on the counter first to find the best arrangement.
Frequently Asked Questions
1. Can I use reclaimed wood behind my stove?
Yes, but only if the wood is properly sealed and you have a non-combustible barrier like cement backerboard or metal panels directly behind the cooktop. Avoid placing untreated softwoods where heat and steam are frequent.
2. How do I clean a textured stone or brick backsplash?
Use a mild degreasing cleaner and a soft-bristled brush to get into crevices. Rinse with a damp cloth and reapply sealer every 1–2 years to protect against stains and grease buildup.
3. What’s the easiest rustic backsplash for beginners?
Peel-and-stick subway tiles with a distressed finish or tin-look panels are beginner-friendly. They require minimal tools and can be installed over a clean, smooth surface in a weekend.
Conclusion — bring warmth and personality to your kitchen
Whether you choose reclaimed wood, distressed tile, metal panels, or stone, these ideas for rustic backsplash make it simple to give your kitchen a cozier, lived-in look. Start small with a focal strip behind a range hood or go big with a full wall—either way, a rustic backsplash is a practical DIY upgrade that increases style and value. Ready to pick a project? Explore our DIY projects, browse inspiring kitchen upgrades, or see more home design ideas to plan your next renovation.
Have questions about materials or want a step-by-step walkthrough for one of these options? Leave a comment or try one of the projects this weekend — you’ll be amazed by the transformation.
For a unique and stylish copper backsplash in your kitchen, check out this Copper Backsplash Kitchen.