Ever stood on your back porch with a cup of coffee and imagined a cozy outdoor room where friends gather—but then felt overwhelmed by the cost and the blank slate? You’re not alone. Transforming a yard or patio doesn’t have to mean a full contractor overhaul. With a few smart DIY moves, some creativity, and practical planning, you can create inviting, functional outdoor living spaces that suit your lifestyle and budget.
How to start: quick planning for successful outdoor projects
Before you pick plants or buy a grill, a quick plan saves time and money. Consider these simple steps to define the scope and style of your project:
- Set goals: Entertaining, gardening, play area, or a quiet retreat?
- Measure and map: Sketch your space to scale—note sun/shade, doorways, and slopes.
- Budget and timeline: Decide what you’ll DIY and where you’ll hire help.
- Prioritize: Start with foundational upgrades like grading, drainage, and durable surfaces.
Top ideas for outdoor spaces
Below are practical, achievable projects—from small patio ideas to full backyard landscaping ideas—that you can tackle yourself or with a weekend crew.
1. Build a gravel patio with a simple border (budget-friendly)
Gravel patios are DIY-friendly, permeable, and look great with minimal tools.
- Outline the space with spray paint and dig down 4–6 inches.
- Lay landscape fabric to prevent weeds, then add a compacted base of crushed stone.
- Top with 1–2 inches of washed gravel and install an edge restraint (pavers, timber, or metal).
- Finish with outdoor furniture and container plants.
Time: 1–2 weekends. Difficulty: Easy to moderate. Great for creating an instant outdoor entertaining space.
2. Create a cozy fire pit area (social centerpiece)
A fire pit instantly turns a backyard into a gathering spot. For a safe, code-friendly build:
- Check local regulations and maintain a safe distance from structures.
- Use a pre-fab metal ring or stack pavers to form a circular pit on gravel or compacted sand.
- Arrange seating in a semi-circle and add gravel to define the zone.
3. DIY pergola or shade structure (define your outdoor room)
A pergola adds vertical interest and privacy. Basic steps:
- Choose a simple kit or plan; mark post locations and pour post footings.
- Install pressure-treated posts, attach beams and rafters, and seal or paint.
- Add climbing plants, a retractable canopy, or string lights for ambience.
4. Raised garden beds and container gardening (food or flowers)
Raised beds are perfect for small yards and give instant structure:
- Build boxes from cedar or composite boards; fill with quality soil mix.
- Use companion planting and drip irrigation for low-maintenance care.
- Container gardens are ideal for patios—mix textures with tall grasses and trailing plants.
5. Smart outdoor lighting (make evenings magical)
Lighting extends use of your outdoor spaces and highlights features:
- Install low-voltage or solar path lights for walkways.
- Hang string lights across a pergola or between trees for warm ambience.
- Use uplights to showcase trees and downlights for safe steps and seating areas.
Design inspiration & styling tips
Small touches make a big difference. Here are design ideas that feel professional but are easy to implement:
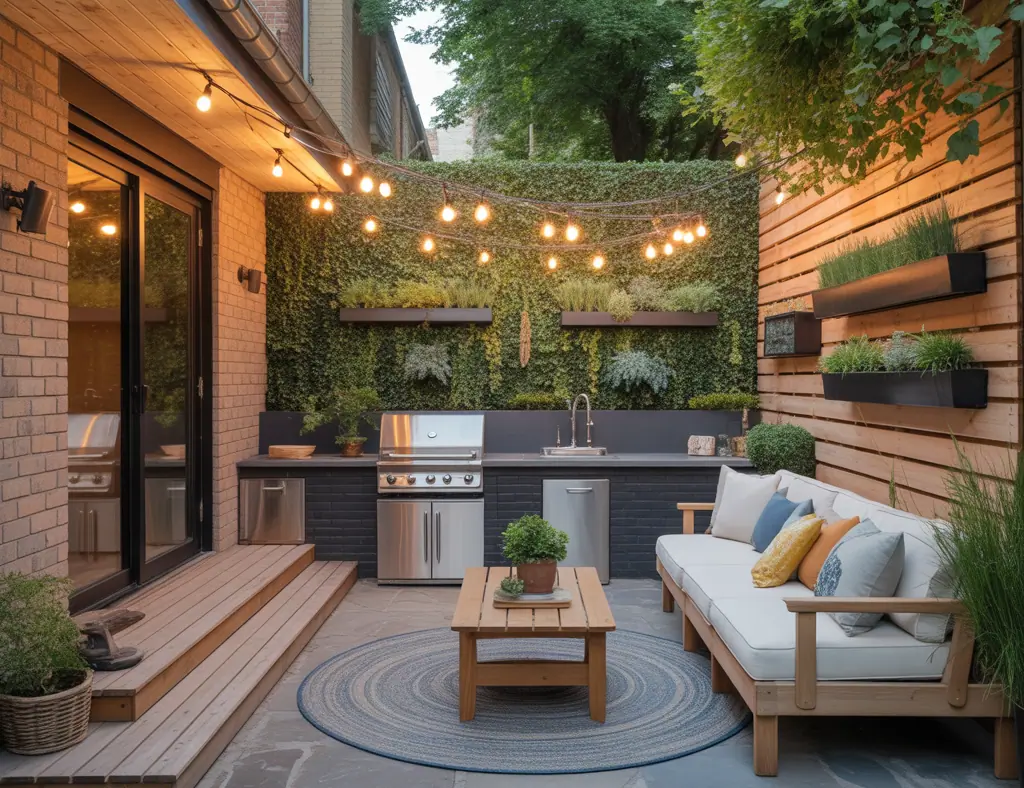
- Create zones: Dining, lounging, grilling, and play areas make a yard feel larger and more functional.
- Mix materials: Combine wood, stone, and greenery for texture and visual interest.
- Use outdoor rugs and cushions: These anchor seating areas and add color without permanence.
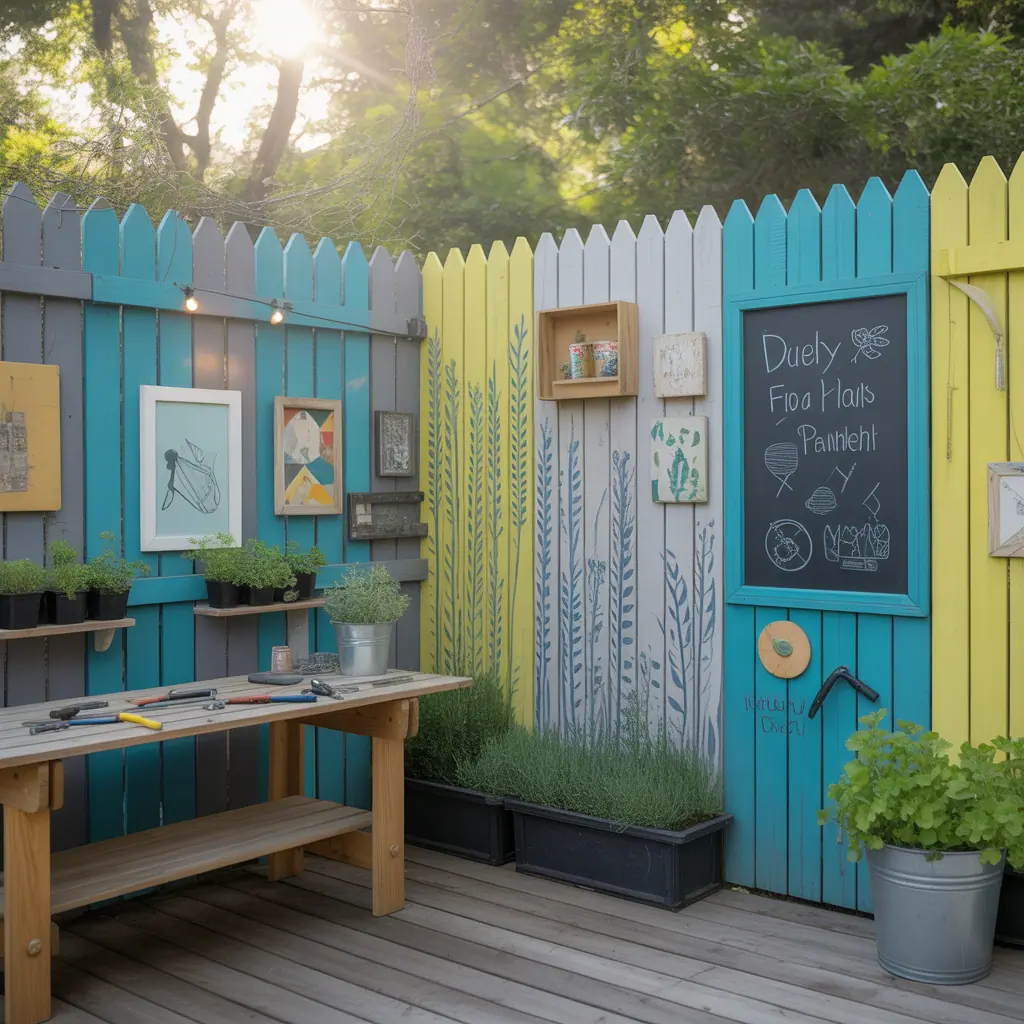
- Think vertically: Privacy screens, tall planters, and lattices add height and shade.
Low-maintenance and budget-friendly approaches
Not everyone wants a high-maintenance garden. Try these low-effort ideas:
- Choose native, drought-tolerant plants and mulch heavily to reduce watering and weeding.
- Opt for artificial turf only in high-use areas for a maintenance-free lawn substitute.
- Use composite decking or sealed cedar for long-lasting surfaces that need minimal upkeep.
Practical DIY tips and real-world advice
From tools to timing, these tips will make your DIY outdoor improvements smoother:
- Measure twice, buy once: Always double-check dimensions before purchasing materials.
- Start small: Test a corner project (like a container garden or small patio) before committing to the whole yard.
- Plan for drainage: Sloping and grading prevent puddles and protect structures.
- Layer lighting: Combine task, ambient, and accent lighting for safer, more inviting spaces.
- Permits and safety: Check local codes for structures, electrical work, and large hardscapes.
Frequently Asked Questions
How can I maximize a small patio or balcony?
Use multi-functional furniture (bench storage, foldable tables), vertical planters to add greenery, and light colors to make the space feel larger. Define a seating zone with an outdoor rug and hang string lights for height.
What are low-cost landscaping ideas that look expensive?
Simple hardscaping like a gravel path, raised planter boxes, and a well-defined seating area with pavers can feel upscale. Planting a mix of structural evergreens and seasonal perennials adds depth without a big price tag.
Do I need permits for a pergola or fire pit?
Regulations vary. Small, non-covered fire pits often don’t need permits, but built-in structures, decks, and pergolas may. Always check local building codes and HOA rules before starting.
Conclusion: start turning ideas for outdoor spaces into reality
Whether you’re dreaming of intimate outdoor living spaces, a low-maintenance garden, or a family-friendly backyard, the right ideas for outdoor spaces combined with smart DIY steps can get you there. Begin with a plan, pick a small project that delivers big impact (like a gravel patio, fire pit, or raised beds), and expand from there. Ready to get your hands dirty? Explore our DIY projects for step-by-step guides or browse home design ideas for more inspiration. If your next focus is indoor too, check our kitchen upgrades page for projects that complement outdoor entertaining.
Call to action: Pick one idea from this list and schedule a weekend to start—share a photo of your before-and-after for feedback or tips. Your best outdoor season is ahead!