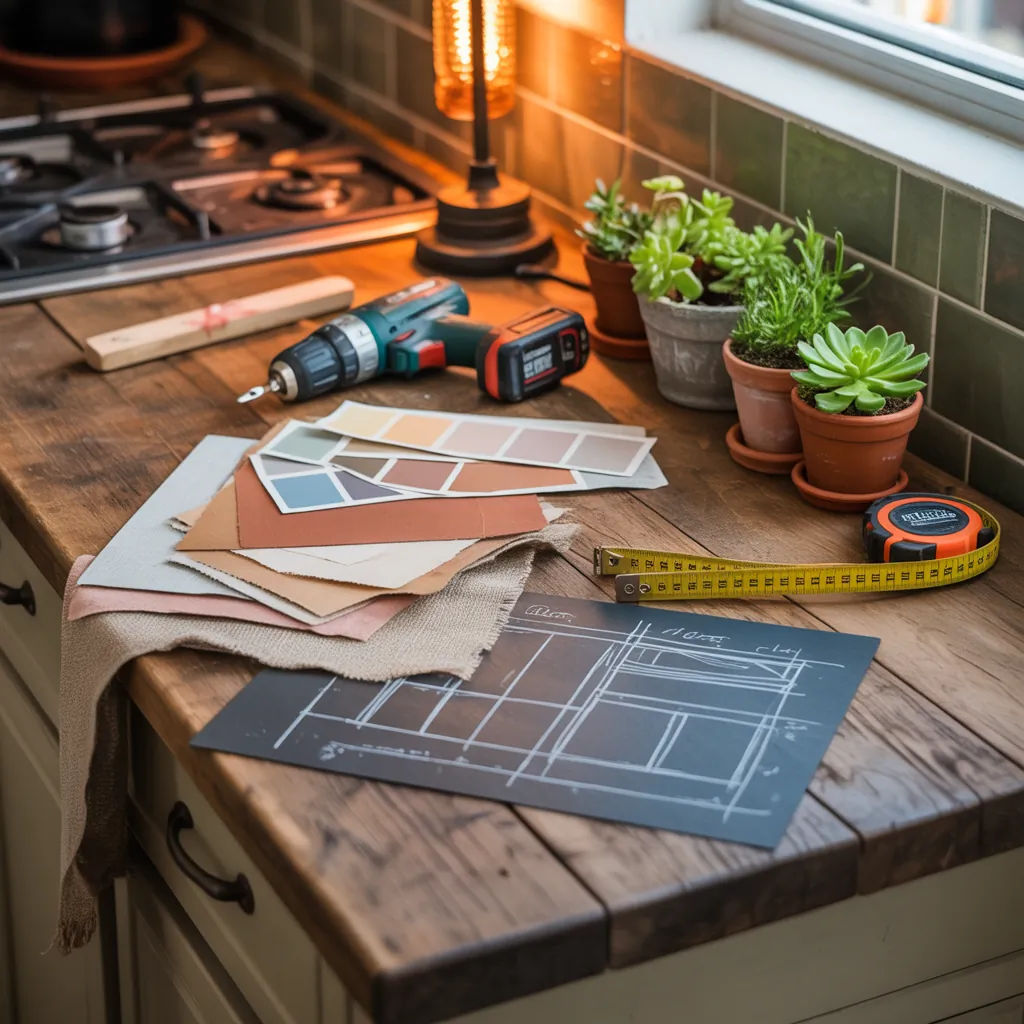
Has your kitchen table become the catch-all for homework, mail, and takeout boxes? Picture this: a Saturday morning, coffee in hand, and you decide today’s the day to reclaim that surface. Whether your table is scratched, too small, or just not your style, a few smart tweaks can turn it into the centerpiece of family life. In this article you’ll find practical, budget-friendly ideas for kitchen table transformations—DIY tips, step-by-step projects, and design inspiration you can actually finish in a weekend.
Quick wins: small upgrades that instantly freshen your table
Not every improvement requires a full teardown. These fast updates add style and function without heavy tools.
1. Sand, stain or paint (time: 2–6 hours)
- Materials: sandpaper (80, 120, 220 grit), painter’s tape, primer (if painting), paint or stain, polyurethane sealer.
- Steps: remove chairs, sand surface evenly, wipe dust with tack cloth, apply primer (if painting), paint or stain in thin coats, finish with 2–3 coats of satin polyurethane for durability.
- Tip: For a modern look, choose a matte or satin finish in charcoal or deep navy; for farmhouse, pick warm wood stain.
2. Swap or shorten legs for a new silhouette (time: 1–2 hours)
- Change tapered legs for chunky farmhouse legs, metal hairpin legs for an industrial vibe, or replace a pedestal with four legs for stability.
- Pre-drilled replacement legs are inexpensive and simple—often just a few screws required.
3. Add protective and stylish table runners or mats
Heat- and water-resistant runners, plus washable placemats, protect finishes and are an easy seasonal update.
Ideas for kitchen table: budget DIY makeovers
These projects range from beginner-friendly to intermediate. Each includes a brief cost estimate and time frame.
4. Tile or mosaic tabletop (time: 1–2 weekends; cost: $100–$300)
- Use ceramic tiles, thinset adhesive, grout and a sealer to create a durable, wipeable surface. Mosaic patterns hide imperfections and add visual interest.
- Step-by-step: remove old finish, level surface with plywood if needed, apply thinset, lay tiles with spacers, grout after 24 hours, seal grout.
5. Epoxy pour for a sleek, glossy finish (time: 2–3 days; cost: $150–$400)
- Epoxy creates a glass-like top that’s great for protecting wood and embedding decorative elements (maps, fabric, or pressed flowers).
- Important: work in a dust-free, ventilated area and follow mixing ratios precisely to avoid cloudiness.
6. Convert to a drop-leaf or extendable table (time: weekend build; cost: $50–$200)
- Perfect for small kitchens: add hinges and collapsible supports to create a space-saving drop-leaf, or install butterfly extensions for occasional guests.
7. Build bench storage under the table (time: 1–2 weekends)
- Construct a custom bench with lift-up seats to store table linens, placemats, or kids’ art supplies—doubles as extra seating for the breakfast nook.
Design inspiration: styles, layouts, and centerpiece ideas
Your table can define the room. Consider these stylistic directions when planning a makeover.
Farmhouse & rustic
Distressed paint, a wide-plank top, and turned wood legs create warmth. Add a simple mason-jar centerpiece or a woven runner.
Modern & minimal
Smooth surfaces, steel or hairpin legs, and neutral tones make the table feel airy. Keep centerpieces low and sculptural.
Industrial & reclaimed
Pair a reclaimed wood top with black metal legs. Use a statement pendant light above the table to complete the look.
Space-saving arrangements
- Banquette seating tucks the table into a corner, freeing floor space.
- A round table often fits smaller kitchens better and promotes conversation.
Real-world tips & maintenance
Follow these practical tips to ensure your kitchen table looks great for years and handles daily life.
- Always measure twice. Check throat width (space for chairs), walkway clearance (at least 36 inches), and ceiling height for lighting.
- Choose finishes rated for kitchen use—look for water-, heat- and stain-resistant sealers.
- Protect with felt pads under dishes and coasters for cups. Reapply sealer every 2–3 years depending on use.
- If you have kids, consider a durable, low-VOC polyurethane, or an oil finish that can be spot-sanded and refreshed easily.
If you’re looking for more project ideas or step-by-step guides, check out our DIY projects page and browse practical tips on kitchen upgrades. For layout and style inspiration, visit our home design ideas section.
Frequently Asked Questions
A1: The simplest update is sanding and repainting or staining the top. It takes a few hours of hands-on time plus drying time, uses basic tools, and delivers a big visual change.
A2: Use a round table to improve traffic flow, choose light finishes, and pair it with slim-profile chairs or a built-in banquette to maximize seating without crowding the room.
A3: Yes—when fully cured, epoxy is very durable and resistant to stains. Be mindful of proper ventilation during application and wait the full curing time before heavy use. For high-heat items, always use trivets.
Conclusion — Ready to try one of these ideas for kitchen table?
Your kitchen table can be more than a surface—it can be a style statement, functional hub, and long-lasting piece of furniture. Whether you try a quick paint job, a mosaic tile top, or a full epoxy makeover, pick a project that fits your skill level and timeline. Start small, gather the right materials, and share your results. Want project ideas and how-to plans? Explore our DIY projects and kitchen upgrades pages for detailed guides. Ready to transform your table today? Grab your tools and get started—then tell us how it went!


