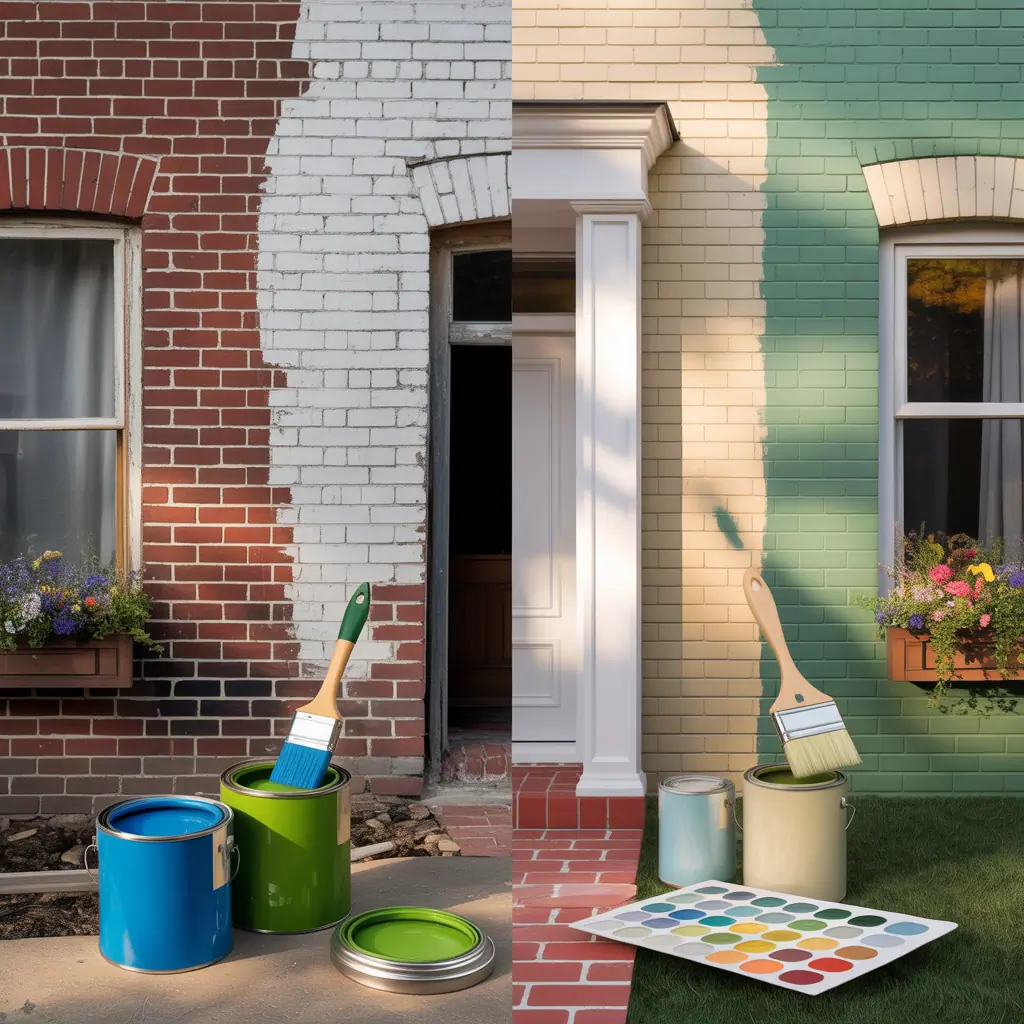
Standing in your kitchen on a Saturday afternoon, coffee in hand, staring at cabinets that feel stuck in another decade — sound familiar? You don’t always need a full remodel to make your space feel new. Changing cabinet color is one of the highest-impact, budget-friendly kitchen upgrades you can do yourself. If you’re wondering where to start, these practical and stylish ideas for kitchen cabinet colors will help you pick a palette, plan a DIY paint job, and avoid common pitfalls.
How to choose the right cabinet color
Choosing the perfect cabinet shade is part design decision, part practical planning. Start by assessing your kitchen’s fixed elements (countertops, backsplash, flooring, and light). Consider these steps:
- Analyze lighting: Natural light makes cool tones pop; small, dark kitchens benefit from light, reflective shades.
- Match undertones: Compare warm vs. cool undertones of stone counters and flooring — your cabinets should harmonize.
- Think about resale: If you plan to sell soon, stick to universally pleasing neutrals; bold colors work well when you plan to stay.
- Test samples: Paint small samples on cabinet insides or on a board and view them at different times of day.
Popular color palettes and ideas for kitchen cabinet colors
Below are tried-and-true color directions, with real-world advice for finishes, hardware, and how each option plays with light and space.
Classic neutrals: White, cream, and warm gray
Why it works: Clean, timeless, and reflective — perfect for small kitchens or open layouts. Pair with brushed nickel or brass hardware and marble-look or butcher block counters.
- Best for: Small kitchens, modern farmhouse, Scandinavian styles.
- DIY tip: Use a warm white (not stark blue-white) to avoid looking clinical.
Bold and dramatic colors: Navy, emerald green, and charcoal
Why it works: Deep hues add depth and sophistication. Use them on perimeter cabinets for drama, or paint just the island for a focal point.
- Best for: Larger kitchens, open floor plans, homeowners who love statement looks.
- Design tip: Balance with light counters and metallic hardware to avoid feeling heavy.
Two-tone cabinets: Upper/lower contrast and painted islands
Why it works: Two-tone kitchens are a popular trend—lighter uppers with darker bases open the room while adding visual interest. A painted island in a contrasting color creates a custom look without a high cost.
- Popular combos: White uppers + navy lowers, sage uppers + walnut island, light gray + black base.
- DIY step: Match undertones so the colors read cohesive, not clashing.
Pastels and soft shades: Pale blue, muted sage, blush
Why it works: Soft colors feel fresh and inviting and are great for cottage, coastal, or vintage-inspired kitchens. They also work well in small spaces that need a gentle lift.
Natural wood stains and warm finishes
Why it works: If you like the warmth of wood but want a modern update, consider sanding and restaining, or a whitewashed finish. Stains enhance grain and give longevity to classic styles.
- Tip: Refinish rather than paint if the cabinet doors are high-quality solid wood.
Paint finishes and durability
Choose a semi-gloss or satin enamel for cabinets — these finishes are easier to clean and resist marks better than flat wall paint. For heavy-use kitchens consider an acrylic or alkyd enamel formulated for cabinetry.
DIY step-by-step: How to paint kitchen cabinets (quick guide)
Painting cabinets is a highly satisfying weekend project when you plan. Here’s a basic workflow:
- Gather materials: Degreaser, sandpaper (120–220 grit), high-quality primer, cabinet paint (enamel), brushes/mini rollers, painter’s tape, drop cloths, respirator mask, screwdrivers, labels for doors and hardware bags.
- Remove doors and hardware: Label each door and corresponding location so reinstallation is simple.
- Clean and degrease: Grease prevents paint adhesion — a TSP alternative works well.
- Sand and prime: Light sanding helps paint stick; use a bonding primer for slick or previously painted surfaces.
- Paint in thin coats: Two to three thin coats are better than one thick coat. Use a brush for edges and a foam roller for flat panels to avoid brush marks.
- Let cure: Allow proper curing time (often several days) before heavy use to prevent dents and chips.
- Reinstall: Reattach doors and hardware once fully dry.
Pro tip: Consider renting a paint sprayer for very smooth, professional results—spraying can dramatically reduce brush strokes on shaker-style doors.
Practical tips and mistakes to avoid
- Don’t skip primer—especially on glossy surfaces or laminate cabinets.
- Avoid using standard wall paint; choose products labeled for cabinets or trim for better durability.
- Label every hinge and screw in small bags—this saves hours of frustration.
- Test hardware finishes next to your paint samples; sometimes brass or matte black can change the color perception.
- If you’re short on time, start with just painting the island or uppers for an easy refresh.
Frequently Asked Questions
1. How long does it take to paint kitchen cabinets?
For a typical mid-size kitchen, plan 3–7 days from start to finish including prep and drying. If you remove doors and paint them separately, allow extra time for curing before reinstalling hardware.
2. What is the best paint finish for cabinets?
Semi-gloss or satin (enamel) finishes are best because they’re durable and wipeable. For a high-end, smooth finish, professional painters often use sprayed oil-based or waterborne enamel.
3. Can you paint laminate cabinets or do they need to be replaced?
You can paint laminate cabinets if you use a proper cleaner, sanding/bonding primer, and a durable cabinet paint. A thorough prep is essential for long-lasting results.
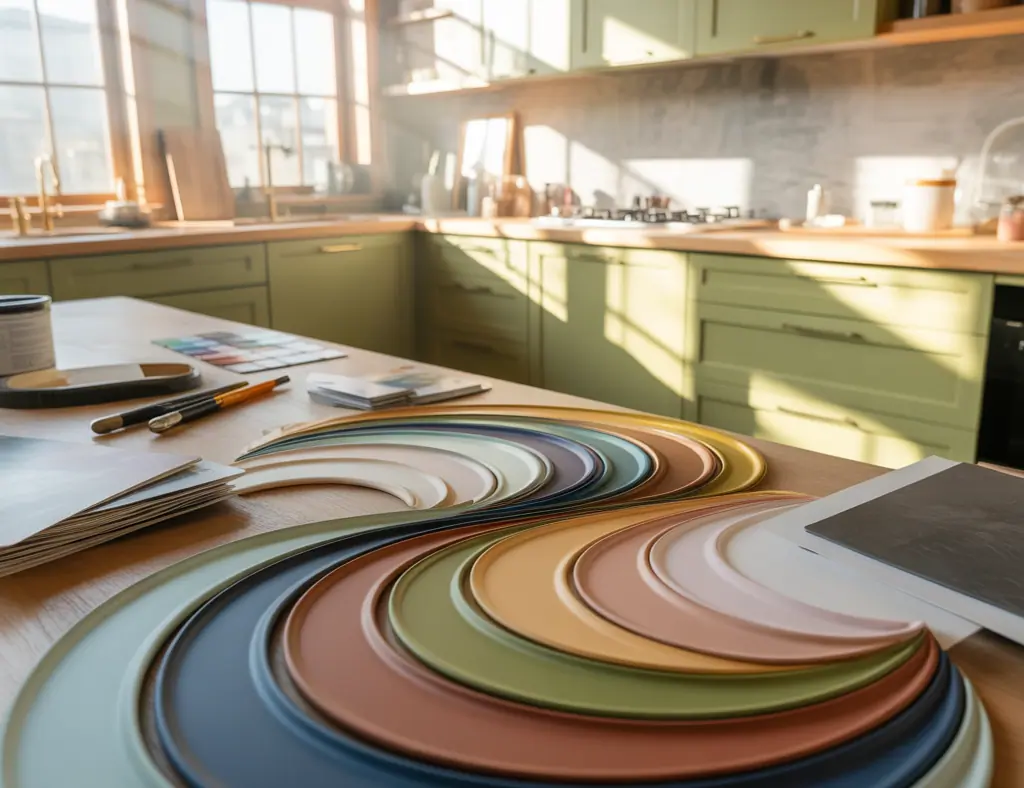
Design inspiration and where to find ideas
Need inspiration? Create a mood board with color swatches, cabinet door styles, and photo samples. Consider browsing interior design magazines or creating a Pinterest board. If you want more hands-on projects that tie into cabinet updates, check out our DIY projects page for tutorials, or explore kitchen upgrades for complementary improvements like new hardware and lighting. For broader decorating guidance, visit our home design ideas section.
Conclusion — Ready to try new ideas for kitchen cabinet colors?
Refreshing your cabinets with a new color is one of the most rewarding home improvement moves you can make — it’s affordable, dramatic, and a fantastic DIY weekend project. Whether you opt for timeless neutrals, a bold navy, or a two-tone statement, test samples, plan your prep, and choose durable finishes. Ready to transform your space? Pick one color sample this weekend and start with the island or a single cabinet to build confidence. Share your results, join a project challenge, or dive into more guidance on our DIY projects page.
Which cabinet color are you leaning toward? Try a small test panel and take a photo in morning and evening light — then decide. Let’s make your kitchen feel new again.