Ever carried a load of groceries up worn, cracked steps and thought, “These front steps need help”? You’re not alone. Whether your entry feels dated, slippery, or simply uninspiring, small changes can make a huge difference. In this post I’ll share practical, stylish, and budget-friendly ideas for front steps that any DIYer can tackle to transform your home’s first impression.
Why upgrade your entryway steps?
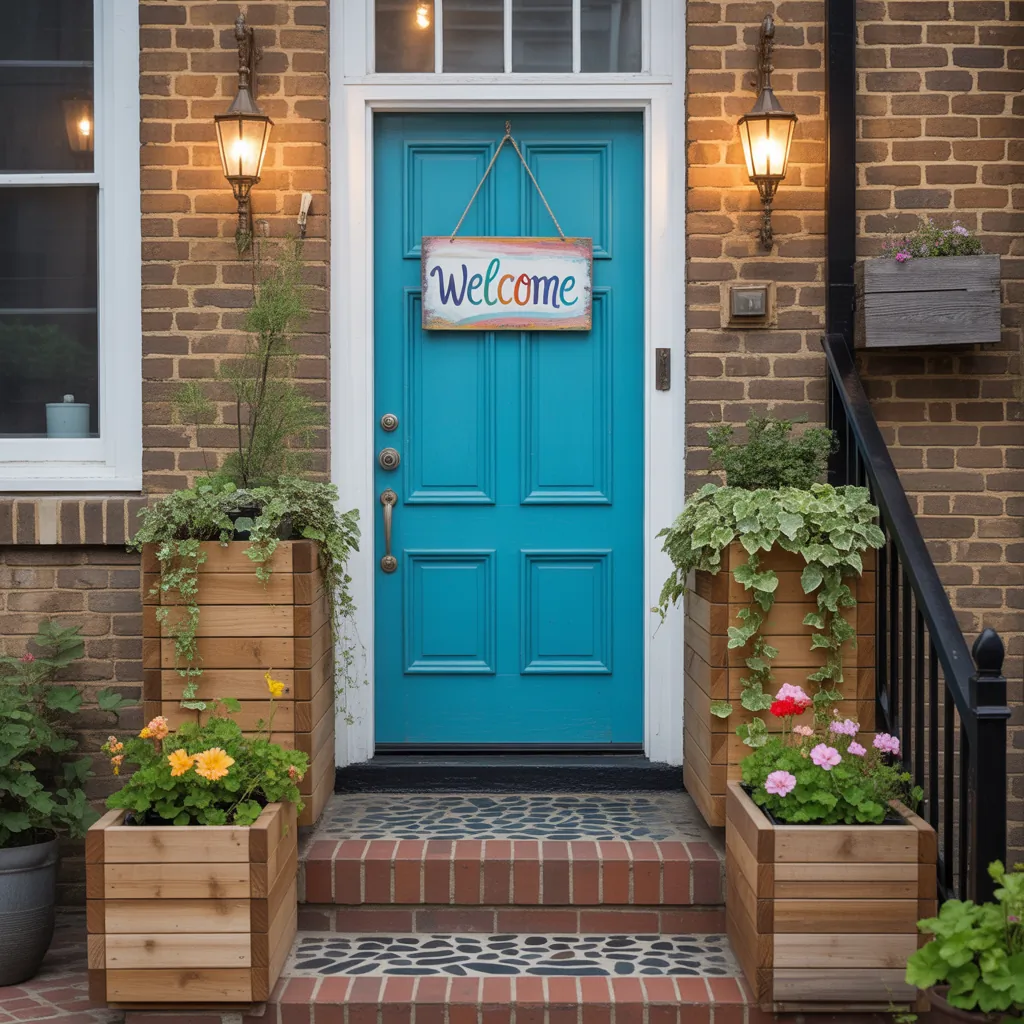
First impressions matter. Improving your front steps boosts curb appeal, increases safety, and can raise your home’s value. From paint and lighting to stone veneers and planters, the right approach depends on your budget, skill level, and the architectural style of your home.
Creative ideas for front steps
Here are tested concepts—from quick weekend projects to more involved renovations—each with practical tips so you can pick the one that matches your skill set.
1. Fresh paint and stencil the risers (Budget-friendly)
- Why it works: Instant color and personality without replacing treads.
- Materials: Exterior primer, high-quality porch paint, painter’s tape, a simple stencil, small roller/brush.
- DIY steps:
- Time & cost: Weekend project, $50–$200 depending on paint quality.
2. Add non-slip decking treads (Safety + style)
- Why it works: Upgrades traction and allows you to refinish existing steps without full replacement.
- Materials: Composite decking boards or pressure-treated lumber, exterior screws, saw, measuring tape, non-slip grip tape (optional).
- DIY steps:
- Time & cost: One to two weekends; $150–$600 depending on materials.
3. Tile or mosaic risers for a Mediterranean look
- Why it works: Adds pattern, color, and an artisan touch—great for Spanish or cottage-style homes.
- Materials: Outdoor porcelain tiles or mosaic pieces, thinset mortar, grout, backer board (if needed), tile saw.
- DIY steps:
- Time & cost: Requires some tile experience; $300–$1,200 depending on tile choice.
4. Natural stone veneer for a high-end upgrade
- Why it works: Gives steps a durable, timeless look—works well with brick or stone facades.
- Materials: Manufactured stone veneer, mortar, trowel, sealer.
- DIY steps:
- Time & cost: Moderate difficulty; $400–$2,000 depending on coverage.
5. Install lighting for safety and ambiance
- Why it works: Illuminated steps reduce trip hazards and highlight architectural details.
- Options: Recessed stair lights, LED strip under treads, post lanterns, or solar step lights.
- DIY tips:
Design inspiration and styling tips
Here are design directions and pairings to help you choose a style that complements your home:
- Classic curb appeal: Neutral paint, stone veneer, black iron railings, symmetrical planters.
- Modern minimalist: Clean composite treads, monochrome palette, recessed LED lighting.
- Coastal or cottage: Painted risers with soft blues/greens, weathered wood accents, potted palms.
- Eclectic/artisanal: Mosaic risers, bold stair runner, mix of metals and textures.
Landscaping and accessories that lift the whole entry
- Flank steps with planters or low hedges to frame the path.
- Use contrasting materials (e.g., dark treads + light risers) to create depth.
- Add a small bench or umbrella stand if space allows to make the entry welcoming.
Practical considerations: safety, codes, and maintenance
Before you start, check local building codes—tread depth, riser height, and handrail requirements may apply, especially if you change structural elements. Use non-slip finishes on horizontal surfaces and choose frost-resistant materials in cold climates. Seal porous materials yearly and inspect fasteners annually to prolong the life of your project.
Step-by-step quick project: Paint, light, plant (a one-day refresh)
This quick makeover boosts curb appeal with minimal tools.
- Clean steps thoroughly with a stiff brush and mild detergent; repair cracks with exterior filler.
- Prime and paint treads and risers (two coats); allow proper drying time between coats.
- Install two solar step lights on either side of the bottom step for low-cost illumination.
- Place matching planters on each side and add seasonal plants for instant color.
Estimated time: One day. Estimated cost: $75–$300.
Frequently Asked Questions
A: Costs vary widely: a fresh paint and hardware update can be under $200, while stone veneer or full re-treads may run $1,000–$3,000. Budget based on materials, whether you hire labor, and the scope of the project.
A: Yes, if you have basic tiling experience and use exterior-rated porcelain and proper backer board and adhesives. Ensure proper slope for drainage and use non-slip finishes to prevent hazards.
A: Use textured or non-slip composite decking, sealed natural stone rated for freeze-thaw, or concrete with non-slip additives. Avoid highly polished tiles that become slick when wet or icy.
Conclusion: Start small, think big—ideas for front steps that make a lasting impression
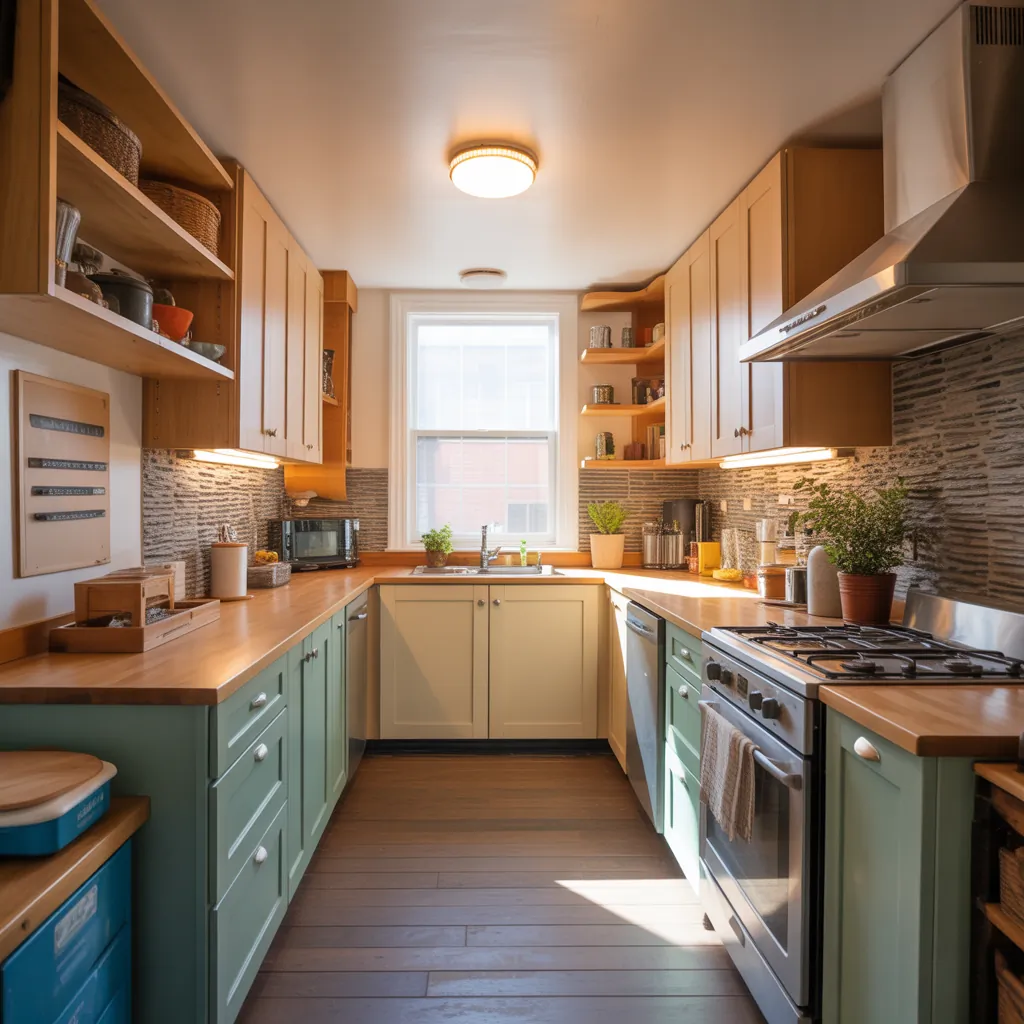
Transforming your entry doesn’t have to be intimidating. Whether you try a weekend refresh like painting and adding planters or a larger upgrade like stone veneer and integrated lighting, these ideas for front steps are meant to inspire and guide your next project. Ready to get started? Browse our DIY projects for more step-by-step guides, or explore home design ideas for complementary exterior upgrades. If you want kitchen inspiration while you plan your curb appeal, check out our kitchen upgrades page for matching finishes and color palettes.
Want personalized advice? Share a photo of your entry and tell me your budget—let’s pick the perfect front steps makeover for your home.