Have you ever stood in front of a squished closet and thought, “There has to be a better way to hang everything?” Whether you’re tackling a small bedroom, upgrading a rental, or planning a quick weekend DIY, installing a double rod closet system can transform chaos into calm. In this article you’ll find practical ideas for double rod closet setups, step-by-step improvement tips, and design inspiration that real homeowners use to get more storage, faster.
Why Choose a Double Rod Closet?
Double rod closets (also called double hanging closet systems) double your hanging capacity by using two parallel closet rods — one above the other. This simple strategy is ideal for maximizing vertical space in small closets, creating a neat system for shirts and pants, and separating seasonal clothing. It’s affordable, approachable as a DIY, and pairs well with shelving and accessory organizers.
Quick Design Inspiration: Styles That Work
- Minimal Scandinavian: White rods and open shelving for a bright, airy look.
- Industrial Chic: Matte black rods, reclaimed wood shelves, and wire baskets.
- Budget-Friendly Classic: Basic chrome rods with matching brackets and slim hangers.
- Closet Boutique: Add a shoe cubby under the lower rod and LED strip lighting for a retail feel.
Practical Tools & Materials You’ll Need
Before you start, gather these basics:
- Closet rods (metal or wood), support brackets, center support
- Measuring tape, level, stud finder
- Drill, screwdriver, pencil
- Appropriate screws and wall anchors
- Optional: shelving units, baskets, slim hangers, LED lighting
Step-by-Step: How to Install a Double Rod Closet
Follow these practical steps to install a secure and functional double hanging closet:
- Measure your space and clothing: Measure the closet width, depth, and the length of typical garments. This will determine rod length and vertical spacing. A good rule of thumb is to leave about 40–42 inches of vertical space between the two rods for shirts and folded pants—adjust if you have longer items.
- Plan rod placement: Decide on the top rod height based on ceiling height and clothing lengths. Mark level lines for both rods with a pencil.
- Locate studs and mark bracket positions: Use a stud finder for secure anchoring. If studs aren’t available across the span, use heavy-duty wall anchors or add a center support post.
- Install brackets and supports: Attach rod brackets to the wall at the marked, level positions. Install a center support bracket if your rod is longer than 48–60 inches to avoid sagging.
- Mount rods and test load: Slide rods into brackets and test with a few hangers. Make adjustments if the rod sags or the spacing feels tight.
- Add finishing touches: Install a shelf above the top rod for seasonal bins, add hanging organizers on the lower rod, and use matching slim hangers for a tidy look.
Space-Saving Tips & Organization Hacks
Beyond the rods, smart accessories make the system sing:
- Use slim velvet hangers to save width and keep garments from shifting.
- Install a shallow shelf above the top rod for boxes, hats, or folded sweaters.
- Add stackable shoe cubbies or a narrow dresser under the lower rod for shoes and accessories.
- Use labeled baskets for scarves, belts, and seasonal items to reduce visual clutter.
- Consider a pull-out pant rack attached beneath the top rod for wrinkle-free pants storage.
Ideas for Double Rod Closet Layouts
Layout A — Small Bedroom Closet
Upper rod for shirts and blouses, lower rod for pants and skirts, with a narrow shelf above for bins. Add an over-door shoe organizer to increase capacity without drilling into walls.
Layout B — Hall Closet / Guest Room
Top rod for jackets and dress shirts, bottom rod for folded guest linens on hangers (or removable hanging shelves). Keep a small basket for extra hangers and garment bags.
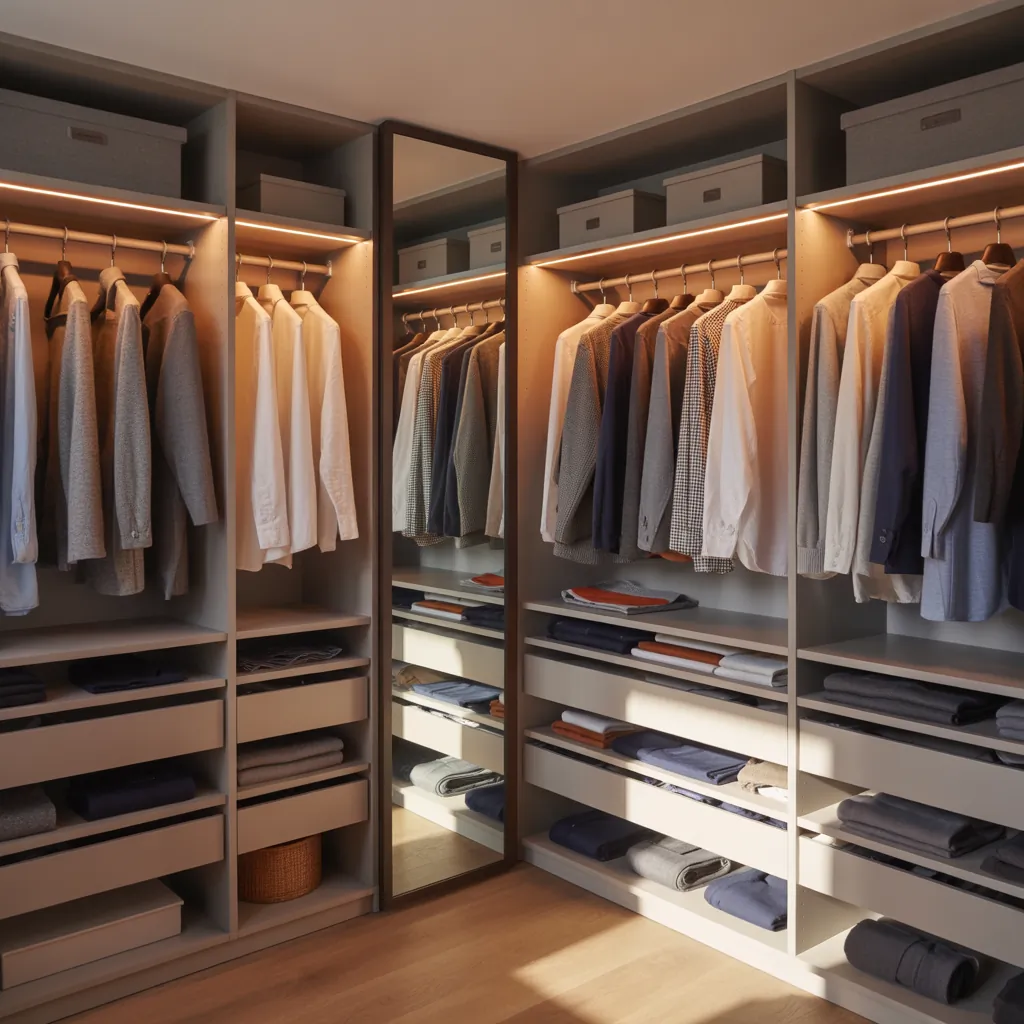
Layout C — Walk-In Closet Maximized
Mix double rods with sections of full-length hanging for dresses. Use integrated shelving and drawers on one side, and double rods across the other to keep everything visible and accessible.
Cost & Time Estimates
A basic DIY double rod installation can be completed in 1–3 hours depending on prep and tools. Cost ranges:
- Budget: $20–$60 (basic rods, anchors, DIY shelves)
- Mid-range: $100–$300 (decorative rods, center supports, shelving units)
- Premium: $300+ (custom systems, built-in shelving, lighting)
Ideas for Double Rod Closet: Styling and Long-Term Use
To keep your double rod closet functional for years, choose corrosion-resistant rods, use matching hangers for a cohesive look, and rotate seasonal items to the top shelf. Keep a small step stool nearby for reaching the top rod safely.
Real-World Advice From DIYers
- Always double-check level lines before drilling—bolts look worse than holes.
- If you rent, use tension rods or freestanding garment racks to avoid wall damage.
- Measure clothing on a hanger to confirm vertical spacing rather than relying solely on standard numbers.
Frequently Asked Questions
A: A common guideline is 40–42 inches between rods for shirts and pants. However, measure your longest folded garments to be sure. Adjust spacing if you store longer skirts or cropped items.
A: Absolutely. Double rods are ideal for reach-ins. Use slim hangers, consider a top shelf for storage boxes, and add a shoe solution below the lower rod to maximize every inch.
A: Use heavy-duty wall anchors rated for the expected load or install a ledger board across the wall to spread weight across multiple anchors. For renters, consider tension rods or freestanding systems that don’t require permanent fixes.
Conclusion — Try These Ideas for Double Rod Closet Today
Installing a double rod closet is one of the most effective, budget-friendly ways to increase storage and improve organization. With a few tools, a bit of planning, and some stylish accents — you can get a closet that looks custom and functions beautifully. Ready to take the next step? Gather your tools, measure your garments, and try a weekend install. For more hands-on inspiration, check out our DIY projects and browse additional home design ideas to pair with your new closet. If your kitchen could use a makeover too, see our kitchen upgrades for easy wins around the home.
Call to action: Start your project this weekend — pick your rod style, measure twice, and transform your closet into an organized, stylish space. Share your before-and-after photos with our DIY projects community to inspire others!