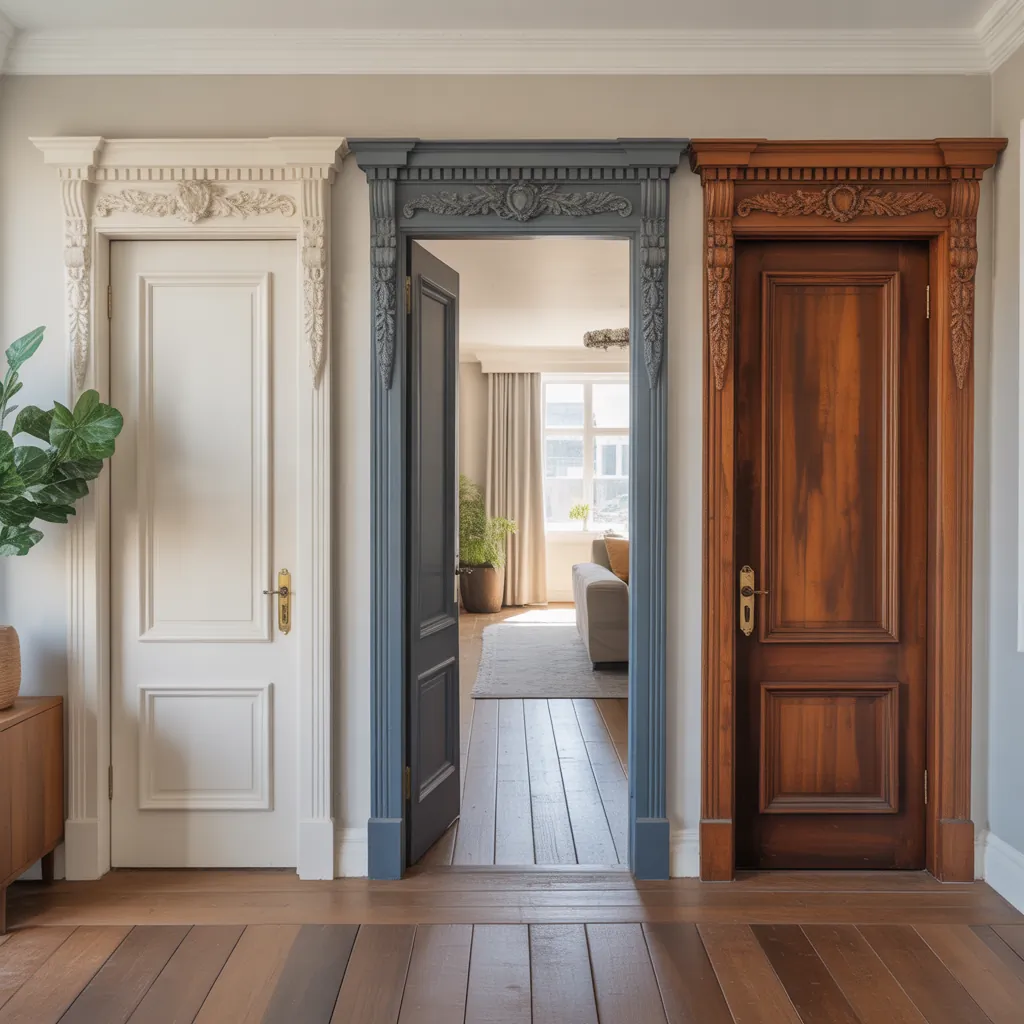
Have you ever stood staring at a plain door and wondered, “How can I make this look more polished without breaking the bank?” If you’re dreaming of a quick, impactful home upgrade, enhancing your door trim is a simple yet transformative solution. Whether you’re a weekend warrior or a first-time DIYer, door trim ideas can elevate your space with style, adding personality and charm to any room.
Why Door Trim Matters in Your Home Design
Door trim is often overlooked when renovating or decorating, yet it plays a crucial role in defining a room’s character and enhancing architectural detail. Well-chosen door casings can:
- Frame your doors to create a refined transition between rooms
- Add texture, depth, and visual interest to otherwise blank walls
- Complement your home’s overall design style, from classic to modern
- Hide imperfections where the door meets the wall
With a little creativity and some basic tools, you can update your door trim to instantly boost your home’s appeal.
Top Ideas for Door Trim to Inspire Your Next DIY Project
1. Classic Craftsman Style Trim
This timeless style features simple, clean lines with a wider frame and a decorative header (also called a crown). To create a Craftsman look:
- Use 4.5” wide casing boards for the sides
- Add a slightly wider top piece with a small crown molding
- Paint the trim in crisp white or natural wood stain
This style works beautifully in traditional homes and pairs well with warm wall colors or natural wood flooring.
2. Modern Minimalist Door Trim
If your home has a contemporary vibe, opt for sleek, square-edged trim without elaborate detail. Key tips include:
- Selecting thin, flat boards in matte black or glossy white
- Keeping trim flush with the drywall for a subtle, built-in look
- Using high-quality caulk for tight seams and clean lines
The minimalist approach suits open-concept spaces, emphasizing the door’s shape without distracting ornamentation.
3. Rustic Barn Door Trim
For farmhouse or rustic-style homes, consider adding a chunky, distressed wood trim around your doors. Create a warm, inviting entry with:
- Reclaimed wood boards or faux-aged wood planks
- Visible nail or screw heads for authentic character
- Complementary hardware like iron hinges and barn door rollers
This look pairs especially well with sliding barn doors or vintage panel doors.
Step-by-Step: How to Install New Door Trim Like a Pro
Ready to upgrade your door frames? Follow this simple process to install or replace door trim with confidence.
- Measure Carefully: Use a tape measure to determine the length of side and top casings. Add an extra inch or two for mitered corners.
- Cut the Trim: Cut the side boards to height and the top board to width. Use a miter saw to cut corners at 45 degrees for a clean joint.
- Dry Fit: Place all trim pieces around the door without nails to test the fit.
- Nail or Screw in Place: Attach trim using finishing nails or screws with a nail gun or hammer.
- Fill & Sand: Fill holes with wood filler and sand smooth for a flawless surface.
- Caulk the Seams: Apply paintable caulk around edges to hide gaps and prevent air drafts.
- Prime & Paint: Prime trim if necessary, then paint with your chosen color or stain.
Tip: Use painter’s tape around edges to keep lines clean and professional-looking.
Creative Design Inspiration for Door Trim
To really make your door trim stand out, consider these unique design ideas:
- Two-Tone Trim: Paint the trim one color and the door itself another contrasting shade for visual pop.
- Layered Molding: Add depth by layering smaller moldings on top of the standard trim.
- Decorative Rosettes: Install square or round rosettes at the corners of your trim for a classic touch.
- Wallpaper or Stenciled Inset Panels: Use wallpaper or a stencil pattern just inside the door frame on inset molding.
Think of door trim as an opportunity to express your style, enhance curb appeal, and personalize your rooms without major renovations.
Frequently Asked Questions About Door Trim
Common choices include pine, poplar, and hardwoods like oak or maple. Pine is budget-friendly and easy to paint, while hardwoods offer more durability and a natural stain finish.
Trim width depends on your door size and room style. Standard widths range from 2.5” to 6”. Taller ceilings or grand doors can handle wider trim for better proportion.
Absolutely! With basic tools like a miter saw, hammer, nails, and some patience, many homeowners successfully replace or install door trim. Following step-by-step guides and practicing safety make the project manageable.
Conclusion: Start Elevating Your Doors with Stunning Trim Ideas Today
Door trim might be a small detail, but its impact on your home’s aesthetic is huge. Whether you choose classic molding, modern minimalist casings, or rustic reclaimed wood, there’s a perfect style to fit your taste and skill level. Take advantage of our practical DIY tips and step-by-step advice to transform your doors — and your entire room — with fresh, new trim. Ready to dive into more inspiring upgrades? Check out our helpful DIY projects and creative home design ideas for even more ways to beautify your space. Your dream doors are just a trim away!


