Ever cleared a shelf, picked up a handful of amethyst clusters, and wondered how to turn that jumble into a stunning focal point? You’re not alone. Whether you collect geodes, tumbled stones, or show-stopping quartz, creating an intentional crystals display can transform a cluttered corner into a conversation-starting feature. Below are practical, DIY-friendly ideas that will help you design, build, and style crystal displays that work with your home’s vibe.
Why a Thoughtful Crystals Display Elevates Your Home
Crystals add texture, color, and natural beauty to interior spaces. But left unarranged, they can look like a drawer of odds and ends. A thoughtfully planned crystal display highlights each piece and creates harmony with the rest of your decor. Use these tips to make your collection look curated, not chaotic.
10 Practical Ideas for Crystals Display
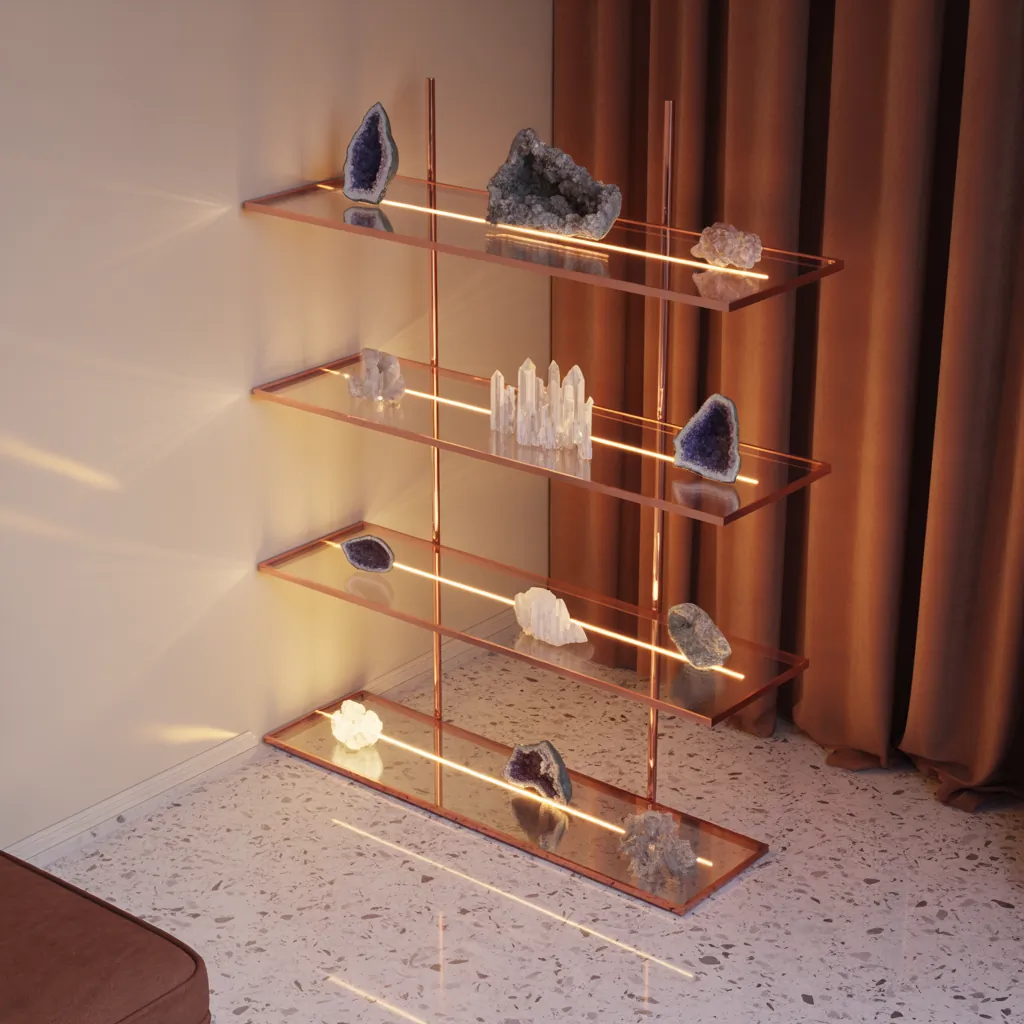
1. Floating Shelves with Grouped Arrangements
Install slim floating shelves and group crystals by size, color, or type. Use an odd-number rule (groups of 3 or 5) for visual balance. Materials: floating shelf brackets, level, screws, and anchors.
- Measure and mark where you want the shelf.
- Install anchors and screws, then mount the shelf.
- Arrange crystals from tallest to shortest, leaving negative space to avoid crowding.
2. Backlit Shadow Boxes for Dramatic Effect
Backlighting makes translucent crystals glow. Use a shallow shadow box and an LED strip with adjustable color temperature. Tip: choose warm white for a cozy look or cool white to emphasize clarity and sparkle.
3. Tiered Trays and Cake Stands for Coffee Tables
Use a tiered tray to display small clusters and tumbled stones on your coffee table. It’s portable, easy to rearrange, and great for seasonal styling.
4. Window Ledge or Sill Display for Natural Light
Place small crystals on a sunny window ledge where they catch daylight. Avoid placing heat-sensitive specimens in direct sun all day. A simple acrylic riser can add levels on a narrow sill.
5. Macramé or Hanging Displays
Create a boho-inspired hanging display by suspending geodes or crystal points in small macramé holders. This works well near a plant corner or by a reading nook.
6. Minimalist Glass Dome (Cloche) Displays
A glass dome instantly elevates a single standout crystal or a small grouping, protecting them from dust while making them feel gallery-worthy.
7. Resin Bases and Wood Slabs for a Natural Look
Mount crystals on dyed resin or live-edge wood bases for a custom, artisan display. This is a great weekend DIY: cut wood slabs, sand, and pour a thin resin layer to secure crystal placements.
8. Built-In Niche with LED Strips
If you’re renovating a wall, add a recessed niche with shelves and concealed LED lighting. This creates a permanent, museum-style crystals display that’s perfect for large pieces.
9. Portable Display Cases for Rotating Collections
Use small lockable display cases if you like to rotate your collection or travel with pieces. Clear acrylic cases protect and show off crystals while keeping dust out.
10. Combining Plants & Crystals for Layered Texture
Mix small succulents with polished stones and raw clusters to create a living display. Plants soften the look and provide a natural contrast to mineral textures.
Design Tips: Color, Scale, and Placement
- Color palette: Stick to two to three dominant hues to avoid visual clutter.
- Scale: Pair large geodes with smaller tumbled stones to create contrast.
- Placement: Low-traffic shelves, entryway consoles, or bedside tables work best; avoid placing fragile pieces where pets or kids can reach them.
- Balance: Use odd-number groupings and repeat shapes for cohesion.
DIY Step-by-Step: Simple Backlit Shadow Box
Want one standout piece? Here’s a quick build for a backlit shadow box.
- Materials: shallow wooden box, thin foamboard, LED strip lights, adhesive, small mounting putty, and your crystals.
- Paint the box interior matte black or a neutral color to make crystals pop.
- Attach LED strip to the inner top edge and hide the wires behind the box.
- Place foamboard risers to vary heights, and secure crystals with mounting putty.
- Plug in and adjust light color and brightness for the desired glow.
Care and Safety: Keeping Your Crystals Beautiful
Crystals need occasional maintenance:
- Dust gently with a soft brush or microfiber cloth.
- Avoid prolonged direct sunlight for heat-sensitive specimens like selenite or certain dyed stones.
- Secure heavy pieces on shelves with museum putty or adhesive pads to prevent tipping.
Ideas for Crystals Display in Different Rooms
Living Room
Use a built-in niche, coffee table tray, or console shelf for a centerpiece.
Bedroom
Nightstand clusters or a small shadow box near your headboard create a calming bedside vignette.
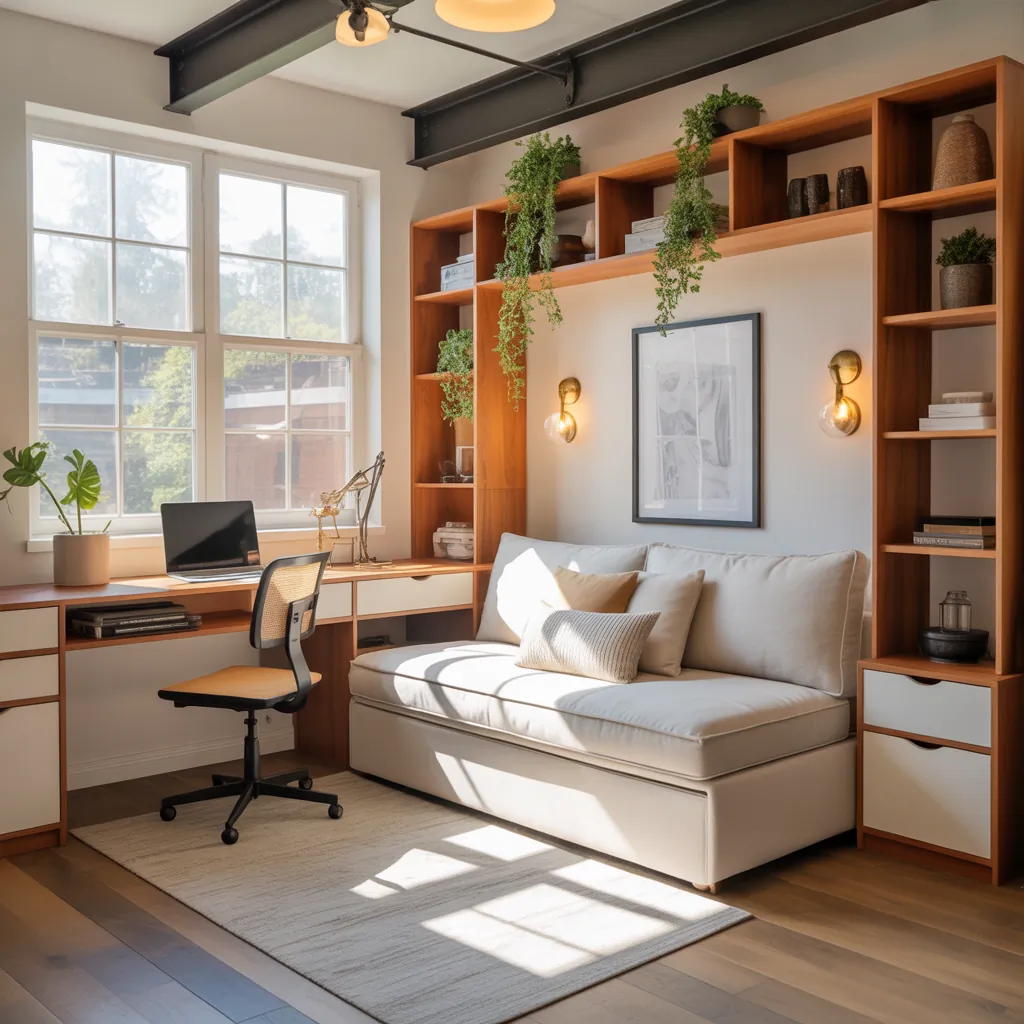
Workspace
A compact desktop display on a riser keeps your favorite pieces visible without taking up too much room.
Frequently Asked Questions
Group by color, texture, or purpose (decorative vs. functional). Use consistent bases—like wood slabs or black trays—to tie disparate pieces together visually.
LED strips with adjustable color temperature are ideal. Cool white emphasizes clarity and sparkle; warm white gives a softer, cozy glow. Avoid very intense direct light for heat-sensitive stones.
Yes, but choose hardy specimens and avoid placing delicate or porous stones near heat or steam. A small, well-ventilated shelf or a glass cloche can protect pieces in busier zones like the kitchen.
Bringing It All Together
Designing a beautiful crystals display is about balance—lighting, scale, and thoughtful placement will make your collection feel intentional. Start small: pick one shelf or a single shadow box and experiment with grouping and lighting. If you love hands-on projects, try one of the DIY builds above to make the display uniquely yours. For more step-by-step projects and room-specific ideas, check out our pages on DIY projects, kitchen upgrades, and home design ideas.
Ready to transform your collection? Pick one of these ideas, gather your materials this weekend, and share a photo of your finished display. Your home—and your crystals—will thank you.